Transfer iPhone voice memos to your Mac or PC computer
Updated on May 13, 2026
Reading time ~2 minutes
The iOS Voice Memos app does not offer a direct way to export recordings to a computer. To retrieve your files, you can sync your library via iCloud, or locate them manually through Finder (macOS Catalina and later) or iTunes (Windows and macOS Mojave or earlier) after syncing. This process requires multiple steps and does not give you direct file access.
iMazing lets you browse and export voice memos directly from your iPhone or iPad to your Mac or Windows PC as audio files, without relying on iCloud or a full device sync.
Here's how to transfer iPhone voice memos to your Mac or PC computer.
Select Voice Memos
Click Data
In the Device Screen, click Data in the left sidebar.
Select Voice Memos
In the dataset list, click Voice Memos.
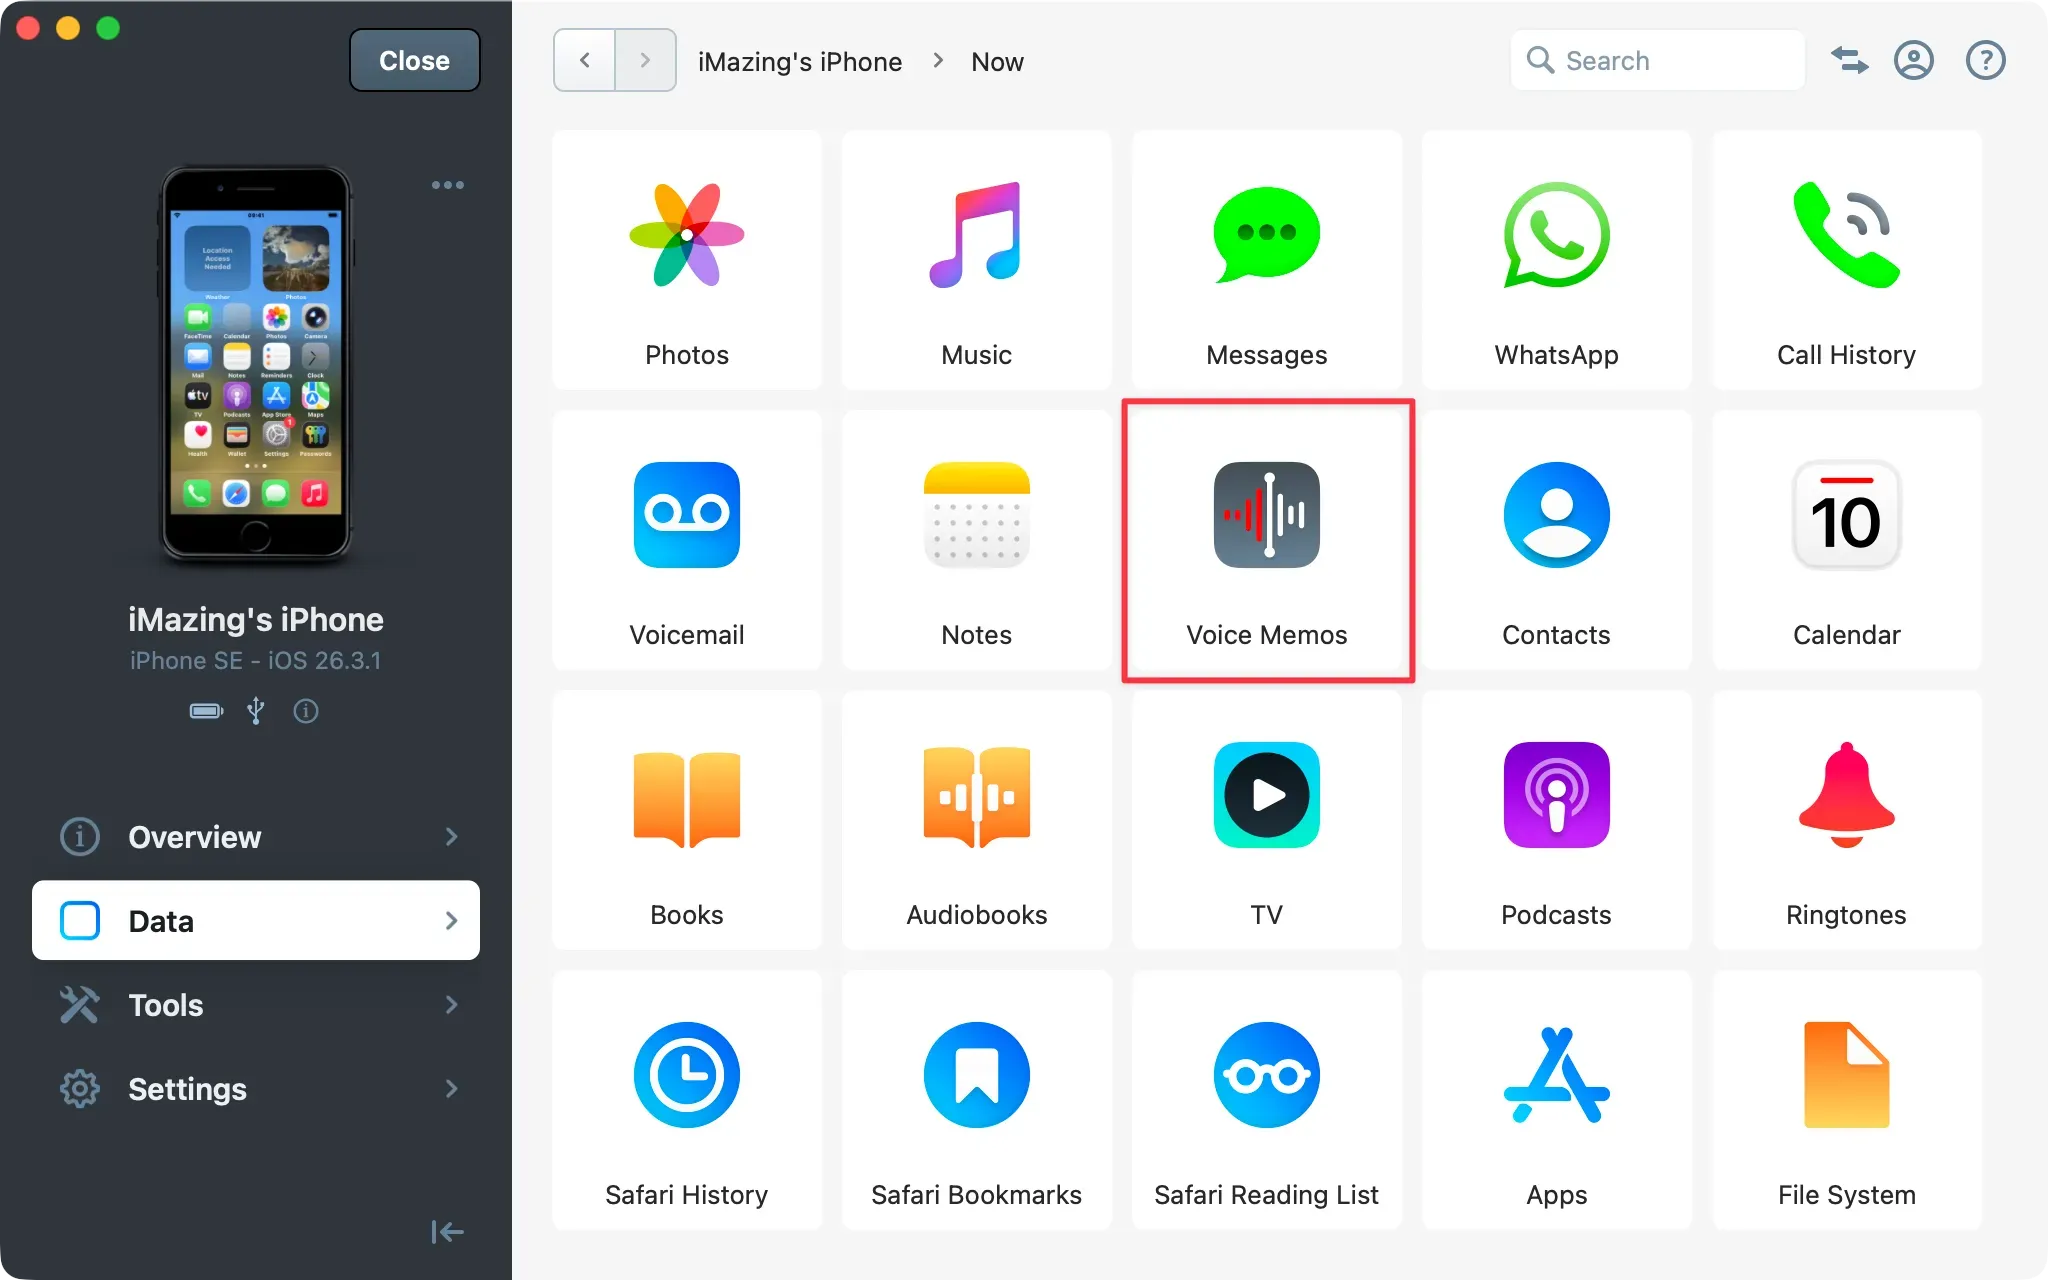
iMazing displays a list of all recordings available on your device.
Tip: Voice Memos is also accessible from the Overview section of the Device Screen. Under Data Shortcuts, click Voice Memos to open it directly.
Important: Since iOS 15, Voice Memos can only be accessed from a backup of your device. The first time you open Voice Memos, iMazing prompts you to choose between a Data Access Only or a Full Backup. This may take several minutes. Learn more about Data Access Only vs. Full Backup in iMazing.
Select recordings
Select the recordings you want to export.
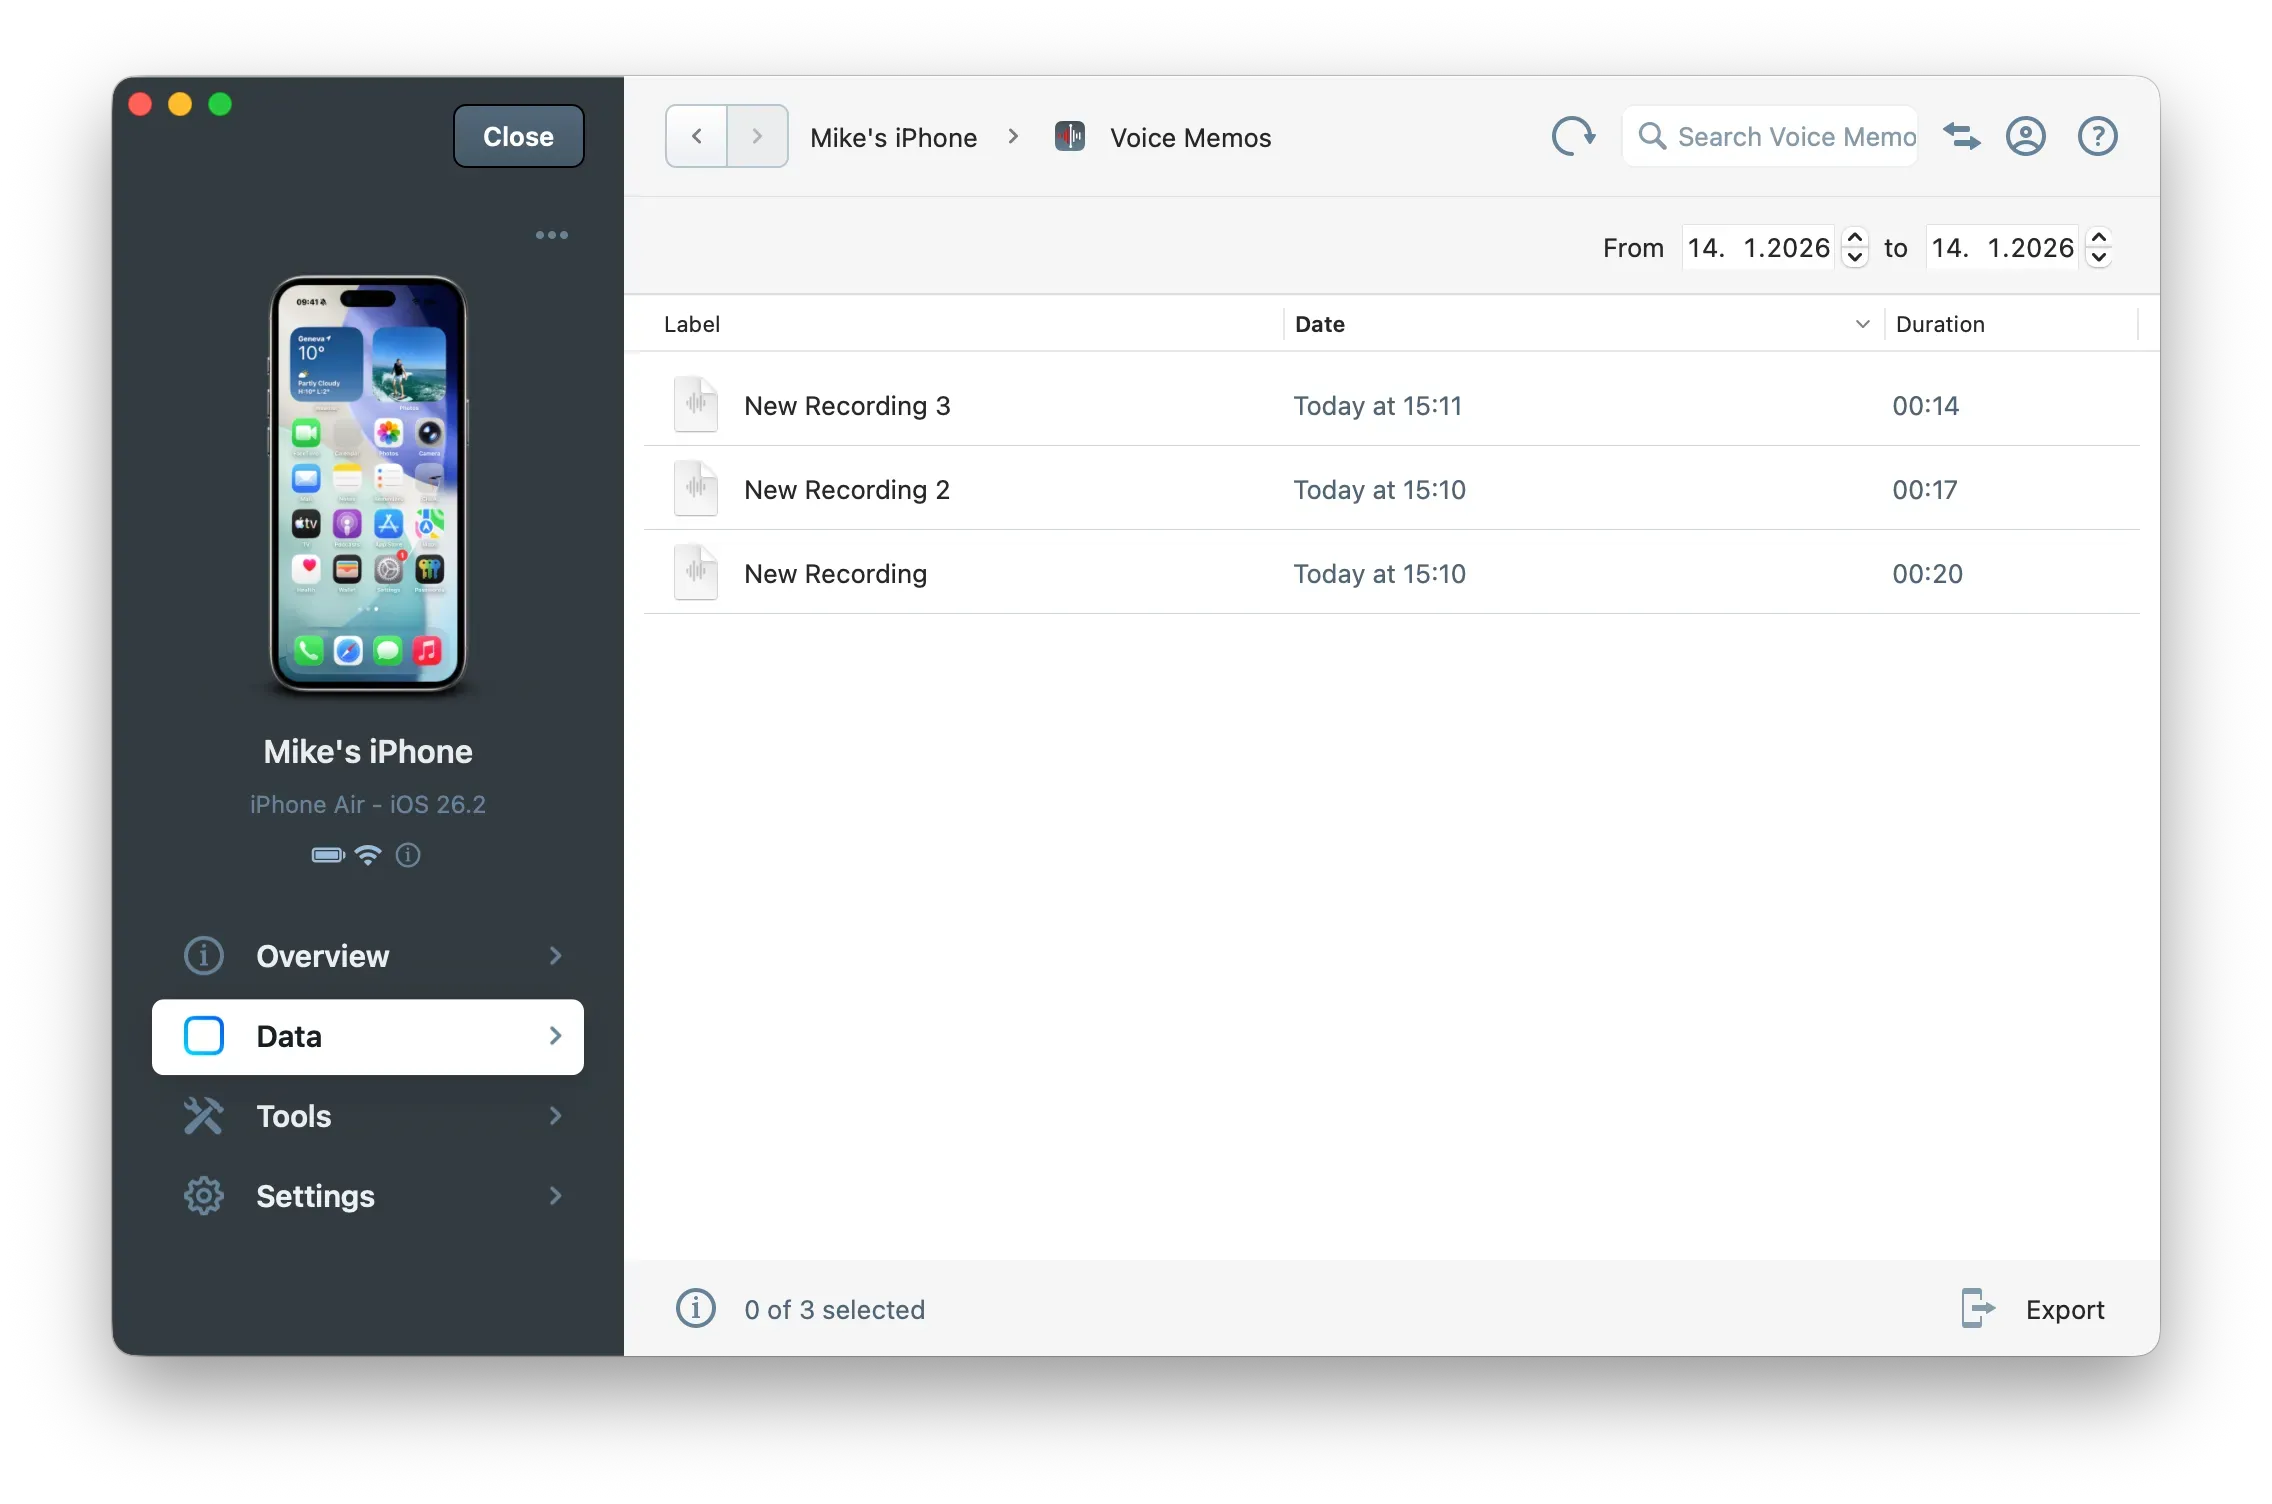
iMazing Voice Memos section open, showing a list of recordings available for export
Tip: Use Cmd (macOS) or Ctrl (Windows) to select multiple recordings individually. Use Shift to select a range.
Export your voice memos
Click Export
In the bottom toolbar, click Export. A save dialog opens.
Choose a destination folder
Select a destination folder, then click Choose. iMazing saves your voice memos to the selected location as audio files.
What to keep in mind
- To transfer voice memos to another device, back up your source device with iMazing, then restore that backup to the target device. Refer to our guides on backing up an iPhone or iPad and restoring from a backup for details.
- You can also sync voice memos between devices via iCloud by enabling the option in the iOS Settings app.