Restore an iPhone, iPad or iPod touch from a local backup
Updated on Jun 10, 2026
Reading time ~4 minutes
A backup is a snapshot of the current state of an iPhone, iPad or iPod Touch.
When you restore a backup, you can:
- Restore a device to the state it was in when that backup was made.
- Transfer data to a new device.
You can restore backups with iCloud, iTunes, or iMazing.
iCloud | iTunes | iMazing |
|---|---|---|
Restore last iCloud backup | Restore iTunes or iMazing backups | Restore iTunes or iMazing backups |
No restore customisation | No restore customisation | Choose what data and which Apps are restored |
Blind restore | Blind restore | Browse backup before restore |
If you do not have an iMazing license, you can restore a backup via iMazing Mini.
Here's how to restore an iPhone, iPad or iPod touch from a local backup:
Before you begin
Launch iMazing on your computer
If you haven’t already, download and install iMazing. For more details please refer to our guide available for PC and for Mac.
Select the Device
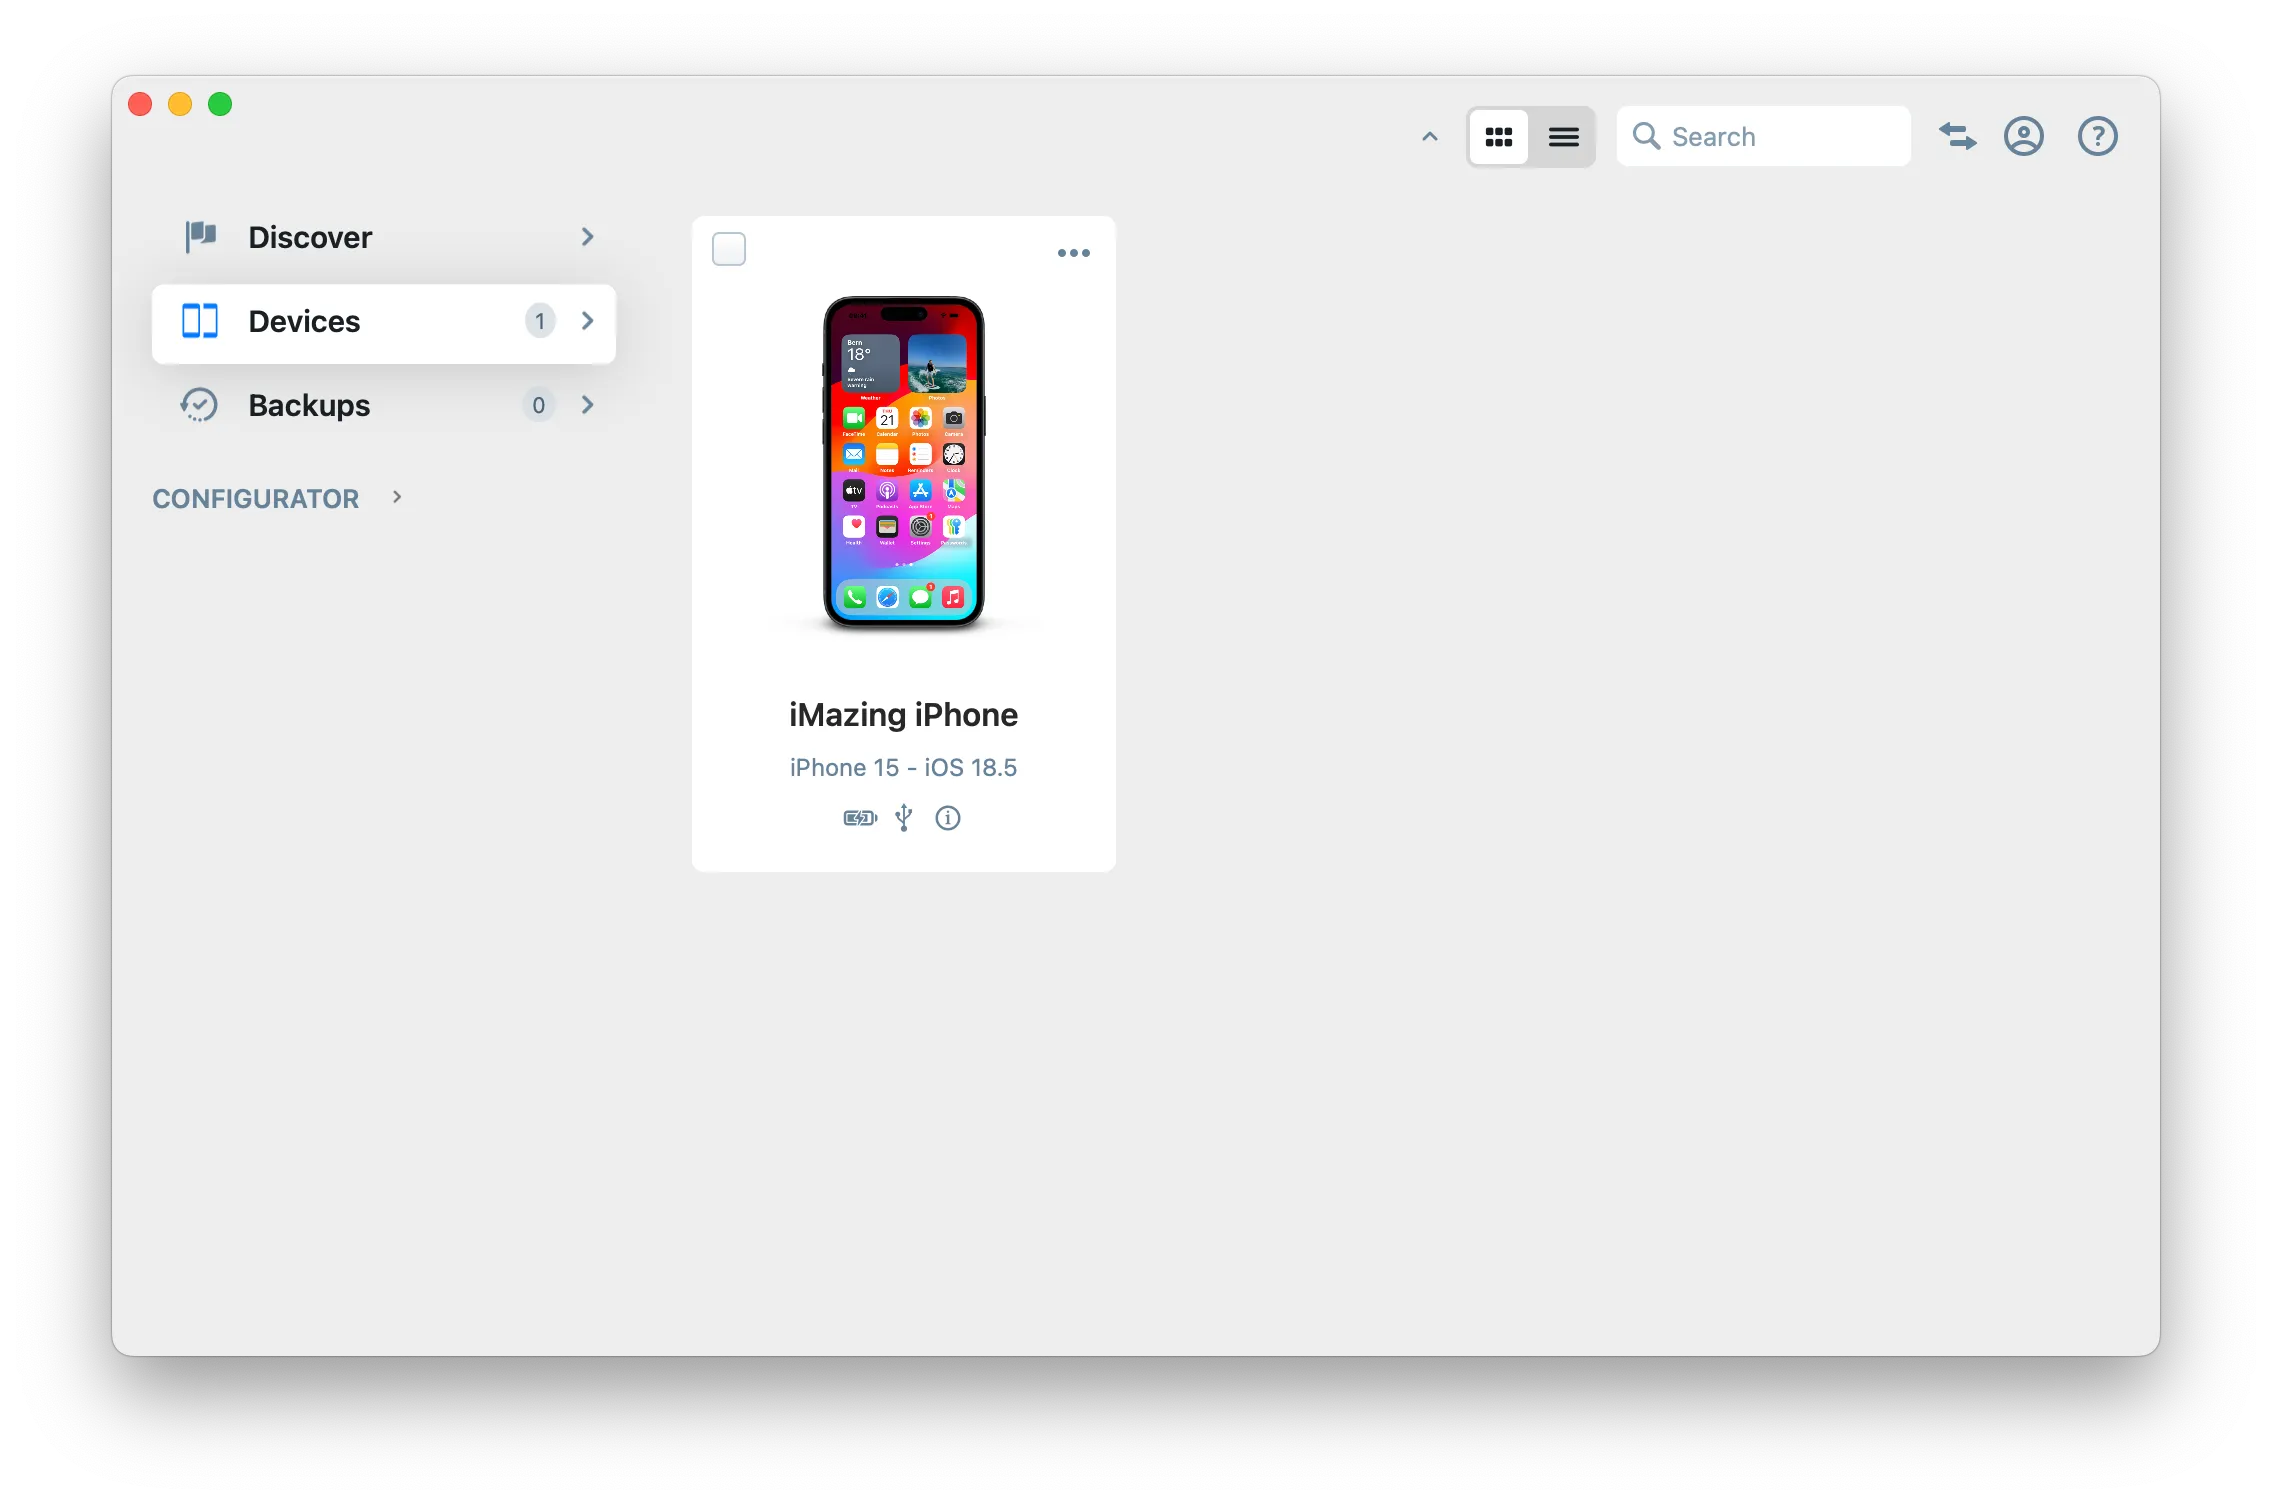
From the devices view you will see all the devices previously connected and paired to your computer. Click to select a device.
Click on Tools
Once you’ve selected a device, iMazing opens its Overview screen. From the left pane, select Tools to access the device’s specific options.

From there click on Restore a Backup.
Select the backup you want to restore
On this next screen, select the backup you want to restore and click Choose.
- Selected device backups - Restore selected device to a previous state.
- Other backups - Restore another device's backup to the current device.
Note: iMazing creates snapshots of your backups automatically, a unique solution that is similar to Apple's macOS Time Machine feature, but for an iOS or iPadOS devices. Learn more about Backup Snapshots in iMazing.

Review Restore Options
iMazing’s restore options let you choose which data and apps to restore. By default, iMazing restores all data and apps from the selected backup. If you want more control, review and adjust the restore options before you start.

- Customize what Data to transfer
- Select what datasets you want to transfer.
- Use the Select All checkbox to select or deselect all datasets.
Note: Unchecking Profiles in the datasets you choose to transfer requires a Business license.

- Customize which Apps to transfer
- Choose what apps you want to transfer.
- Use the Select All checkbox to select or deselect all apps.
- Other options
- Choose to erase the target device before transferring data to it.
- Choose if you want to allow MDM enrollment via ADE/DEP.
Note: This option requires a Business license and is an advanced setting. It is not required for a standard backup restore. To learn more, read our guide on Understanding Supervision, MDM, ADE, and Volume Purchase.
- Choose the name of the target device after the transfer.
Click Next when you are satisfied with your transfer options.
Confirm restore
iMazing will prompt you for confirmation. Click Restore to proceed. If find my iPhone is enabled on the device, you will be prompted to disable it before proceeding.
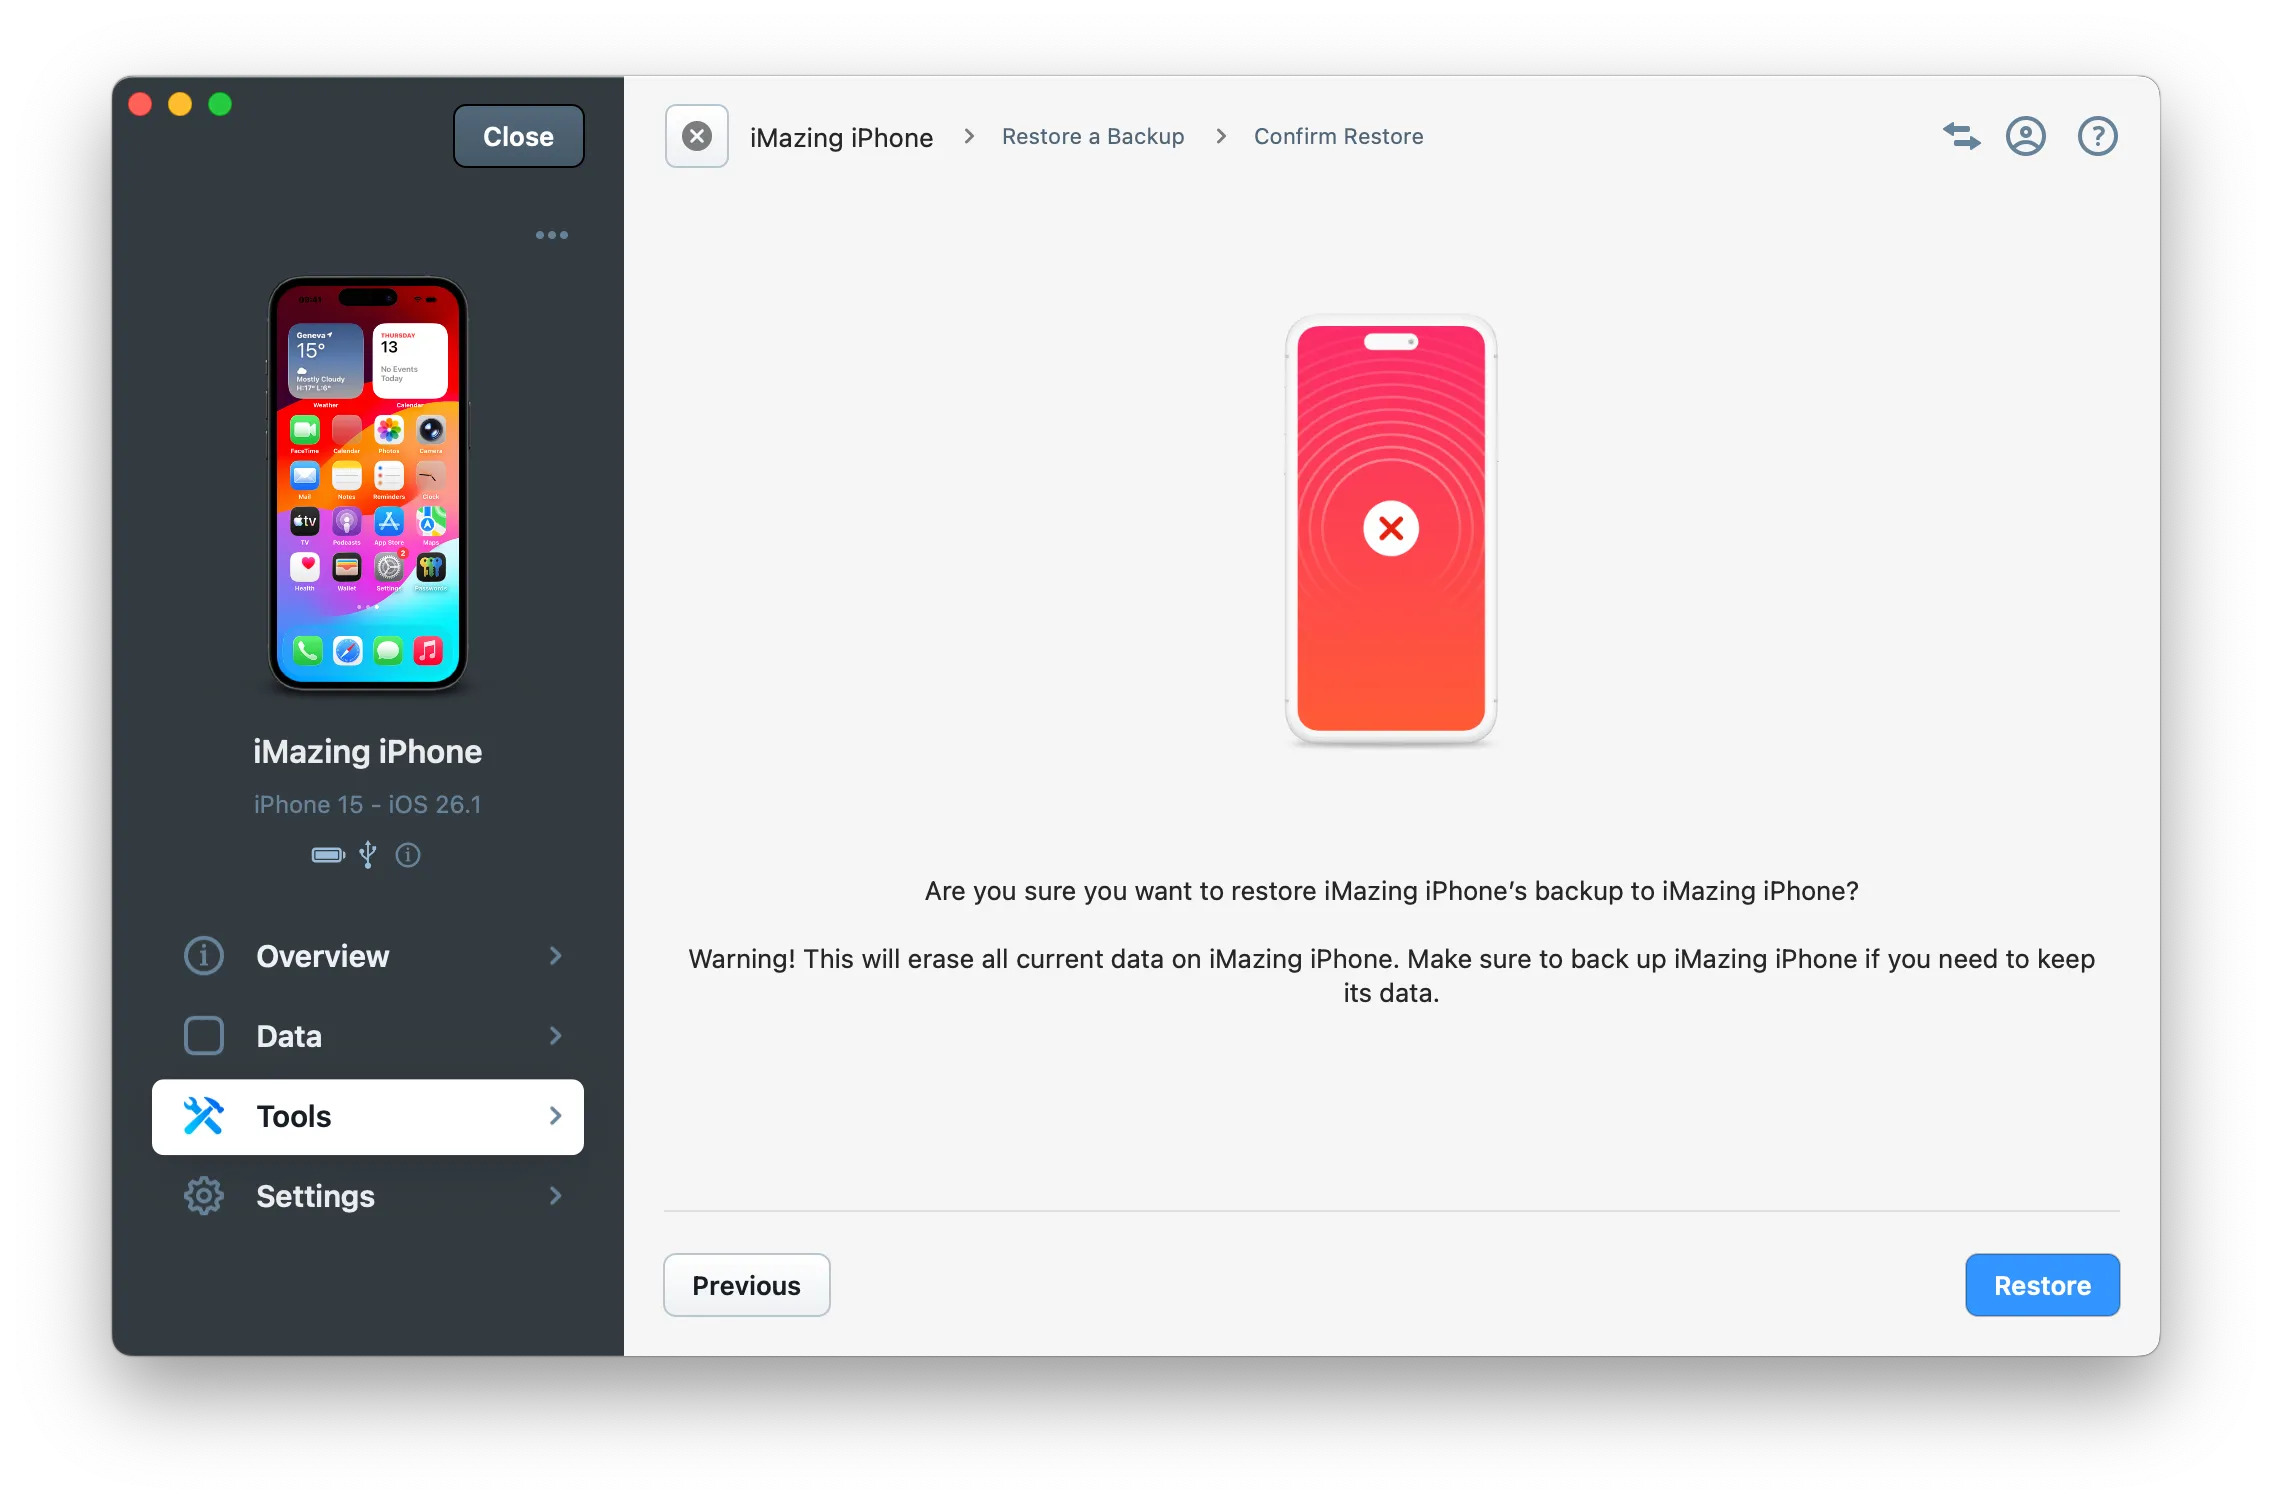
Note: If your backup is encrypted, you will have to enter your backup password to initiate a restore.
Disable Find My iPhone
When Find My iPhone is turned on, Activation Lock prevents iMazing from restoring a backup to the device. You will have to turn off Find My iPhone before proceeding.
Since iOS 17.3, Apple has added an extra security layer called Stolen Device Protection. If it's activated on the device, you will need to disable it first before being able to turn off Find My iPhone.
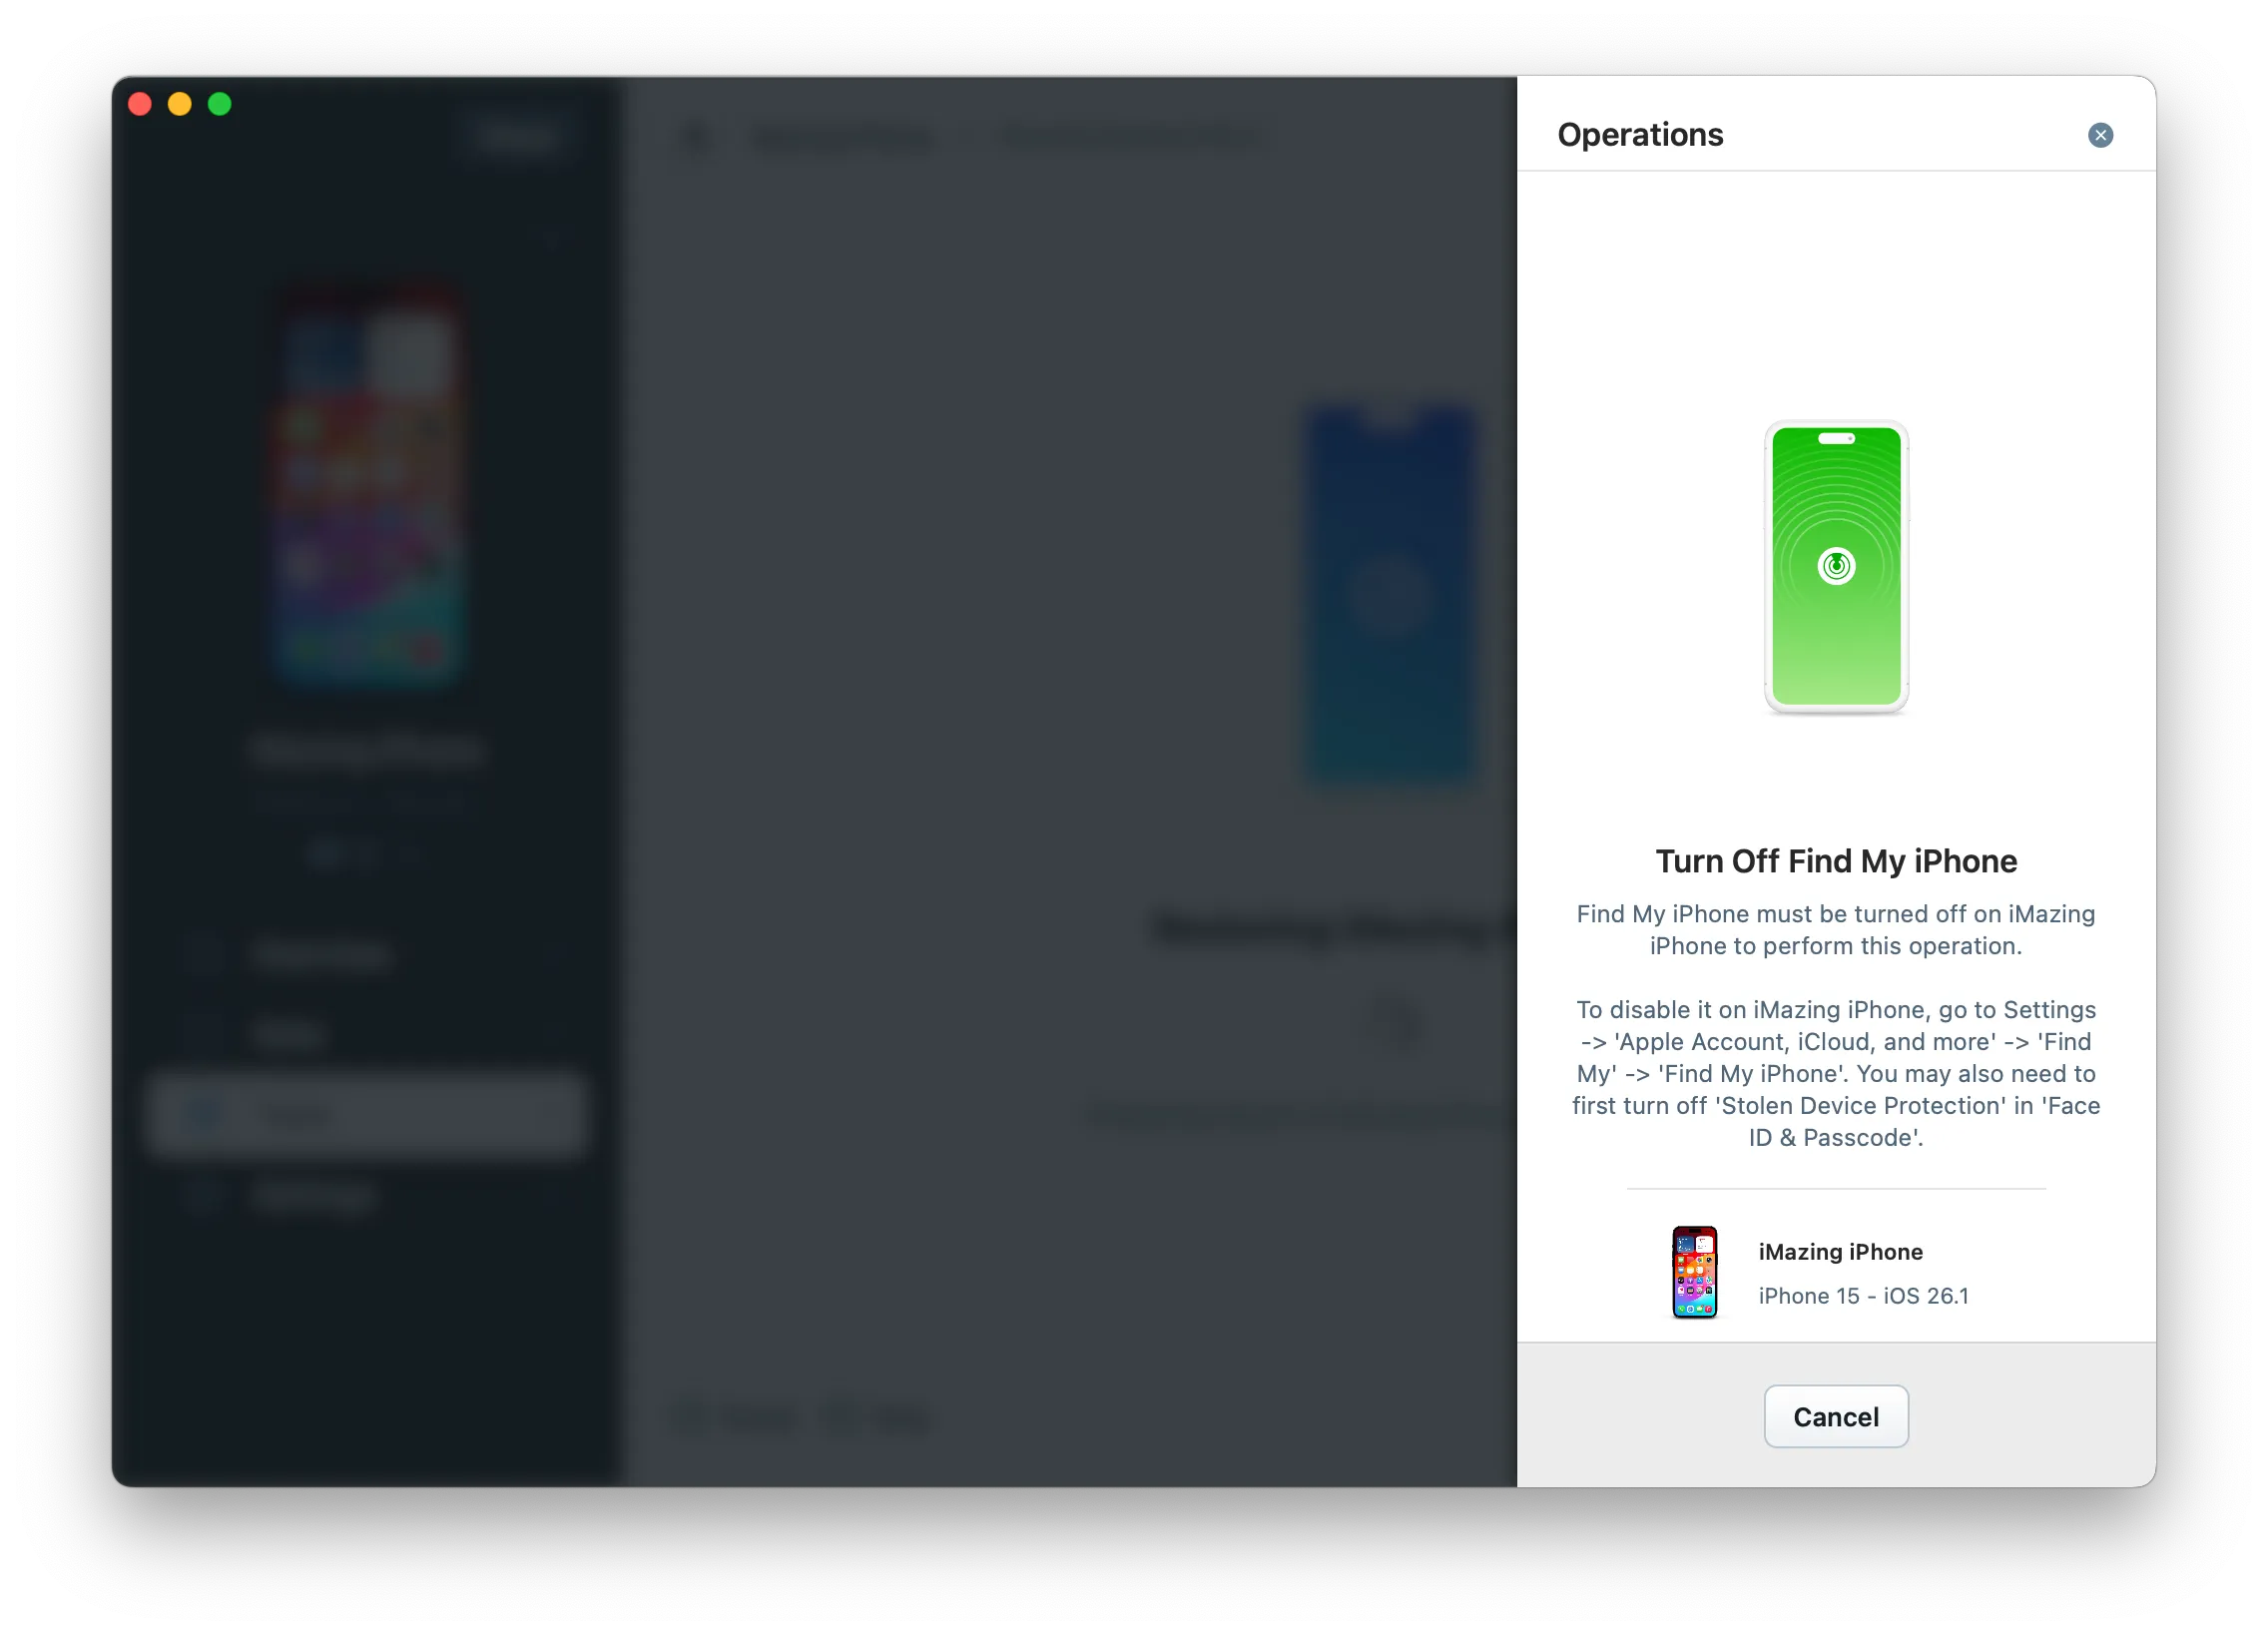
To learn how to disable Stolen Device Protection and Activation Lock, see How to turn off "Find my iPhone" on your iPhone, iPad, or Mac.
What to keep in mind
- Restoring a backup might take some time to complete. To check the operation's status, click on the Operations button in the upper toolbar. Learn more about fixing slow backups.
- Restoring a backup will not change the target device's passcode.
- Backups do not include your iTunes Media Library (Music, Books, iTunes U, Podcasts, Ringtones and Movies synced or purchased on iTunes), so that data will not be restored and should be synced separately if needed. This data is usually already synced via iTunes, Apple Music or iCloud Music Library. Learn more about what is included in an iOS backup.