Working with Managed Client (MCX) configuration profile payloads
Updated on May 5, 2026
Reading time ~4 minutes
iMazing Profile Editor allows users to set certain configuration payloads as Managed Client payloads (also known as Managed Preferences or MCX payloads). These differ from general payloads in how they are hosted in a profile – under a special Managed Preferences payload instead of being directly placed among the rest of a profile payloads.
Controls for this functionality are available on supporting payload types in the app without requiring manual XML editing.
Note: Managed Client payloads are supported on macOS endpoints only. Profiles of course can be built on macOS or Windows using iMazing Profile Editor, but the managed preferences take effect only on macOS devices.
Forced vs. Set-Once
Managed Client payloads give admins the choice between two management modes: Forced and Set-Once.
Preferences installed with Managed Client: Forced payloads are treated identically to those installed via general payloads – their settings apply always and cannot be changed by users.
It may seem as though forced payloads are therefore unnecessary; while this holds true for macOS in isolation, profiles normally pass through an MDM server first, and for certain vendors, a Managed Client: Forced payload is preferable to a general one (see below).
Preferences installed with Managed Client: Set-Once payloads offer a distinct advantage to admins. They allow configuring initial preferences different from the default while still giving users the flexibility to modify them later.
They are essentially similar to running a defaults command in a script to apply non-managed settings.
Use Set-Once for onboarding defaults, app first-run preferences, and non-critical settings where user choice after initial setup is preferable.
Managed Client and support for unknown payloads in MDM
Although macOS is perfectly capable of handling payloads of all types (or domains) when they are included as general profile payloads, some MDM vendors limit custom profile deployment to documented first-party payload types only. This includes Jamf Pro which actively strips unknown payloads from unsigned profiles, and Apple Business which simply rejects any profile with unknown payload types even if signed.
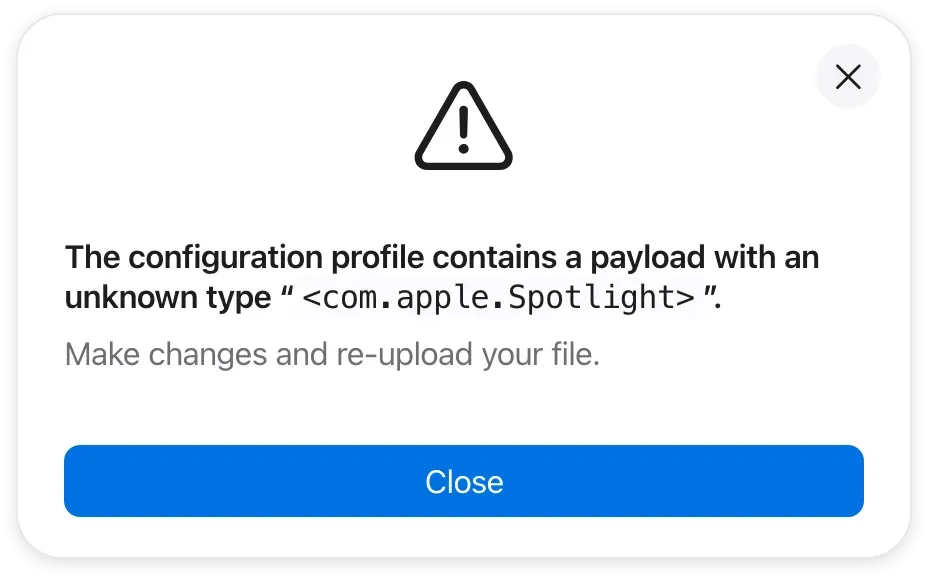
Apple Business error message for a profile containing the non-documented (though first-party) Spotlight payload
The workaround in this case is to set the unknown payload as Managed Client: Forced. This will host the payload inside of the well-defined Managed Preferences payload and will allow it to go through the MDM unencumbered.
When to use Managed Client payloads
The following table summarizes the recommended use cases for each Managed Client mode:
Managed Client mode | When to use |
|---|---|
Forced | When using Jamf Pro or Apple Business to push preferences which must not be changed by users. |
Set-Once | When users should have the flexibility to personalize the set preferences. |
How to create a Managed Client (MCX) payload
Creating a managed client payload in iMazing Profile Editor is done by converting a general payload to the desired managed client option.
Note: Most macOS payload types support being set to Managed Client. The exception is a number of system domains like PPPC.
Open or add a general payload
Open or create a profile in iMazing Profile Editor. If you are new to the app, see Getting started with iMazing Profile Editor.
Add the payload corresponding to the settings to manage (Google Chrome, Slack, Claude, or any other payload).
Configure the payload properties as needed.
Note: The Managed Client options are configured per payload section, not per profile.
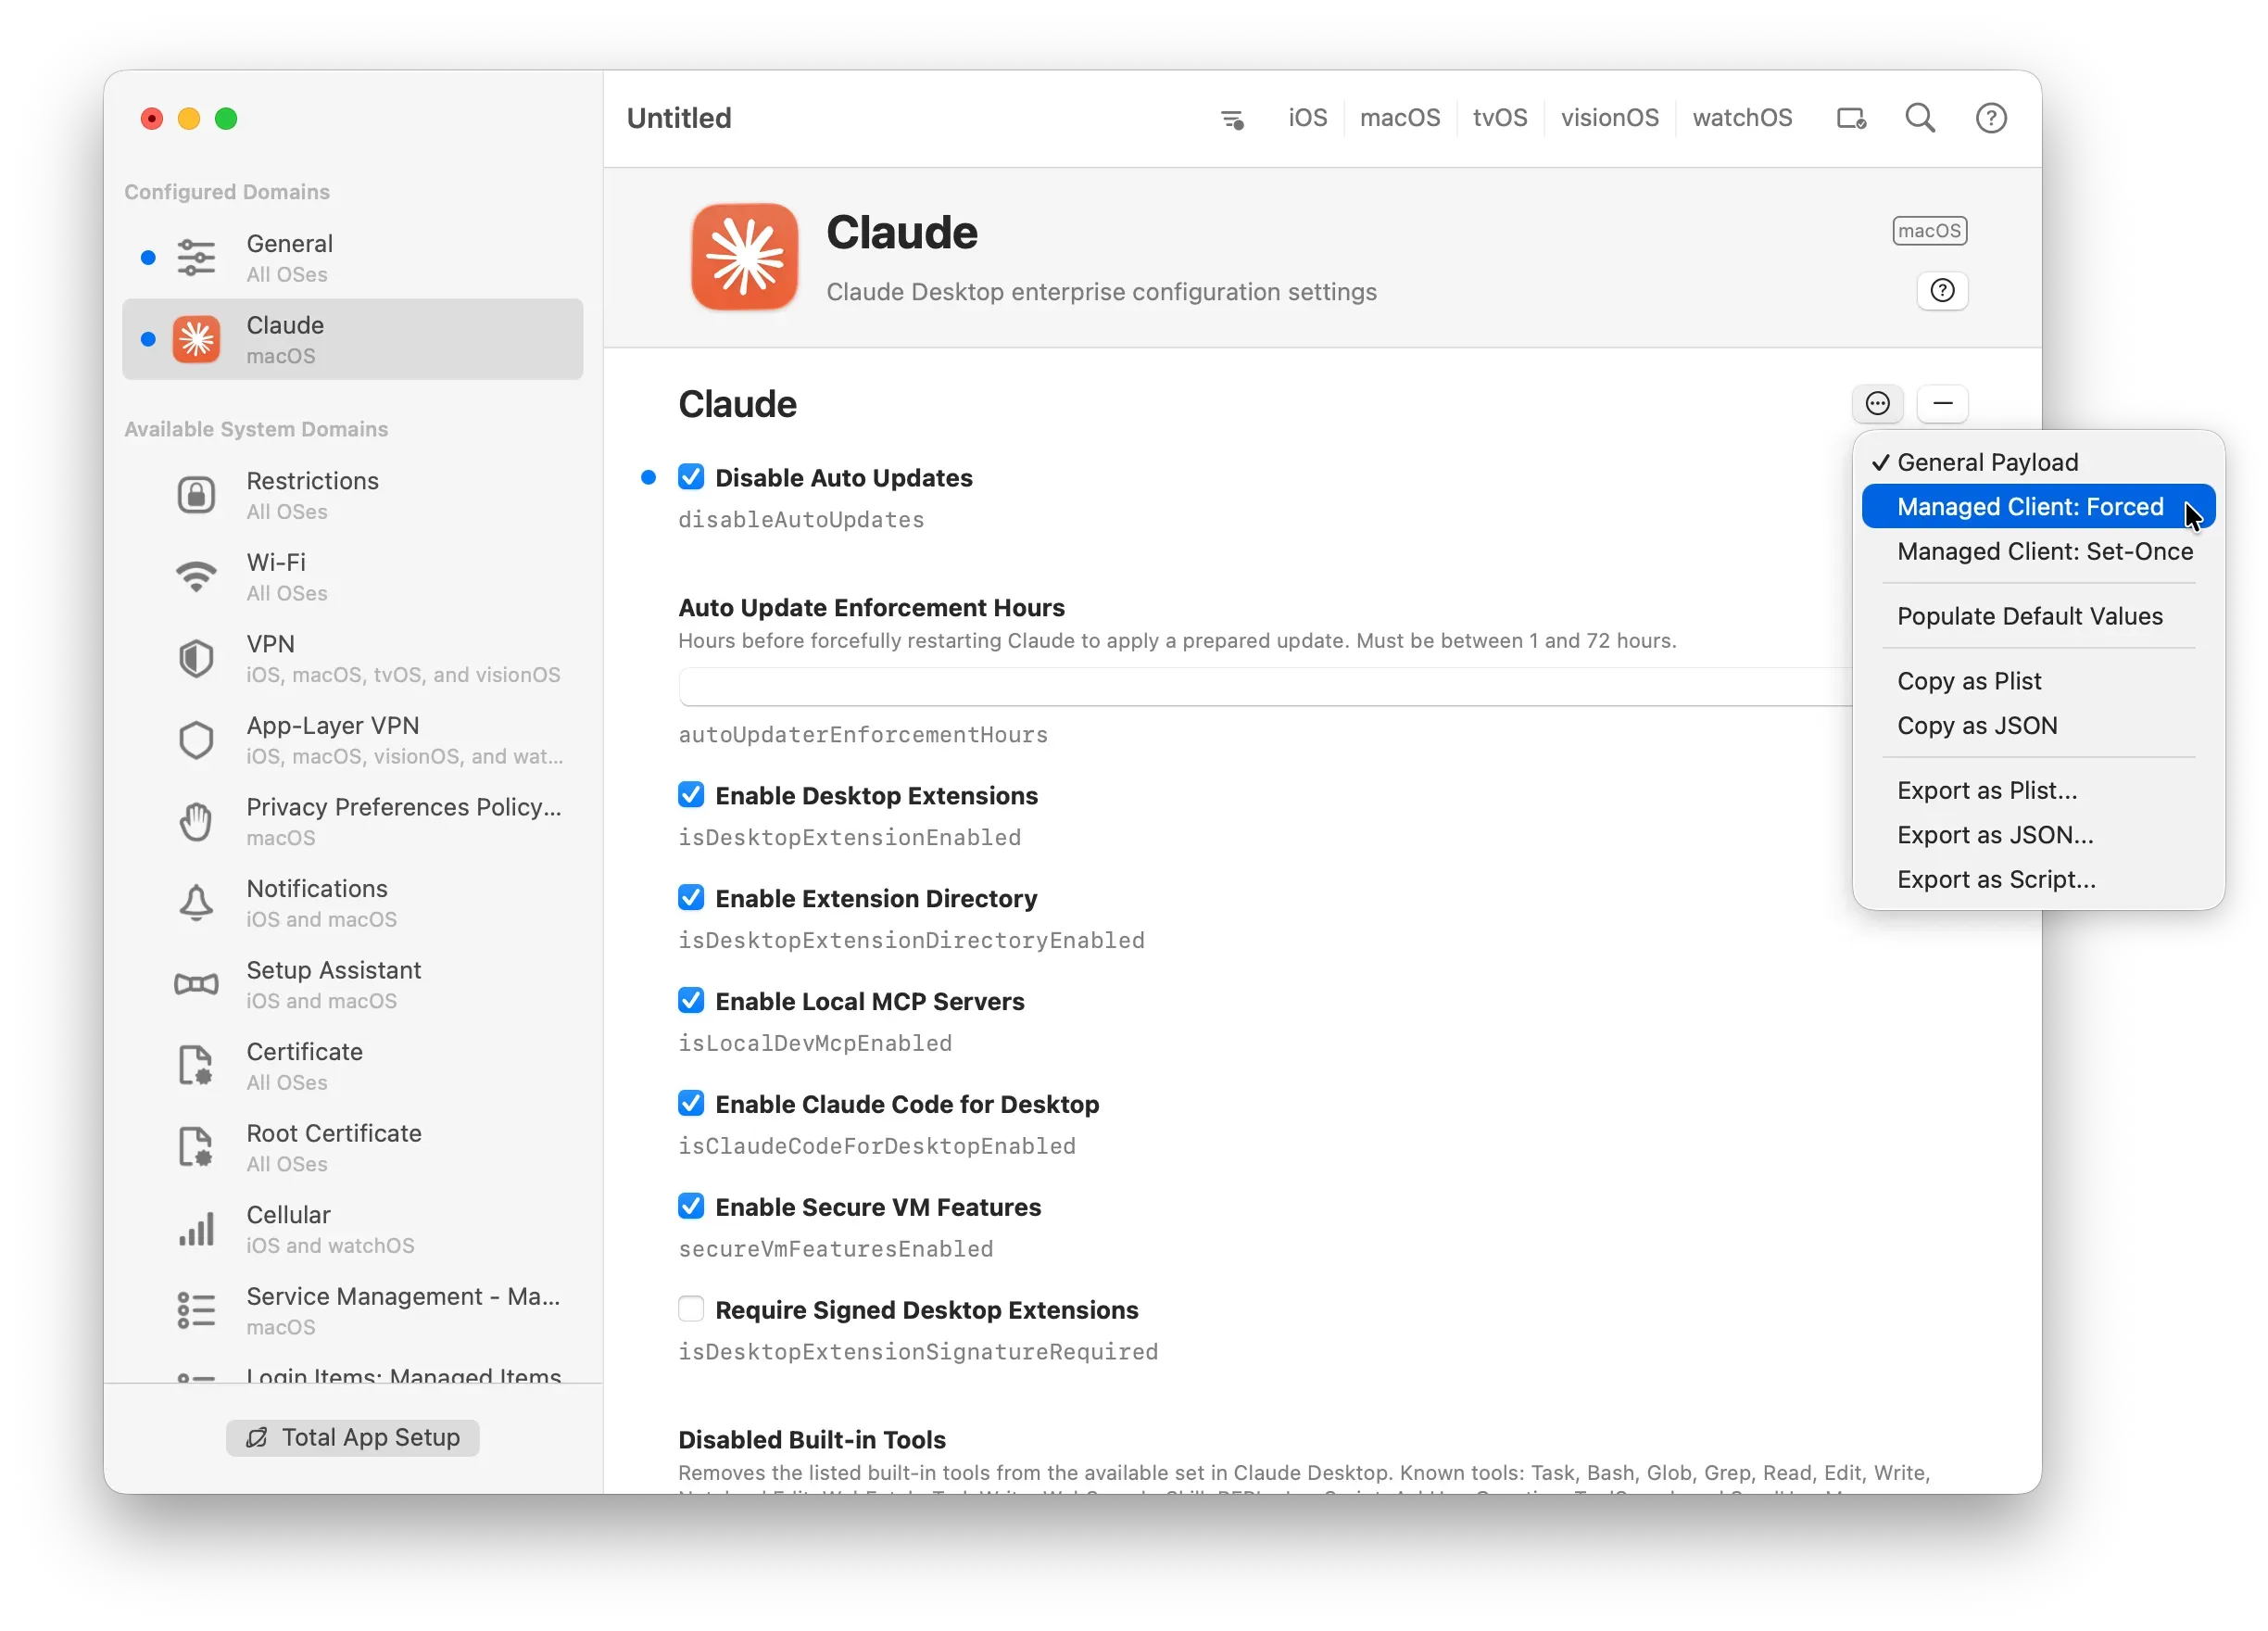
Then, complete the following steps:
- Locate the
button on the payload section header.
- Click
- Select Managed Client: Forced or Managed Client: Set-Once depending on your needs.
A badge labeled accordingly appears on the payload header, confirming the option is active.
You can also switch a payload between Managed Client options, or back to general. The badge updates immediately.
Note: If the Managed Client options are grayed out this means that the selected payload cannot be set as a Managed Client payload.
Converting plist MCX to profile
If you already have a custom settings MCX plist and wish to use it in a configuration profile, you can easily do so with iMazing Profile Editor.
Import the plist to a profile
- Create a new profile or open an existing profile you wish to add the plist to.
- In the Payload menu, select Import from Plist or JSON… (on Windows, select Import from Plist...).
- Using the presented file picker, select the MCX plist.
After successfully importing the plist, you can choose to convert the new payload to Managed Client using the steps described in section 2.1, or leave it as a general payload.
Next steps
Deploy the profile via MDM to push it to managed devices. Refer to your MDM vendor's documentation for profile deployment steps.
To verify Set-Once enforcement on a test Mac: install the profile, log in, check the managed preferences, then modify a value manually and confirm the change persists. Set-Once does not re-enforce after the initial application.