Getting started with iMazing Profile Editor
Updated on Mar 25, 2026
Reading time ~7 minutes
If you're new to iMazing Profile Editor, then you are on the right page! We've gathered below the most important information to get you up and running quickly with it.
Download and install iMazing Profile Editor
iMazing Profile Editor is an application for both macOS and Windows, available free of charge on our website, on the Mac App Store, and on the Microsoft Store:
Download and install iMazing Profile Editor
How does iMazing Profile Editor work?
Configuration profiles are property list files that allow system administrators to deploy various presets, preferences, restrictions, and more onto Apple iOS, macOS, tvOS, visionOS, and watchOS devices.
iMazing Profile Editor lets users create, modify, and also digitally sign configuration profiles with a friendly user interface instead of manually coding them in XML.
The app contains definitions for an extensive set of Apple's configuration options, as well as for a large number of popular third party applications. These are displayed as configuration pages where users can enter their desired settings.
Configuration options are grouped under domains (e.g. Wi-Fi, Mail, Calendar) and each group is written to a profile as a configuration payload. Profiles can contain multiple payloads of differing domains, and where supported, of the same domain.
Adding Configuration Payloads
The sidebar lists all available sections, grouped under System, Application, and User Domain (when set). Select a section and click Add Configuration Payload to add it to the current profile. You can also press ⇧⌘A on the keyboard, or double-click the section in the sidebar.
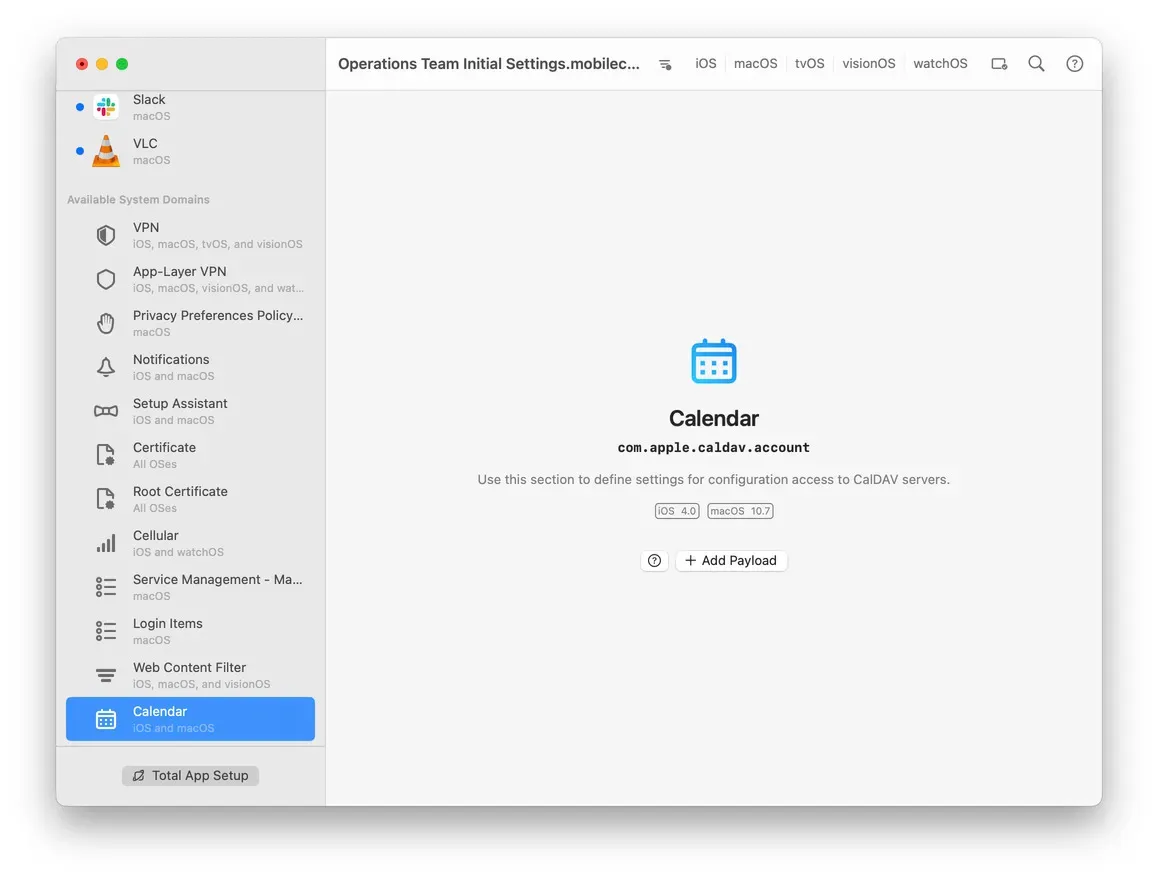
A number of domains support multiple payloads, for example the Calendar domain. You can tell these domains apart by observing the + button that would appear to the right of the domain title at the top of the configuration page once the first domain payload has been added.
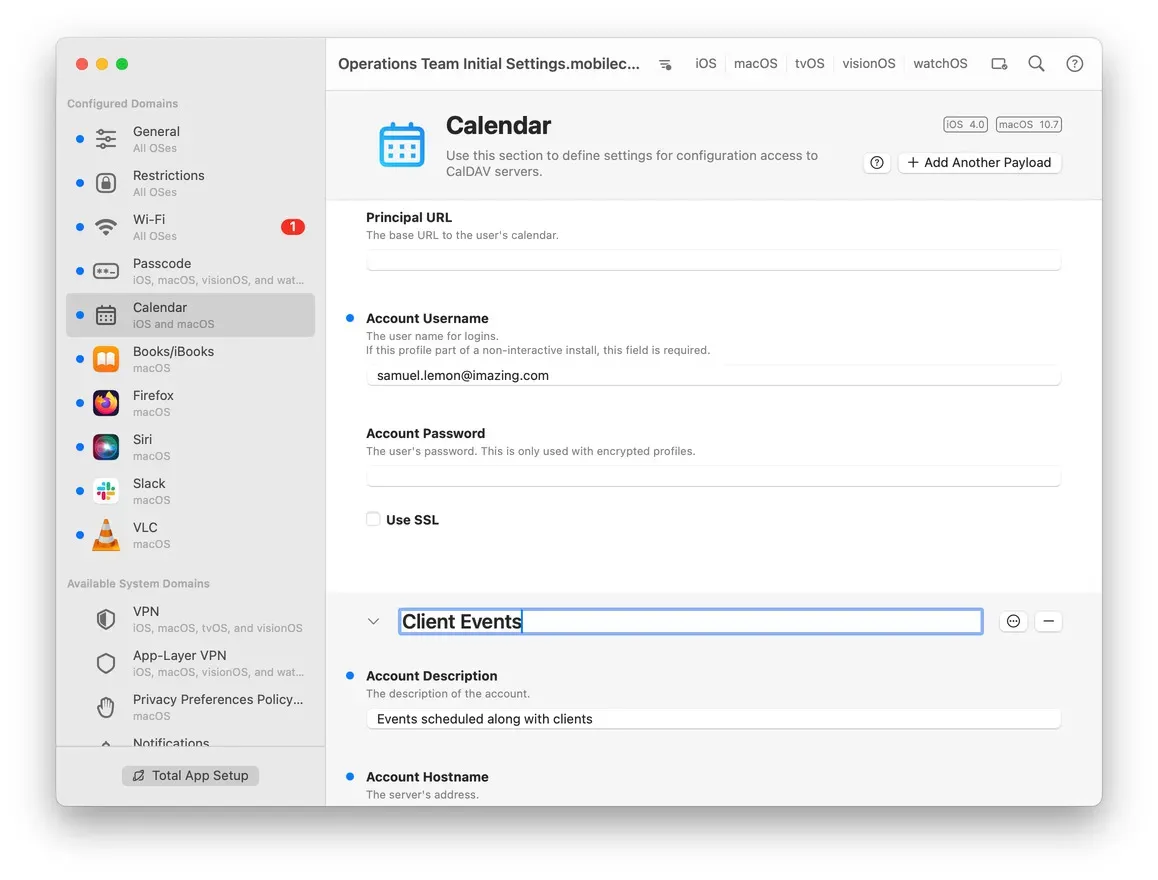
Note that for multiple-payload domains, individual payloads can be collapsed and renamed for clarity.
Removing Configuration Payloads
To remove a payload from the profile, click the - (minus, or dash) button or press ⇧⌘R on the keyboard. You may have to scroll back to the top of the payload to see the button.
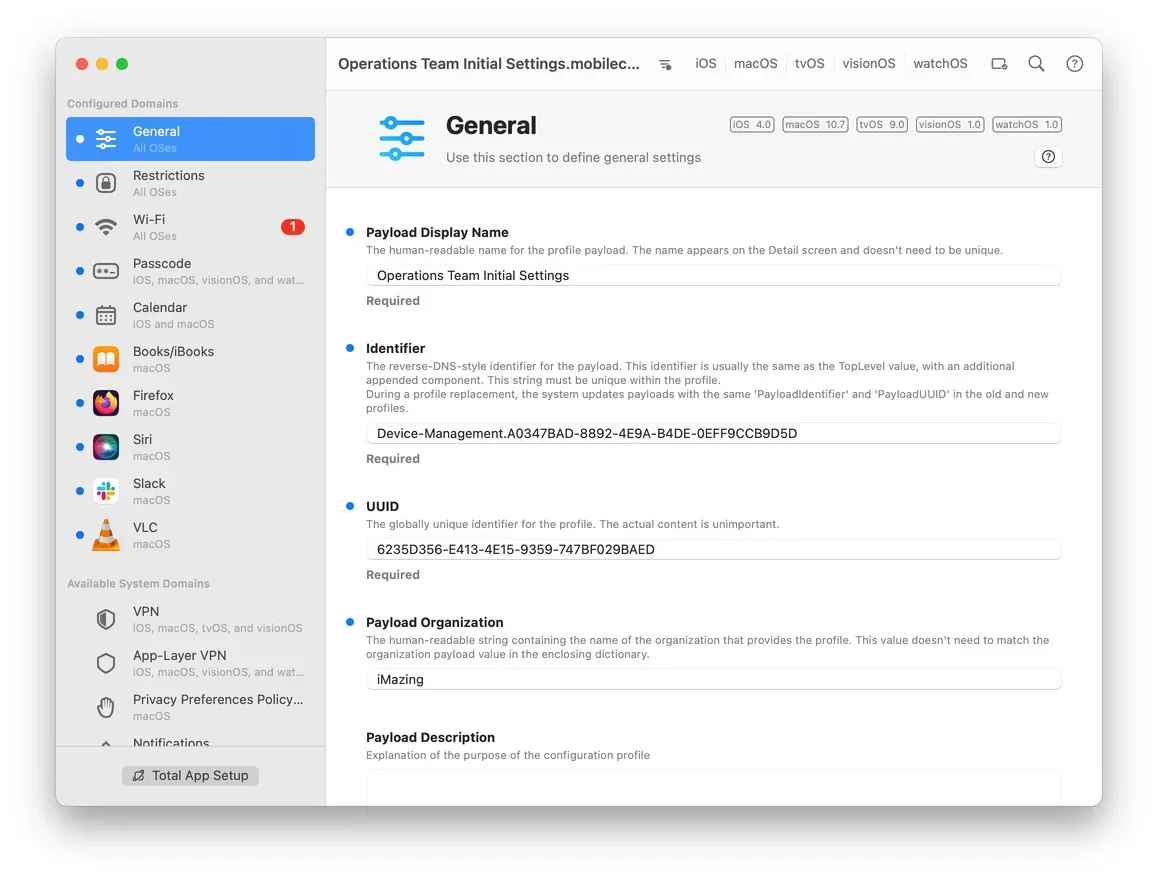
Entering Data
When you add a payload to a profile, the preference properties that can be set for the payload's domain are displayed as fields for you to set values on. Some fields may be conditionally disabled or even hidden, depending on data already entered in other fields, to avoid conflicts or clutter.
Most properties on a newly added payload will not have a value set on them. By interacting with a property field (entering text, making a selection, toggling a checkbox) you are setting a value on that property. Having a value set for a certain property is indicated by a small accent-colored circle adjacent to the property title.
Clicking on the indicator, or right-clicking in a property area, brings up a context menu that allows, where supported, unsetting the property value completely, forcing a default value, or forcing an empty value.
Checkboxes behavior
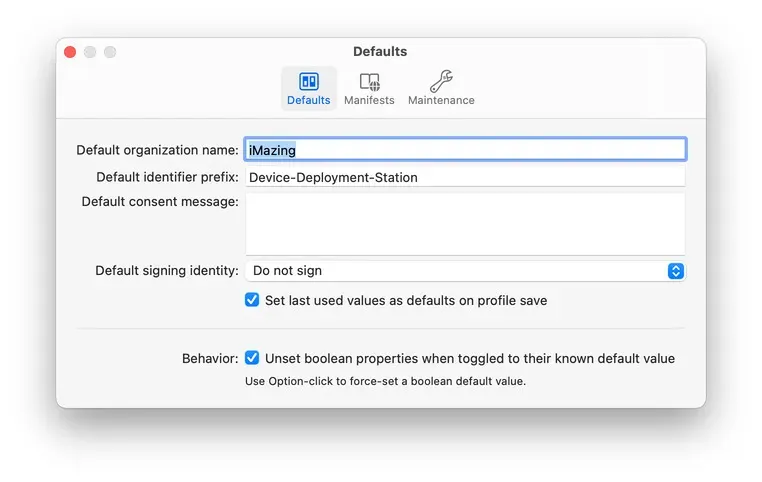
Like most other properties, booleans start with no value set (even though their checkboxes usually display their default value) and only get a value set once interacted with. However, by default, toggling a boolean property's checkbox back to the default value will unset the value from the property altogether.
This behavior can be changed in the Preferences window under the Defaults section.
Tip: You can force a default value on a checkbox using the checkbox's context menu or by clicking it while the Option (⌥) or Alt key is held down.
Display Filters and Search
Deep Search
The search field filters available sections, and highlights matching preference properties. Sections are matched by title, description, and domain, and properties by title, name, and description.
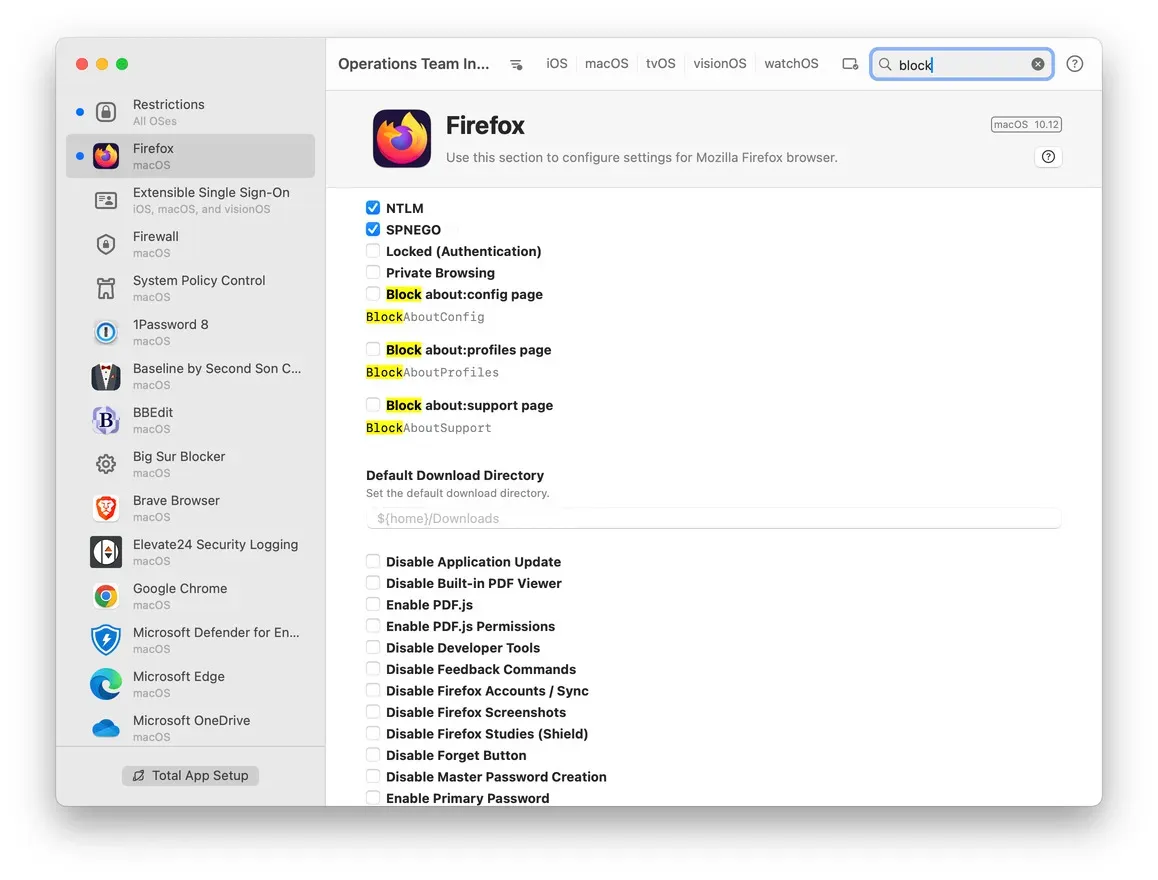
You can search for properties by name even when the property names are not set to be displayed. In that case, conditionally hidden preference properties which match your search will temporarily appear.
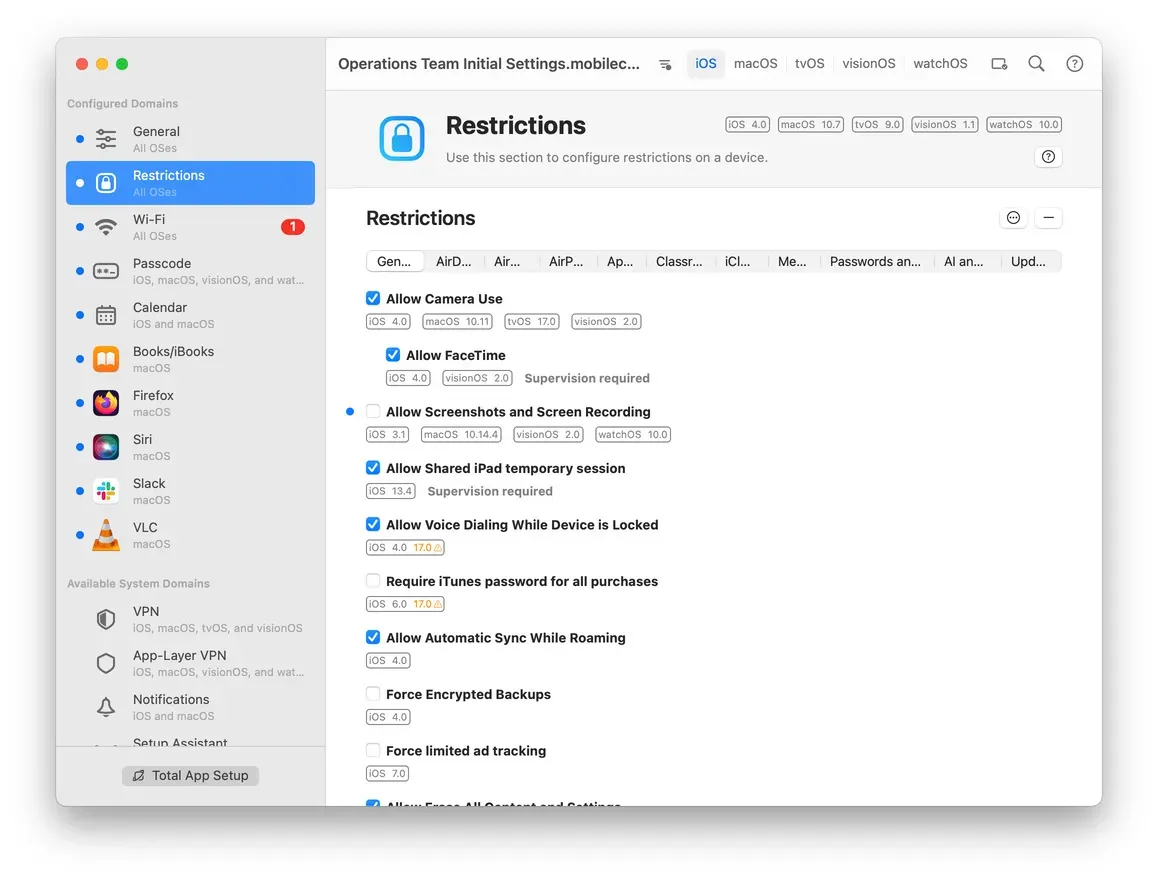
Supported platforms filter
The five platform buttons on the toolbar let you filter sections and properties by compatible OS.
You can select multiple platforms, in which case only sections supporting all selected platforms are shown.
View configured sections and properties only
Use the filter button on the toolbar to display only sections and properties that are already configured, and that are therefore going to get written to the profile. You can also press ⌥⌘0 on the keyboard.
View Property Names
You can choose to show or hide the key names of all properties by selecting Property Names in the View menu, or by pressing ⌥⌘N on the keyboard.
Saving Profiles
Standard format
The app generates standard Apple configuration profile .mobileconfig files, which are ready for loading locally or for pushing to users via MDM solutions. They are also compatible with any first- or third-party software that also conforms to the standard.
If you have iMazing installed, you could also save profiles to the iMazing Library and manage profiles on fleets of devices when you use iMazing Configurator. Simply select the Save to iMazing Library menu option to save profiles there directly.
Set and unset properties
In general, only preference properties that have a value set on them as indicated by the accent-colored indicator circle next to the property title, will get written to the profile file on save. This is especially true for fields which can be perceived to have a value when they do not, like selection boxes whose No Value item is selected or boolean fields.
Invalid fields
It is possible to save profiles even if some preference keys contain invalid values. For example, if a value is missing on a required preference key, a red error mark will be displayed, but the profile can still be saved.
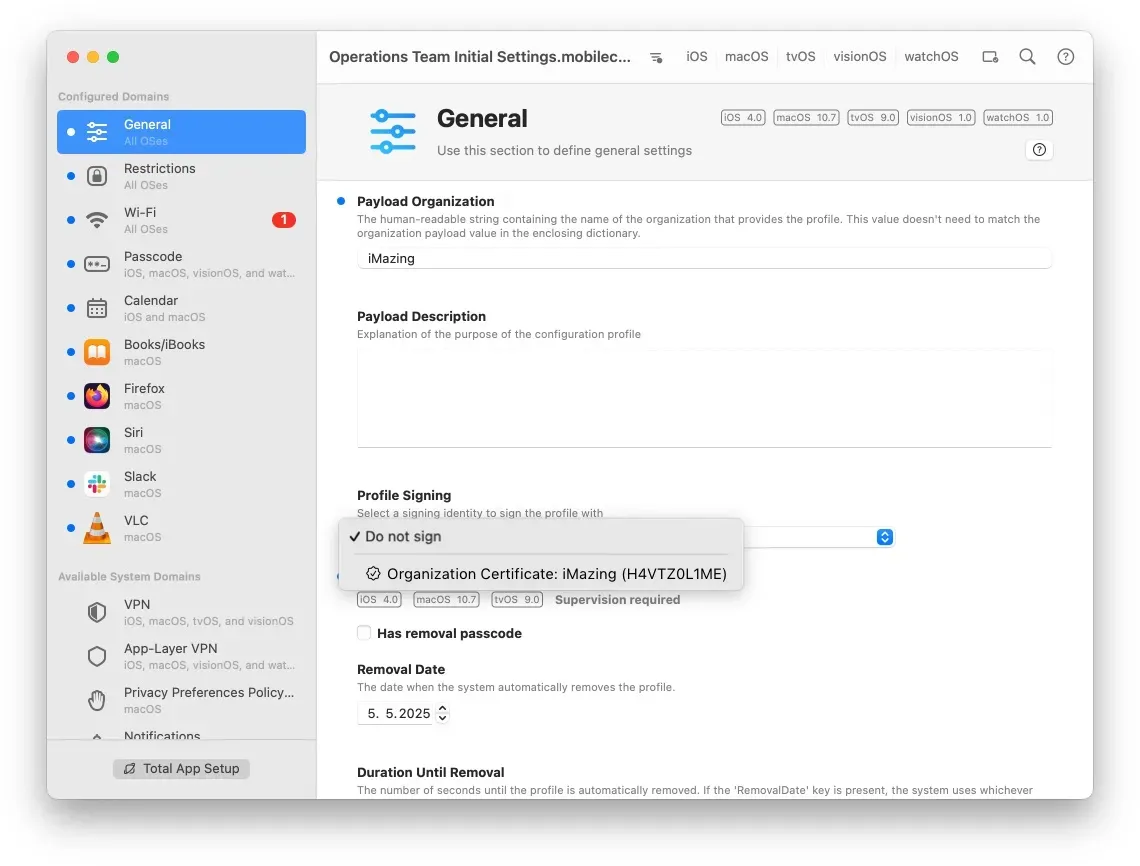
Signing Profiles
The option to cryptographically sign a profile with a certificate is available from within the app. To set a signing identity which will be used to sign the profile on save, simply select one from the Profile Signing field that can be found in the General section of the profile.
On macOS, the field is populated with identities stored in Keychain. On Windows, with ones stored in Certificate Manager (Current User/Personal).
Opened profiles already saved with a signature will be saved again using the same signing identity provided that it exists on the computer.
For more information, head over to our Sign Apple Configuration Profiles guide.
Exporting Payloads to Plist
Certain third-party MDM solutions accept settings in domain-specific .plist files instead of configuration profiles. iMazing Profile Editor provides the ability to export preferences that you define in any payload into such files. To do so, select the section you wish to export and choose Export as Plist from the Payload menu.
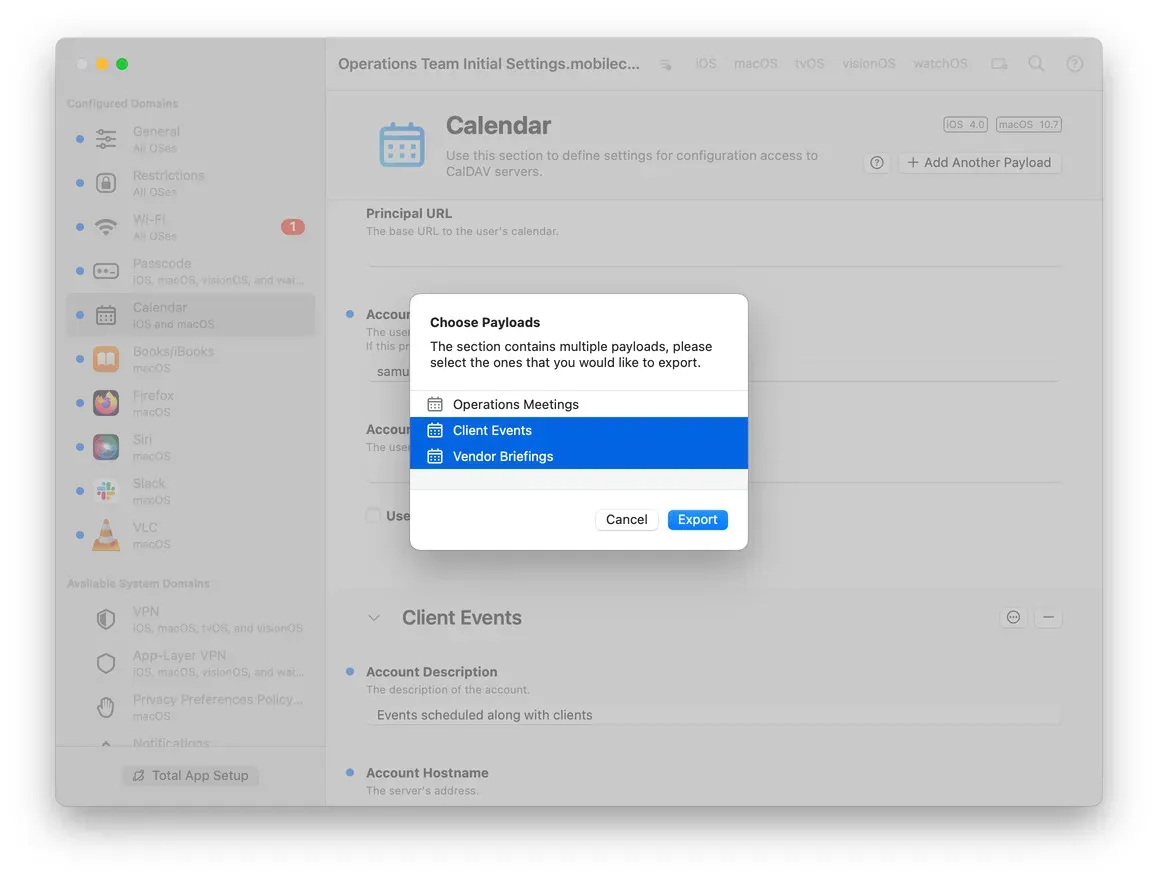
On sections with more than one configured payload, a sheet will show and allow you to choose the exact payloads to be exported.
User Provided Manifests
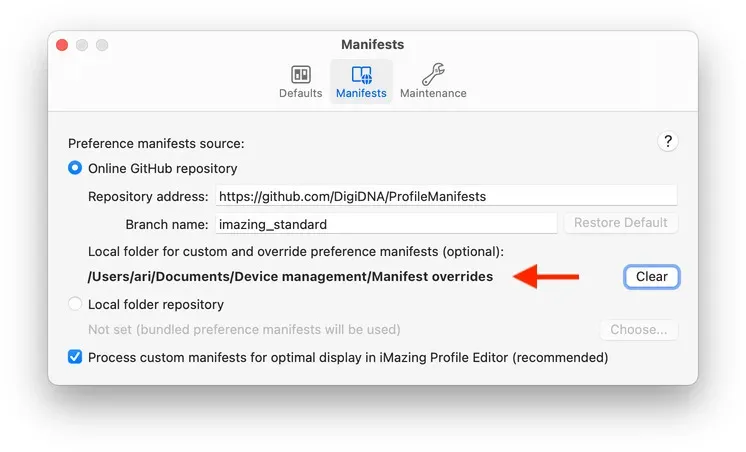
iMazing Profile Editor supports using custom manifest files provided by the user in PFM format. Users can add and override individual manifests in the app, or use a completely custom manifest repository, both online and locally.
To quickly add an individual manifest PFM, place it in an empty folder of your choice and choose that folder as a Local folder for custom and override preference manifests in the Manifests tab of the Preferences window of the app.
To see your custom manifest in the sections list, reload the open profiles when prompted.
For more advanced custom manifest workflows, visit our Working with Custom Manifests guide.
Troubleshooting
If you're experiencing issues with configuring a specific profile, or if a successfully configured profile doesn't have the desired effect, the following checklist may help:
- Is the setting available for a different platform than the one you are targeting?
- Is the setting only available on supervised devices?
- Is the setting only available when deployed via MDM (rare)?
If none of the above help, don't hesitate to contact us.
Congratulations, you've successfully gone through our Getting Started guide!
For more information about creating configuration profiles, head over to our Create or edit Configuration Profiles for iOS, macOS, tvOS, visionOS, or watchOS guide.