Convert photos from HEIC to JPG
Updated on Mar 9, 2026
Reading time ~2 minutes
When Apple released iOS 11 in late 2017, it introduced new file formats for taking photos (HEIF/HEIC) and capturing videos (HEVC).
These formats offer superior quality at much smaller file sizes than their predecessors, JPEG for photos and AVC/MP4 for videos.
Many older computers, apps, and devices do not support the new formats, however.
Windows Users are especially disadvantaged, as they must download the free HEIF Image Extension from Microsoft but also purchase the HEVC Video Extension.
iMazing Converter is our free solution for converting HEIC photos to JPEG or PNG and HEVC videos to MP4.
It's a lightweight app we've crafted with love for the community, with just the features you need. As with everything iMazing, all processing is done strictly on your device, nothing is transferred to the Cloud and no Internet connection is required.
Here's how to convert HEIC to JPEG using iMazing Converter:
Download iMazing Converter
- Launch iMazing Converter.
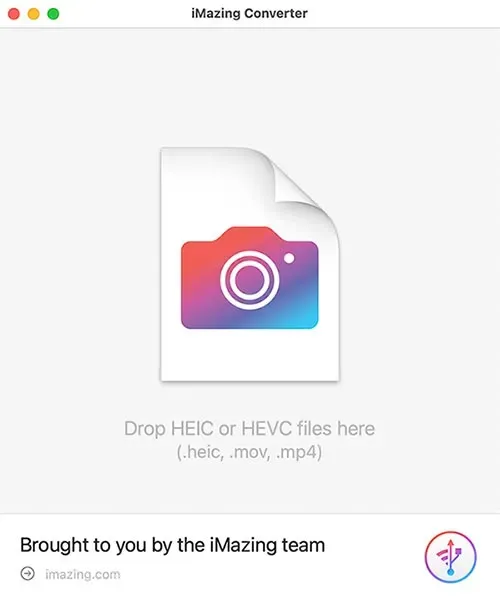
- Drag and drop HEIC files, or folders containing them, to iMazing Converter's window.
- Specify your settings and click Convert.
- Choose a target location to save the files.
Looking to convert HEVC videos? The steps are the same, but we have a guide just for that, too.
In-Depth Tutorial
Download and install iMazing Converter.
After you've copied the app from its disk image, launch it.
iMazing Users: iMazing Converter is packaged with iMazing and can be launched from the Tools menu.
Drag and drop HEIC files or folders containing HEIC files to iMazing Converter.
Drag files or folders onto the app's window.
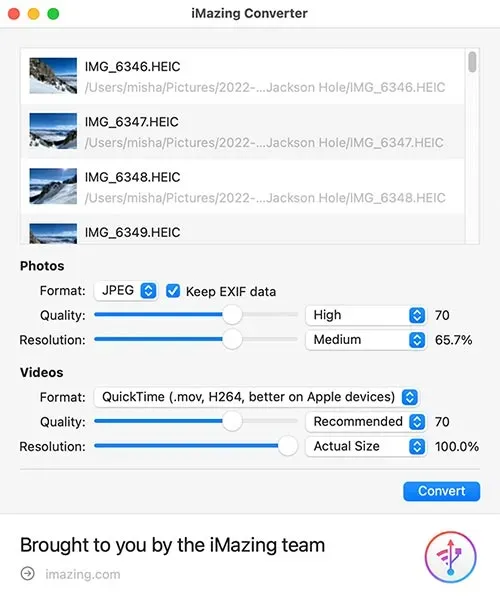
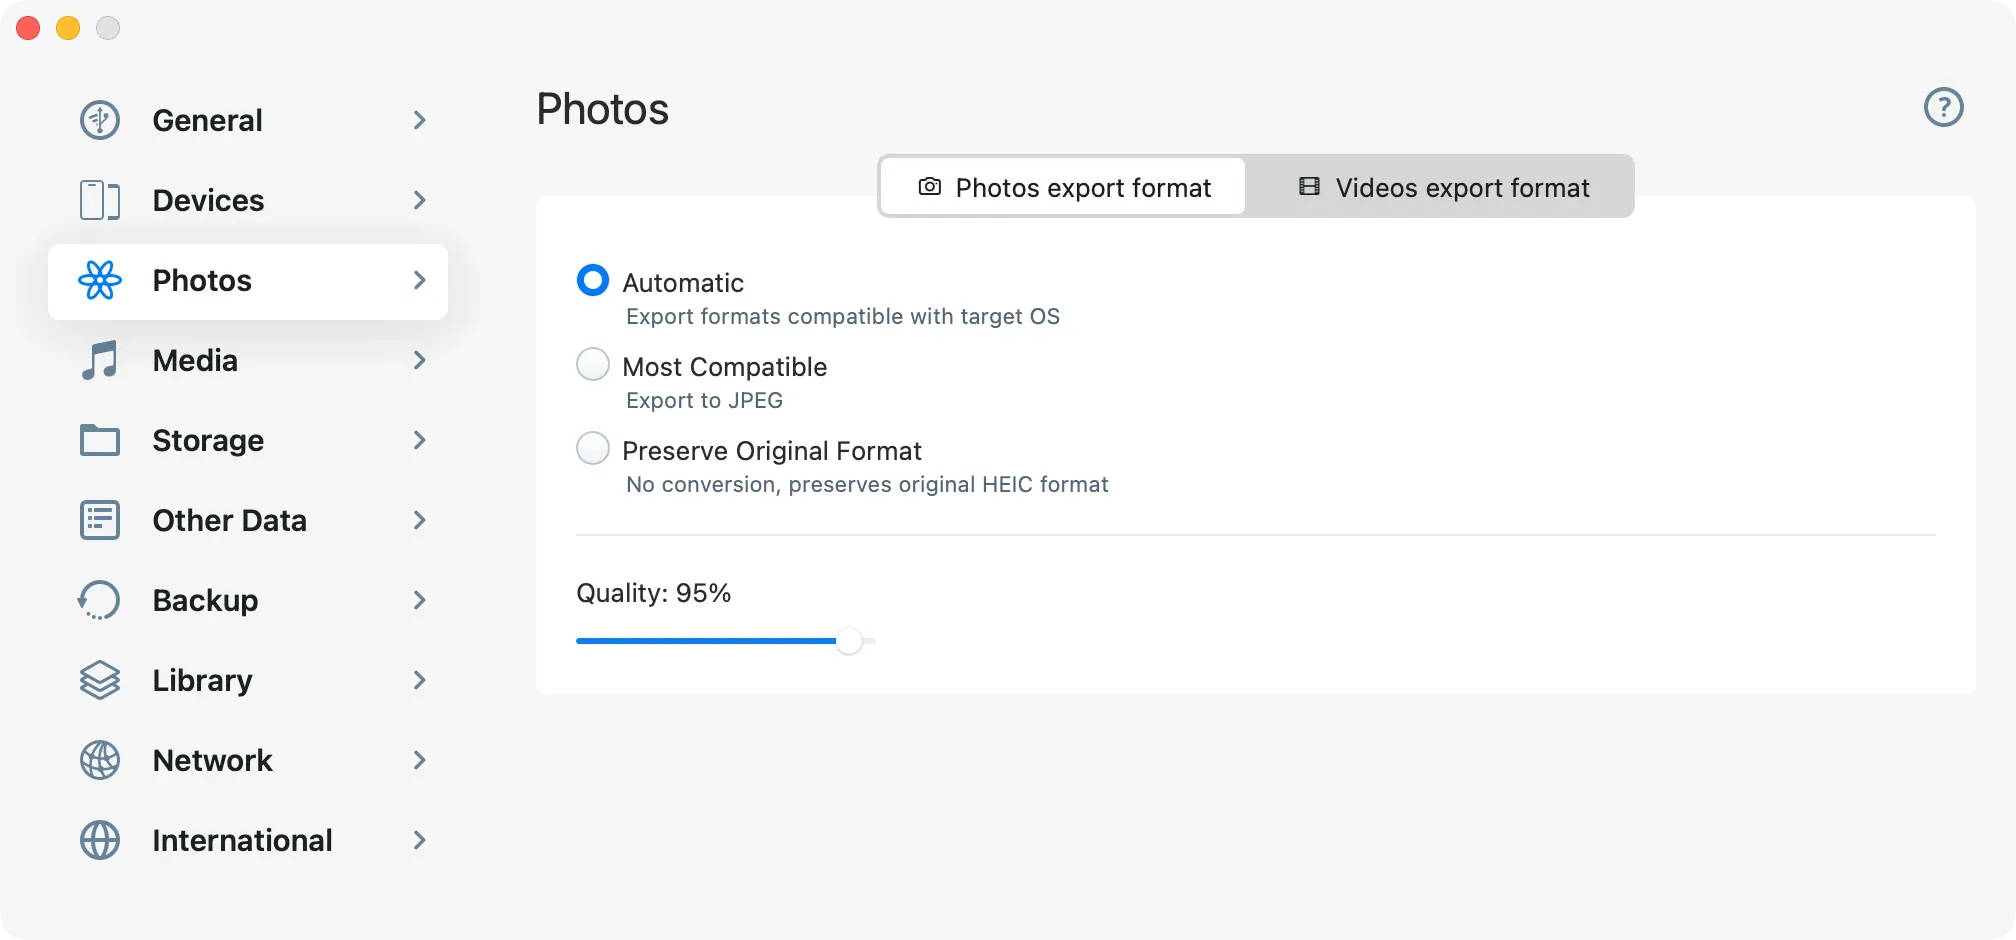
Select your settings
Adjust quality and resolution to your needs. You can also select PNG as the output format instead of JPEG (higher quality, but much larger file size).
Convert
Click Convert and choose a target location to save the JPEG files. This may take a while if you are converting a lot of files. iMazing Converter shows you the progress of the conversion process. When it's finished, you'll have JPEG files that are more compatible.

Going further
If you need to convert HEIC files, you are probably exporting photos from your iPhone directly with a third-party app. iMazing is a great way to do this, since it offers automatic conversion of HEIC files to JPEG.