Migrating From PhoneView to iMazing
Updated on Mar 9, 2026
Reading time ~4 minutes
This guide is intended to assist PhoneView users migrating to iMazing, including some key differences and considerations between the two apps.
Background
PhoneView, like iMazing, relies on backups of your iPhone, iPad, or iPod touch in order to access the data on the device.
PhoneView can access data from a device connected via USB
PhoneView describes this as Downloading data from [Device] but it is in fact triggering an iOS backup of the device.
- This backup is stored at the default macOS backup location:
~/Library/Application Support/MobileSync/Backup - iMazing can access this same backup data.
PhoneView then parses some of this data from the backup and archives it in a custom database.
- These files are stored at:
~/Library/Application Support/PhoneView - iMazing cannot access or import this archived data (.db or .manifest files).
PhoneView can access data from a previous backup initiated by Finder or iTunes
- This backup is stored at the default macOS backup location:
~/Library/Application Support/MobileSync/Backup - iMazing can access this same backup data.
Example of an iPad backed up with Finder under macOS 13: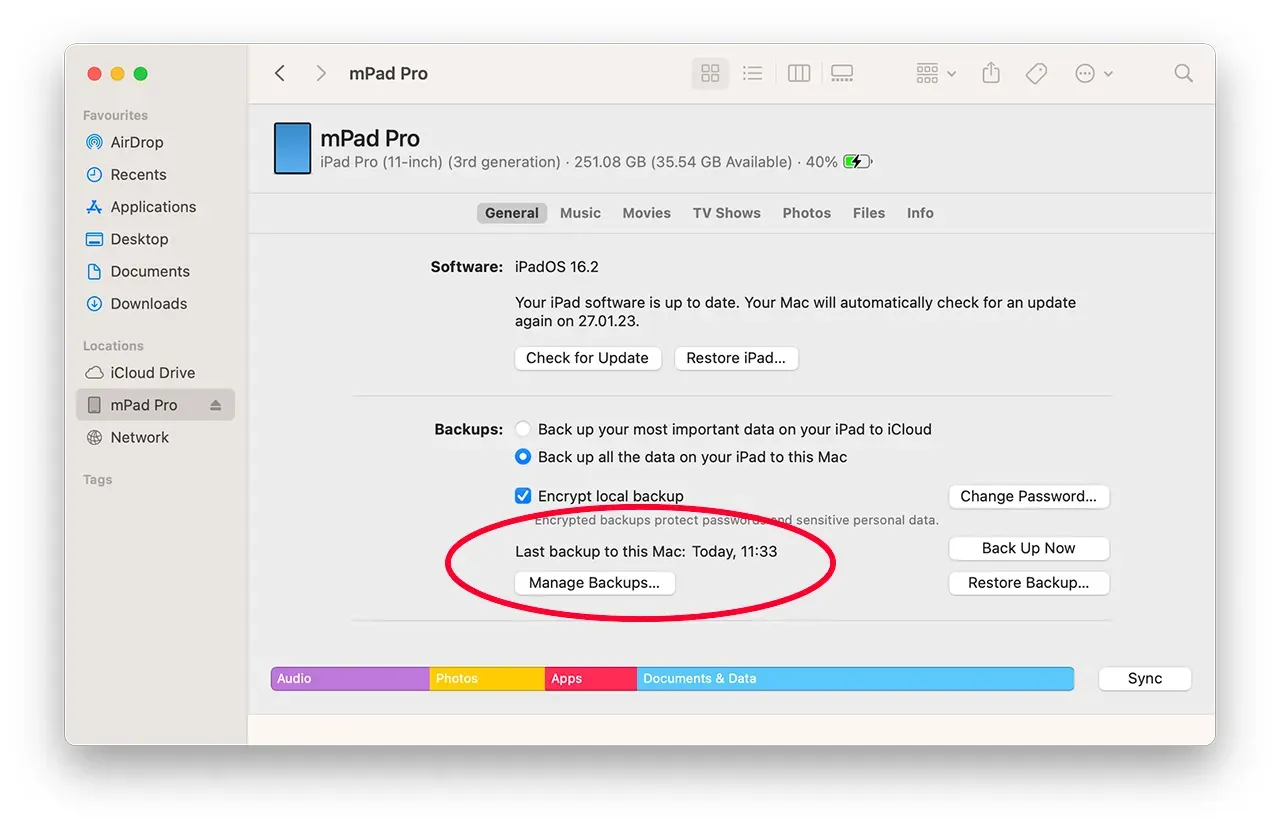
How to access PhoneView backups with iMazing
These instructions apply to users who:
- have previously used PhoneView with a device backup (or Finder or iTunes) and
- are new to iMazing and
- would like iMazing to read from that same default macOS backup location
Before you begin
Always make sure you are running the latest iMazing version, to do so select Check for Updates from the iMazing menu, or just download the latest available version for your computer below.
Download and install iMazing
Launch iMazing on your computer
If you haven’t already, download and install iMazing. For more details, please refer to our guide available for PC and for Mac.
Connect your device to your Mac or PC via USB
iMazing will prompt you to connect the device to your computer on the first time you're using it. To do so use a USB cable, and unlock the device using your passcode, Face ID or Touch ID, and follow the instructions for pairing.
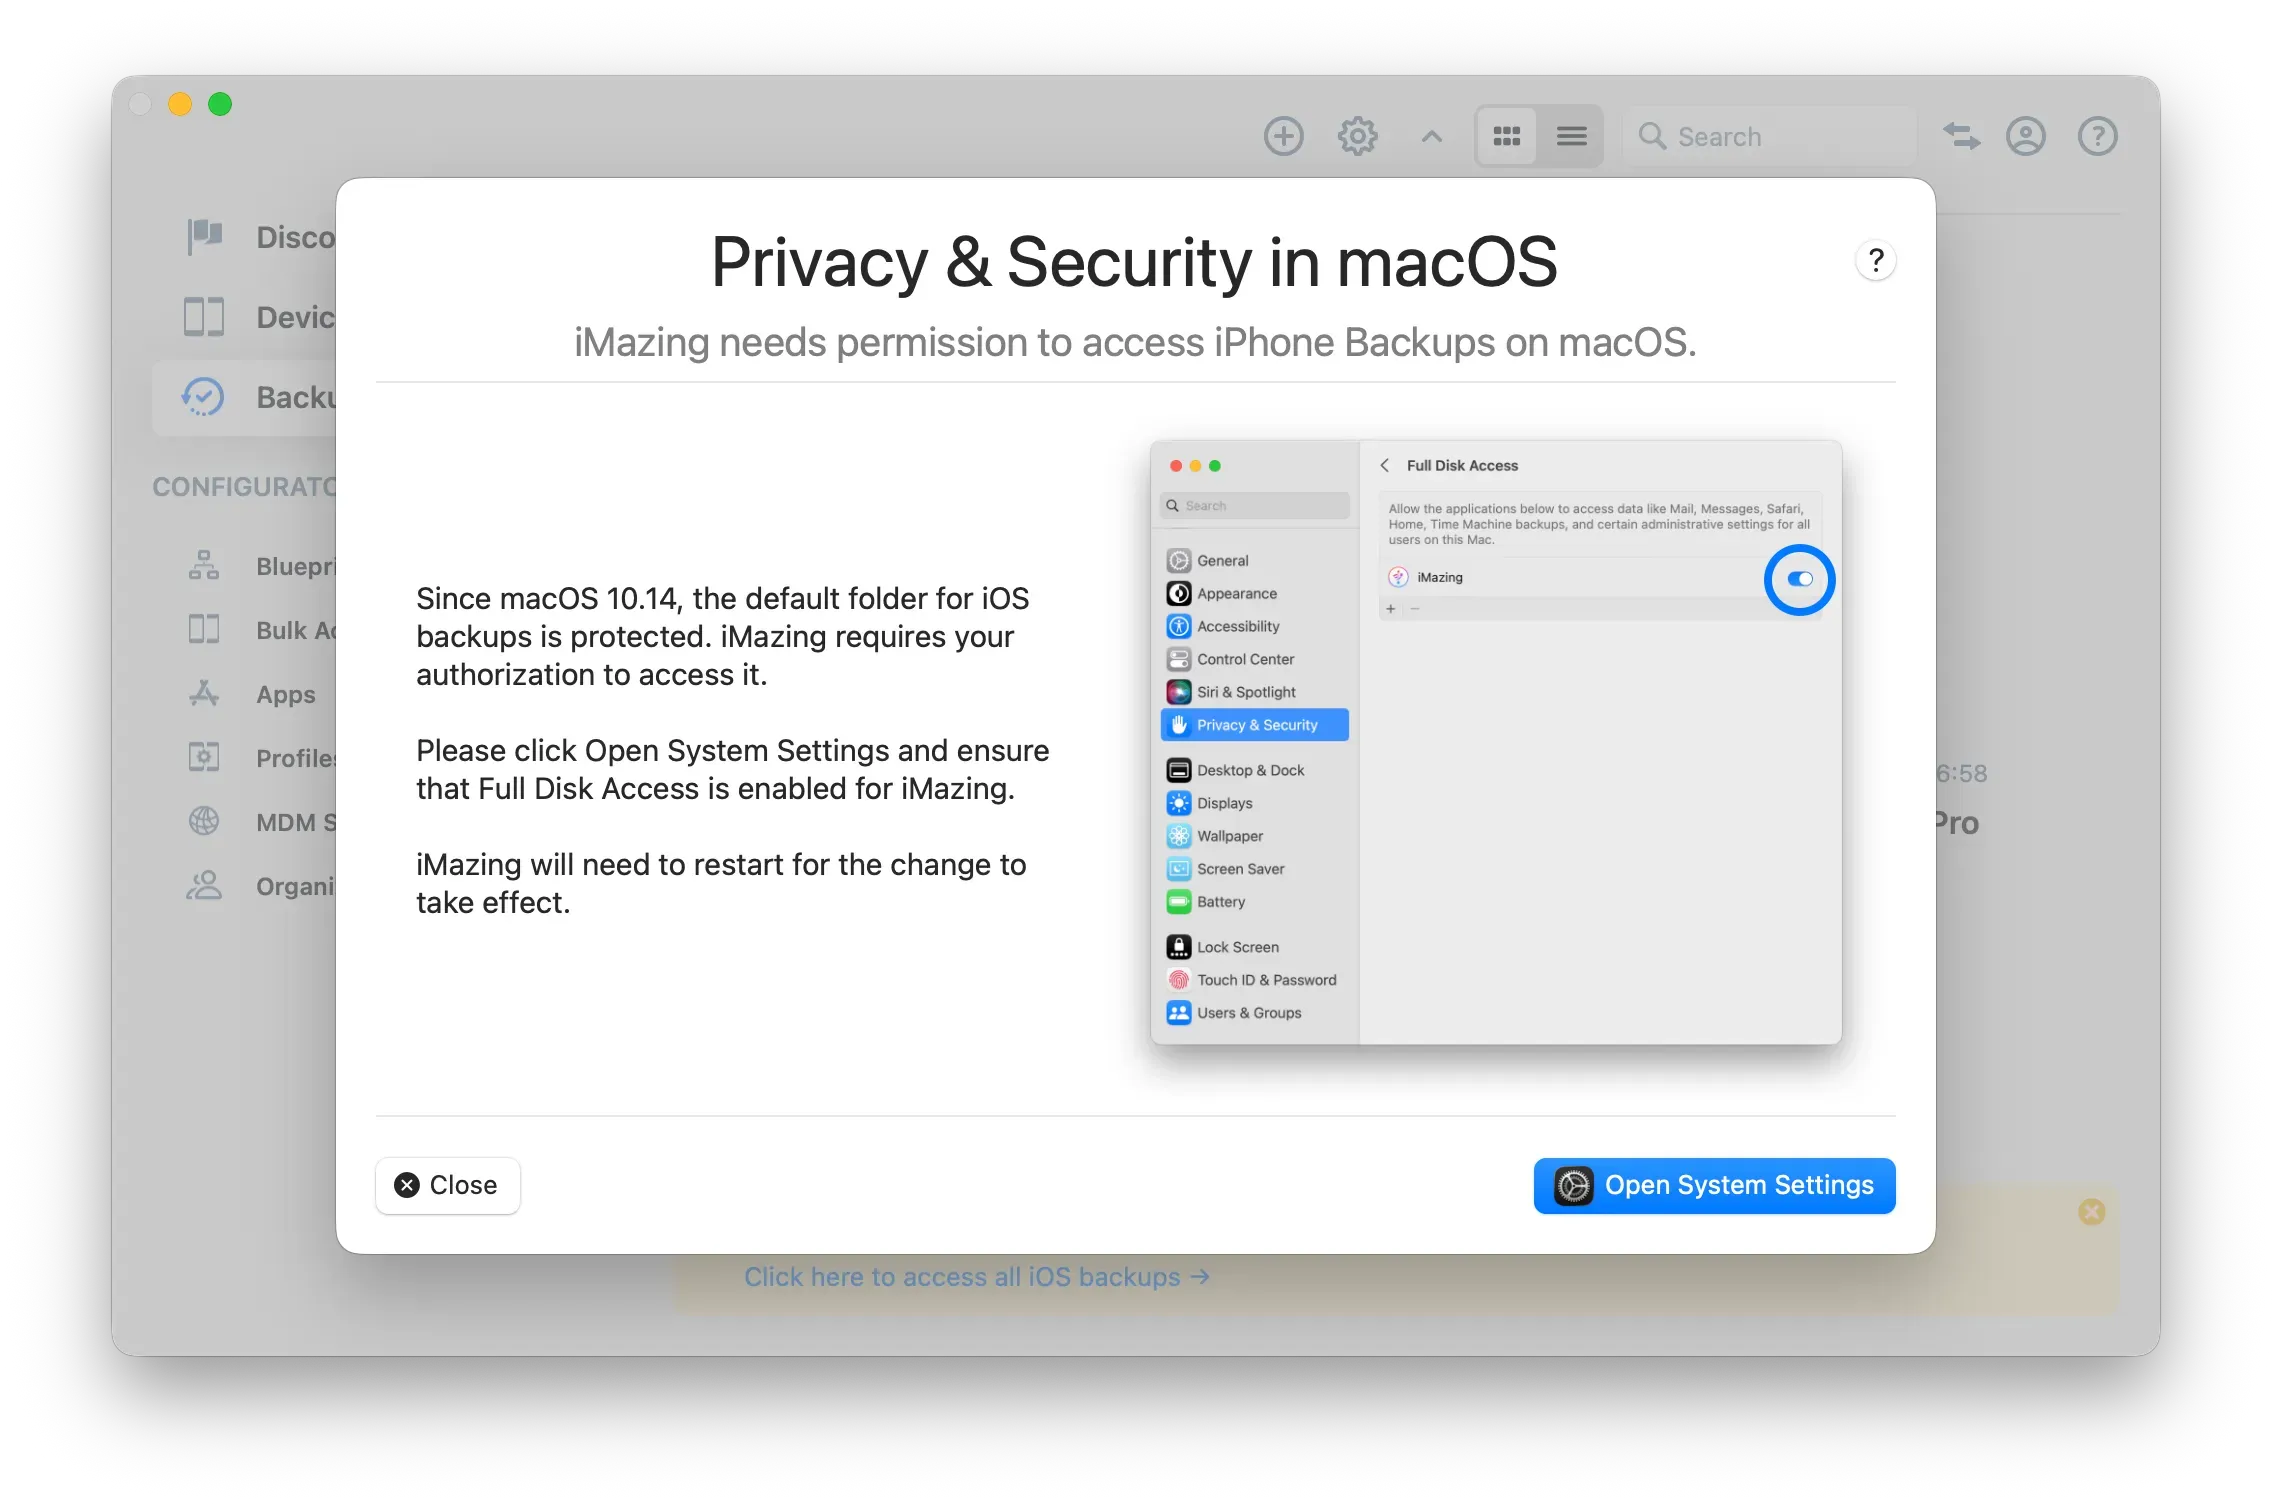
Enable Full Disk Access
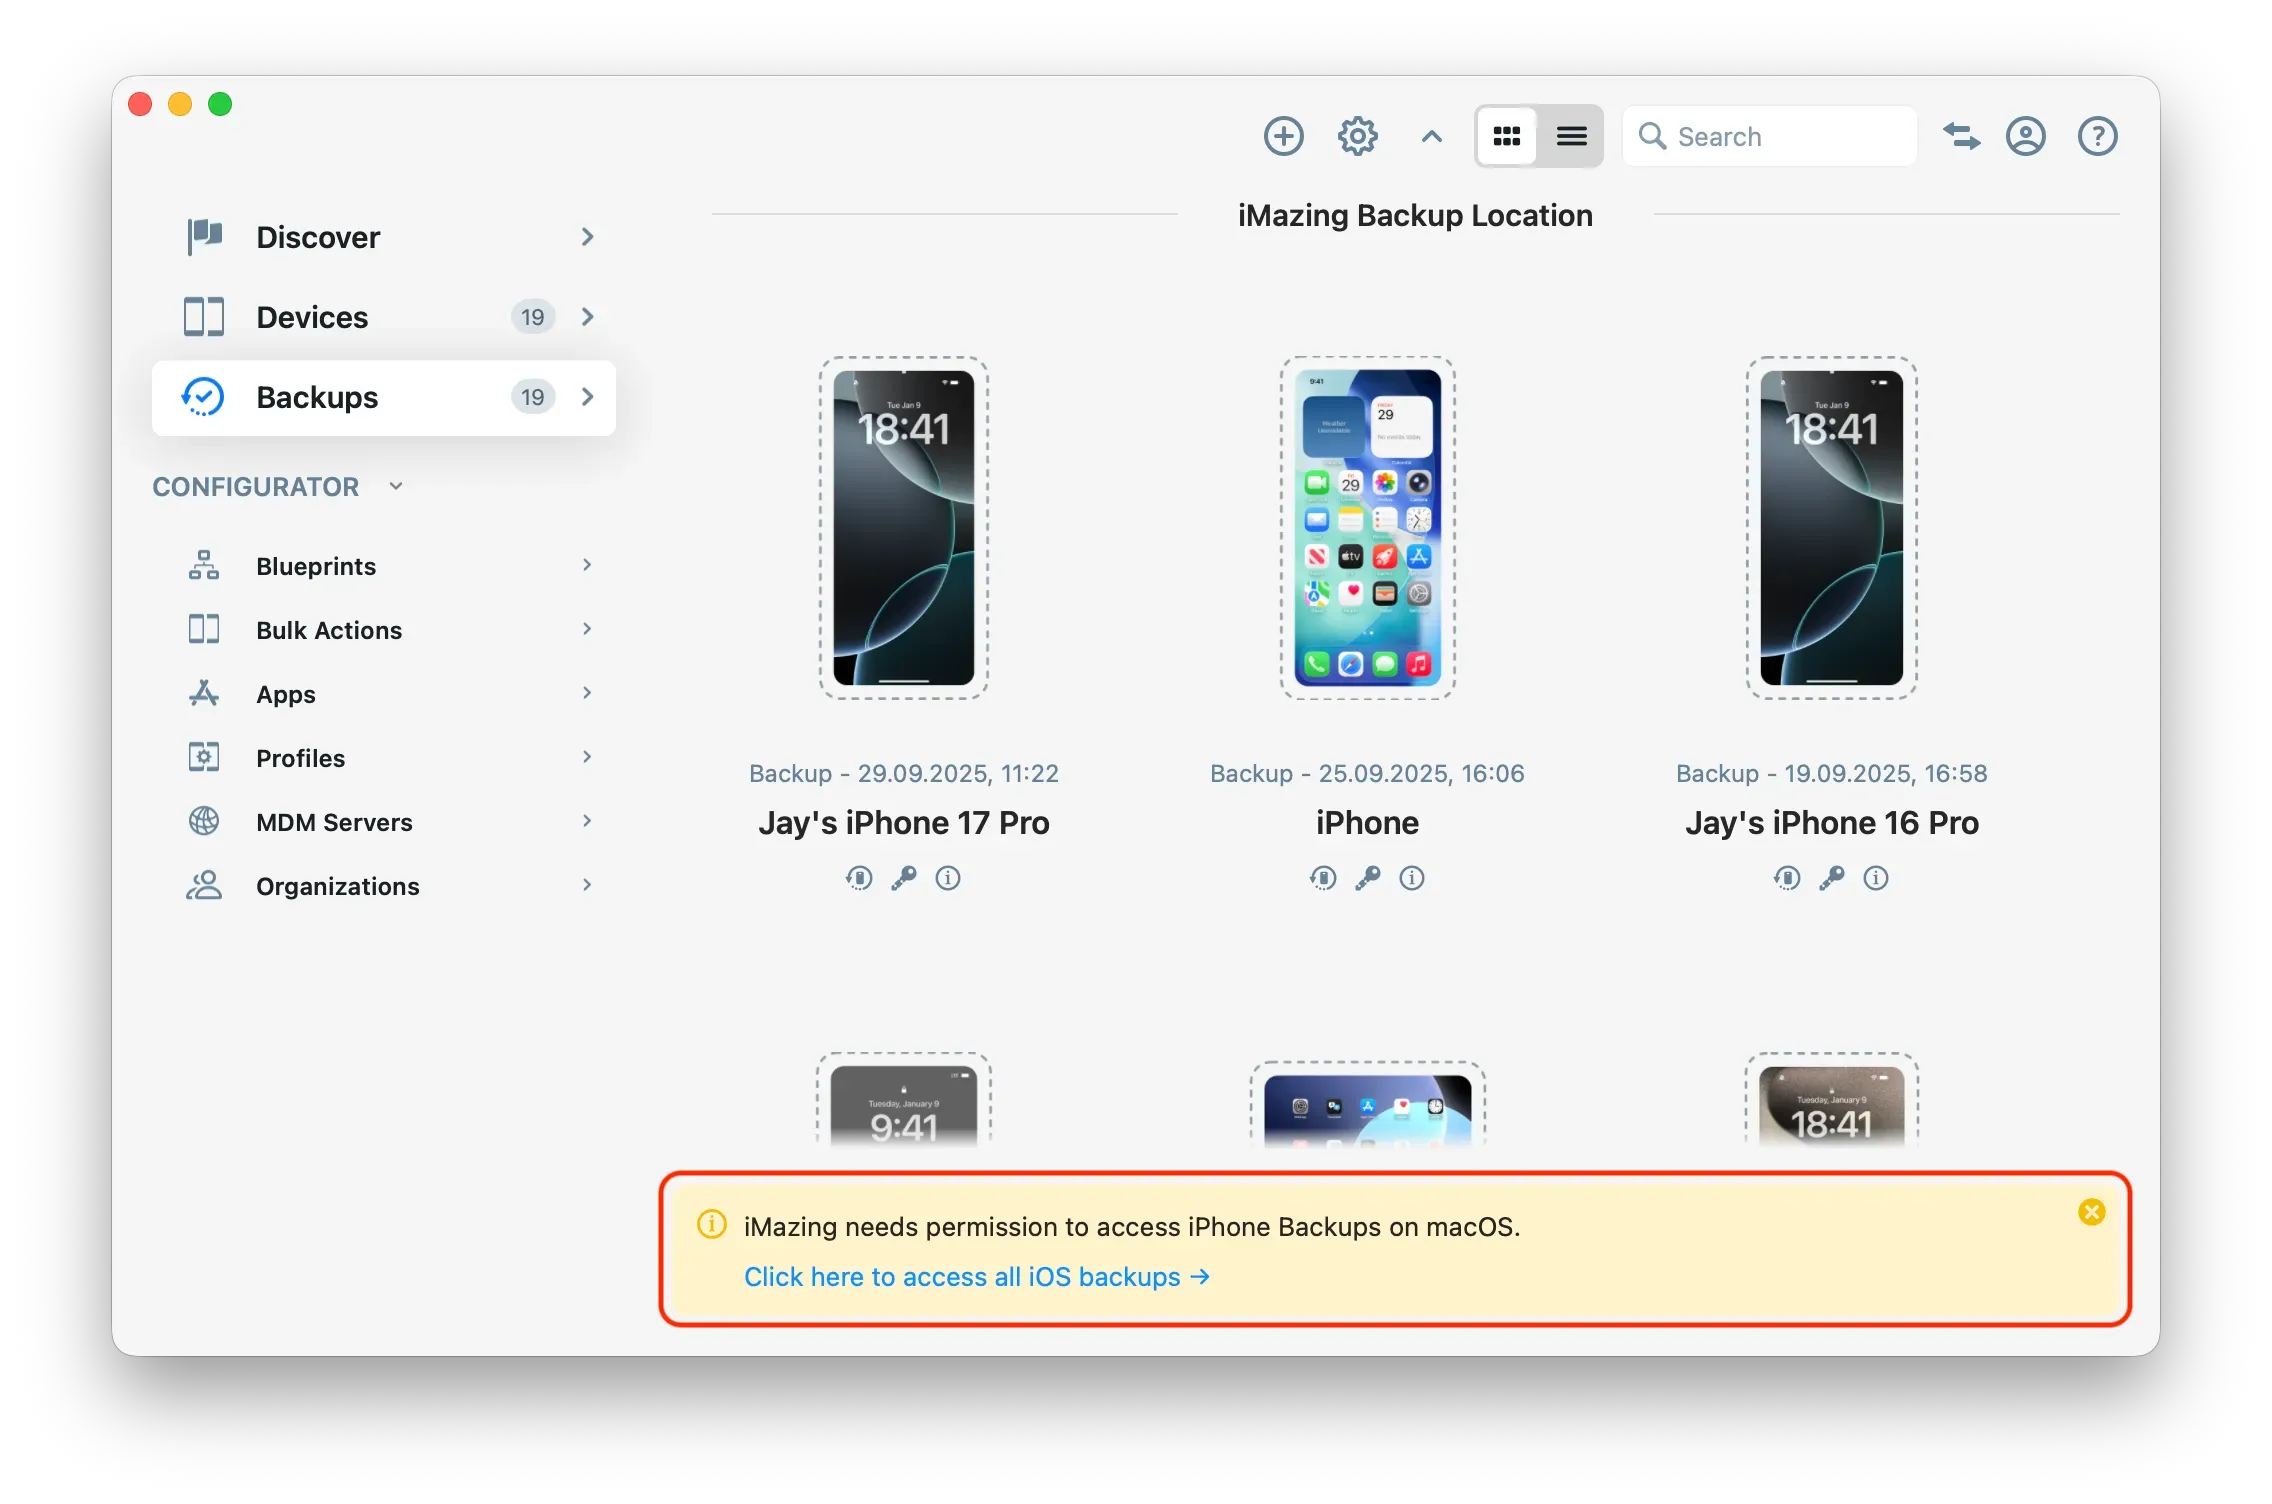
Click Backups in the sidebar to open the section. Then, enable Full Disk Access for iMazing using the button at the bottom of the window:
Follow the instructions to enable Full Disk Access for iMazing on macOS.
Configuring iMazing to save backups in the macOS default location
By default, iMazing stores its backups in a location that does not require Full Disk Access: ~/Library/Application Support/iMazing/Backups If you intend to continue using your device(s) with iMazing and would prefer iMazing use the same default macOS backup location (for example: so that you do not end up with two separate backups of the same device), continue with these steps:
Click on Devices in the left pane
From the Devices view, you will see all the devices previously connected and paired to your computer. Click to select a device.
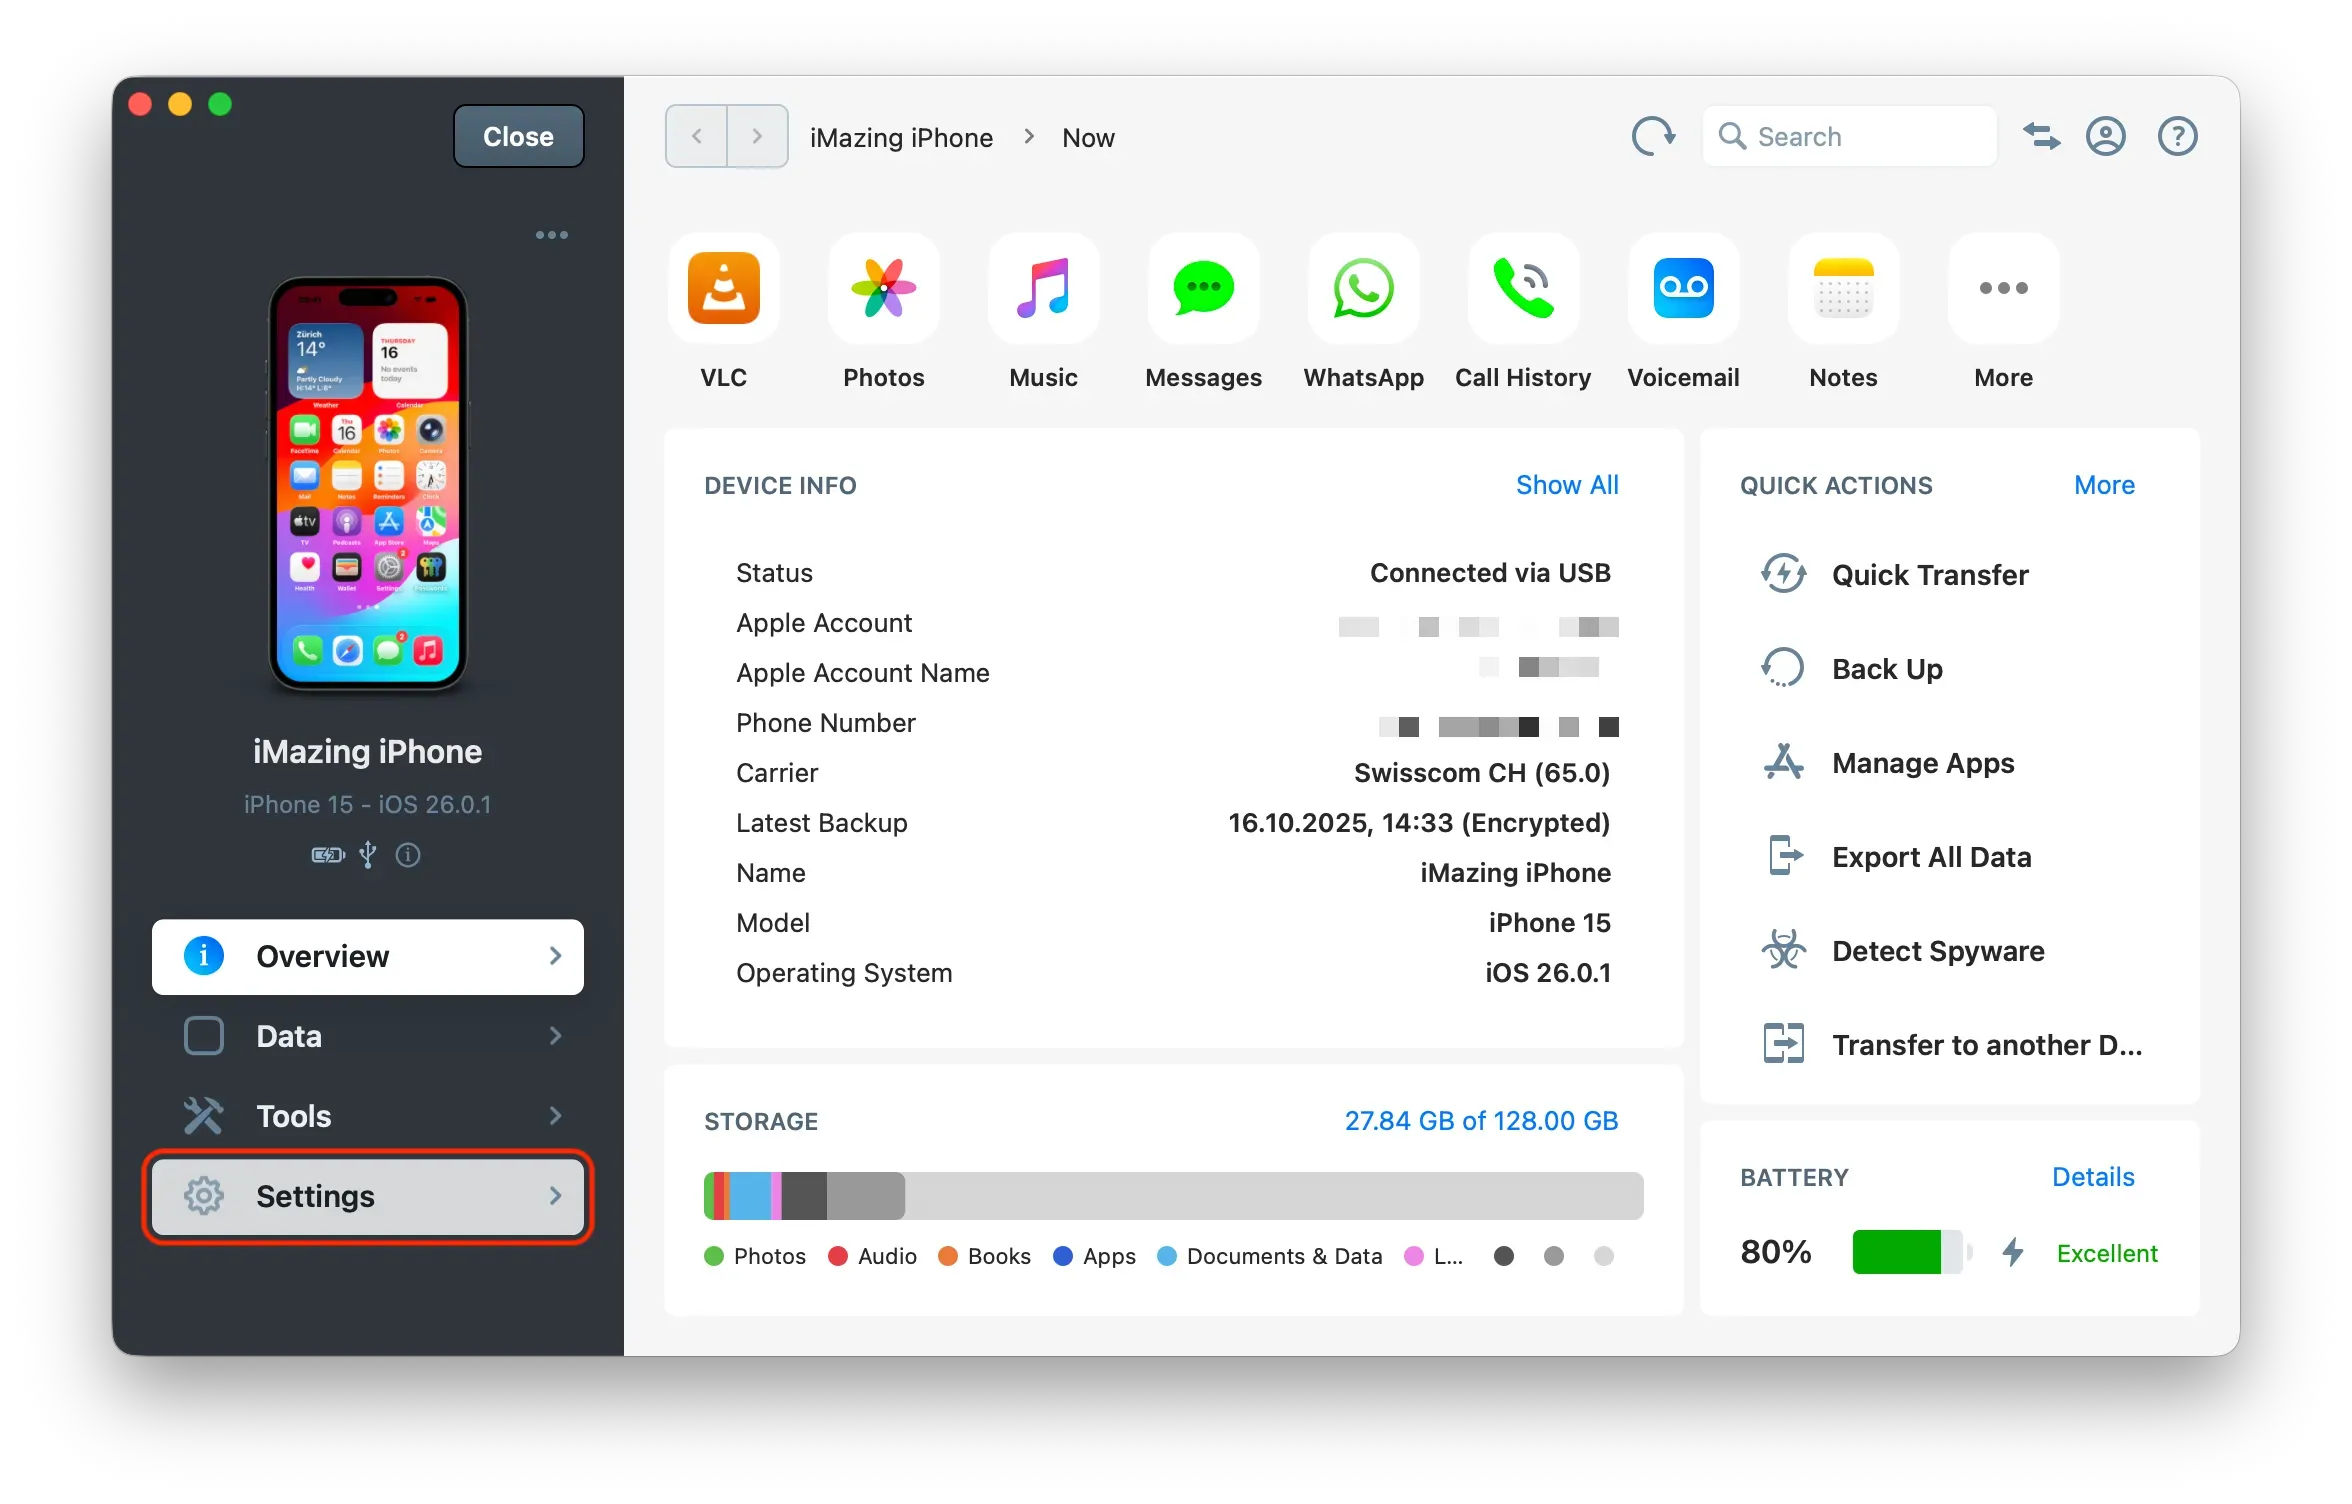
Click on Device Settings
Once you’ve selected a device, iMazing opens its Overview screen. From the left pane, select Settings to access the device’s specific options.
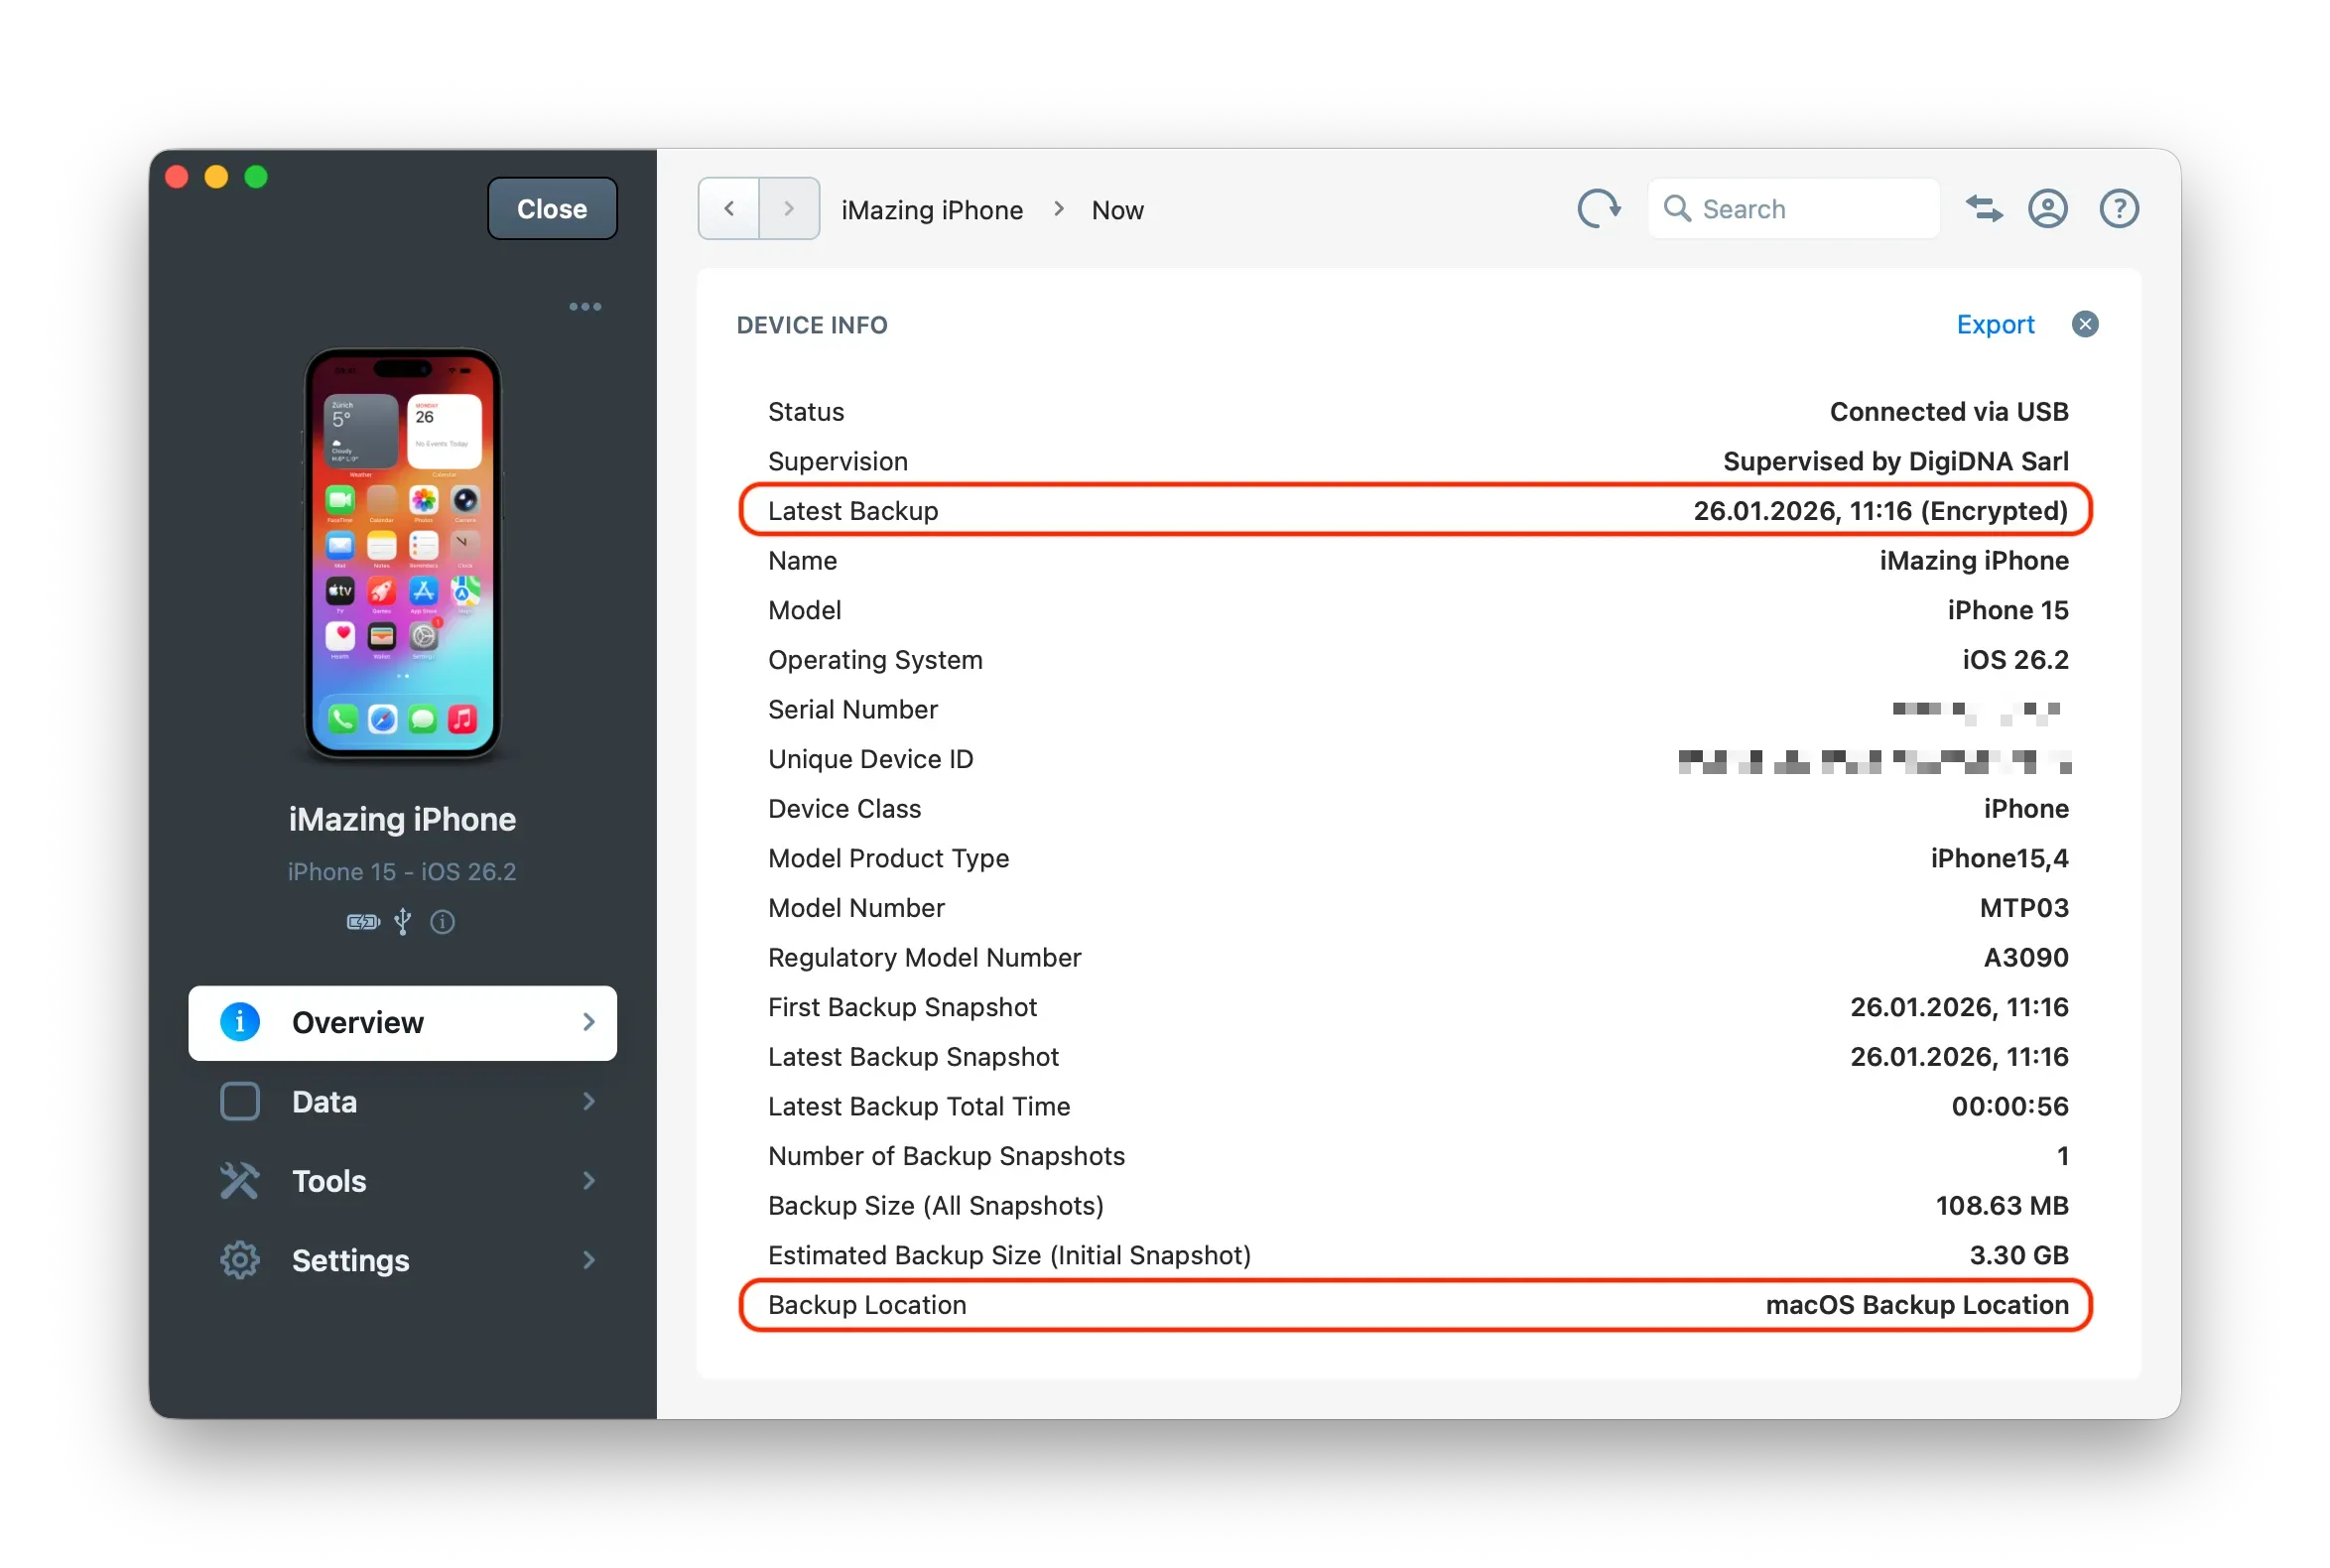
Click on Backup Location
From there, you’ll see all backup locations available on your computer. Select macOS Backup Location to set it as the default backup folder and click Save.

Back in the Overview section, iMazing now shows in Device Info your device and its existing backup in the default macOS location. You are all set.
iMazing needs Full Disk Access in order to read your Finder/iTunes backups because there is no way to otherwise access that folder. iMazing does not take advantage of that privilege to access any other protected data, and can work perfectly well even if you don't grant access, but you will need to move or copy your Finder/iTunes backups to a location to which macOS does not restrict access to, and then open them with iMazing.
iMazing-only Features
- iMazing can back up your device to any location on any local drive or NAS, and can move your existing backups easily to free up space on your Mac's boot drive. Learn more…
- iMazing optionally supports backup snapshots (backups over time); you are not restricted to only the backup of your device's state. Learn more…
- If you do not need a full backup of your device (which includes all photos and videos and can be restored) but would still like to maintain offline access to your device's data, you can alternatively use iMazing's space-saving Data Access Only feature instead of maintaining a full backup. Learn more…
- After initial pairing via USB, iMazing can access data from devices connected to the same Wi-Fi network as your Mac.
- iMazing can automatically back up devices.
- iMazing is packed with other unique features, including Quick Transfer, app management, and more. We're happy you're with us!
Final Tip
PhoneView users will feel most at home with iMazing's user interface if they expand their device in iMazing's left sidebar by clicking the device name so the arrow next to it points down. Both applications organize device data similarly.
If you have further questions, please consult the iMazing Guides.
Our support team is also ready to assist you, if need personal assistance!