Messages
Archive iPhone messages (SMS, RCS and iMessages) to your computer

💡iMazing 3
This guide is not yet complete or updated for iMazing 3. An update will be available soon.
You've got lots of text messages - iMessages, SMSs, and MMSs - on your iPhone, and you may want to save copies them in an archive to view them later. Apple doesn't offer any way to do this, but iMazing can archive all of your messages in backups so you can access them at any time. This is especially useful if you want to delete messages from your iPhone to save space - such as messages with photos - but still be able to read these messages later, or view the photos they contain.
Here's how to archive messages on your iPhone:
- Download and install iMazing. Launch the app, and connect your device to your Mac or PC.
- Select your device in iMazing's sidebar, then click Back Up.
- Set Archival Backups Options.
- Back up your device.
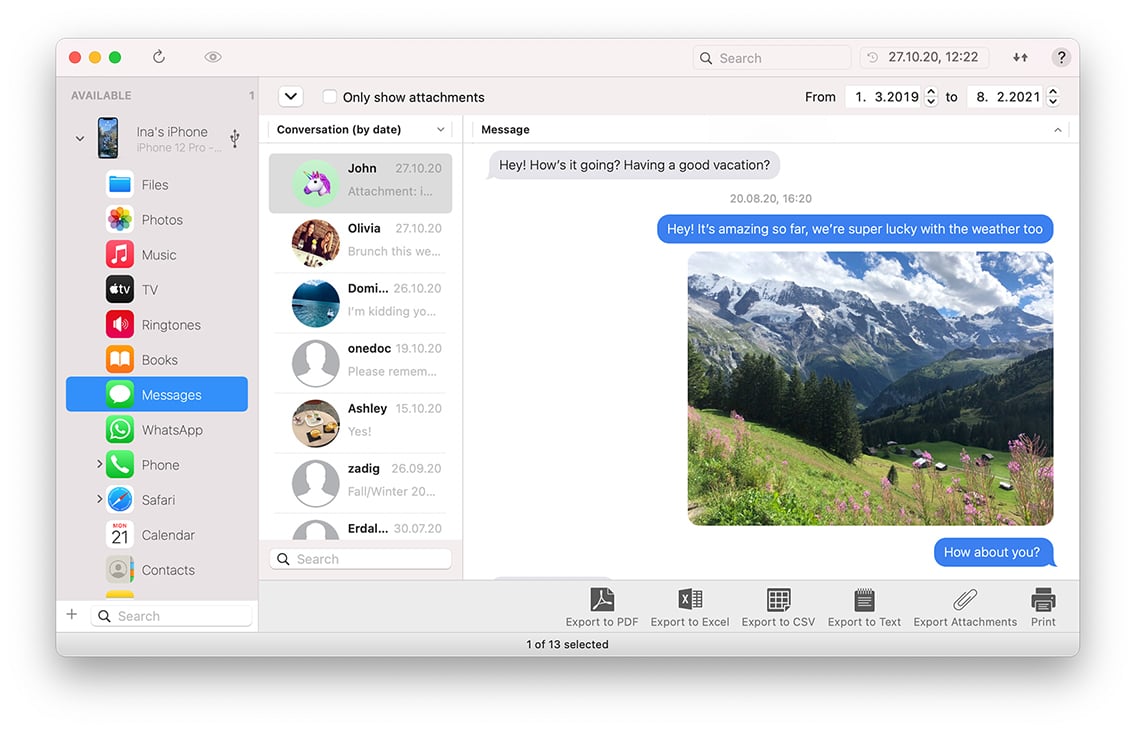
- To view archived messages, load a backup, then select Messages.
💡 Tip: To archive messages, iMazing needs to make a full backup of your device. This may take a while, so please be patient.
Before you begin
Download and install iMazing on your Mac or PC computer.
In-Depth Tutorial
1. Launch iMazing on your computer and connect your device.
Download and install iMazing. Launch the app, and connect your device to your Mac or PC.
2. Select your device in the iMazing's sidebar, then click Back Up.
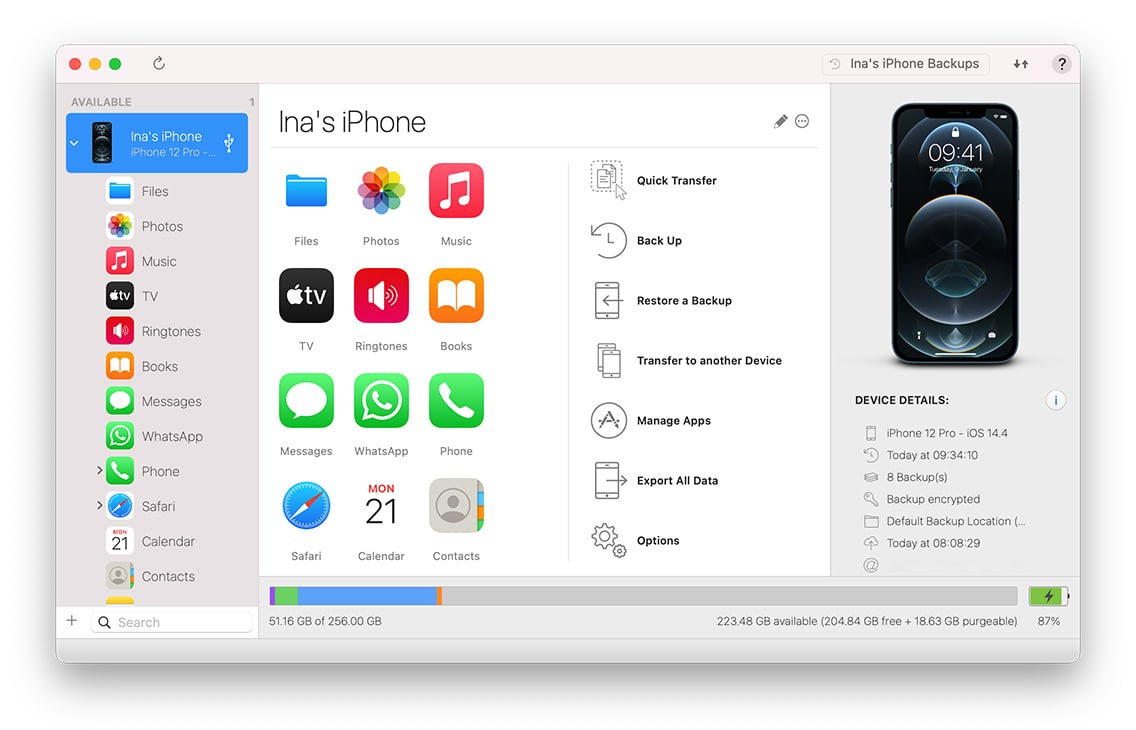
Select your device in the sidebar, then click Back Up. If this is the first time you back up your device, you might want to choose a specific location for the backups. To do so, open the device settings window by clicking the cogwheel icon at the right of the device's name in the top part of the main view.
3. Choose a location for your backups.
iMazing lets you choose a location for your backups. Since these backups can be quite large - several gigabytes - you may not want to store them on your computer; you may want to have iMazing save the backups on an external hard drive, for example. And if you have more than one iOS device, you can choose a different backup location for each one.
If you’re happy with the default backup location - this is in the home folder or user folder on your computer’s startup disk - then you won’t need to change anything. But if you’d rather store the backups in a different location, click Change Backup Location and select a different disk and folder. You can also choose to store them in a specific folder on your computer; click Choose a custom location to do this.
When you’ve set the backup location, click Done.
4. Set Archival Backups Options.
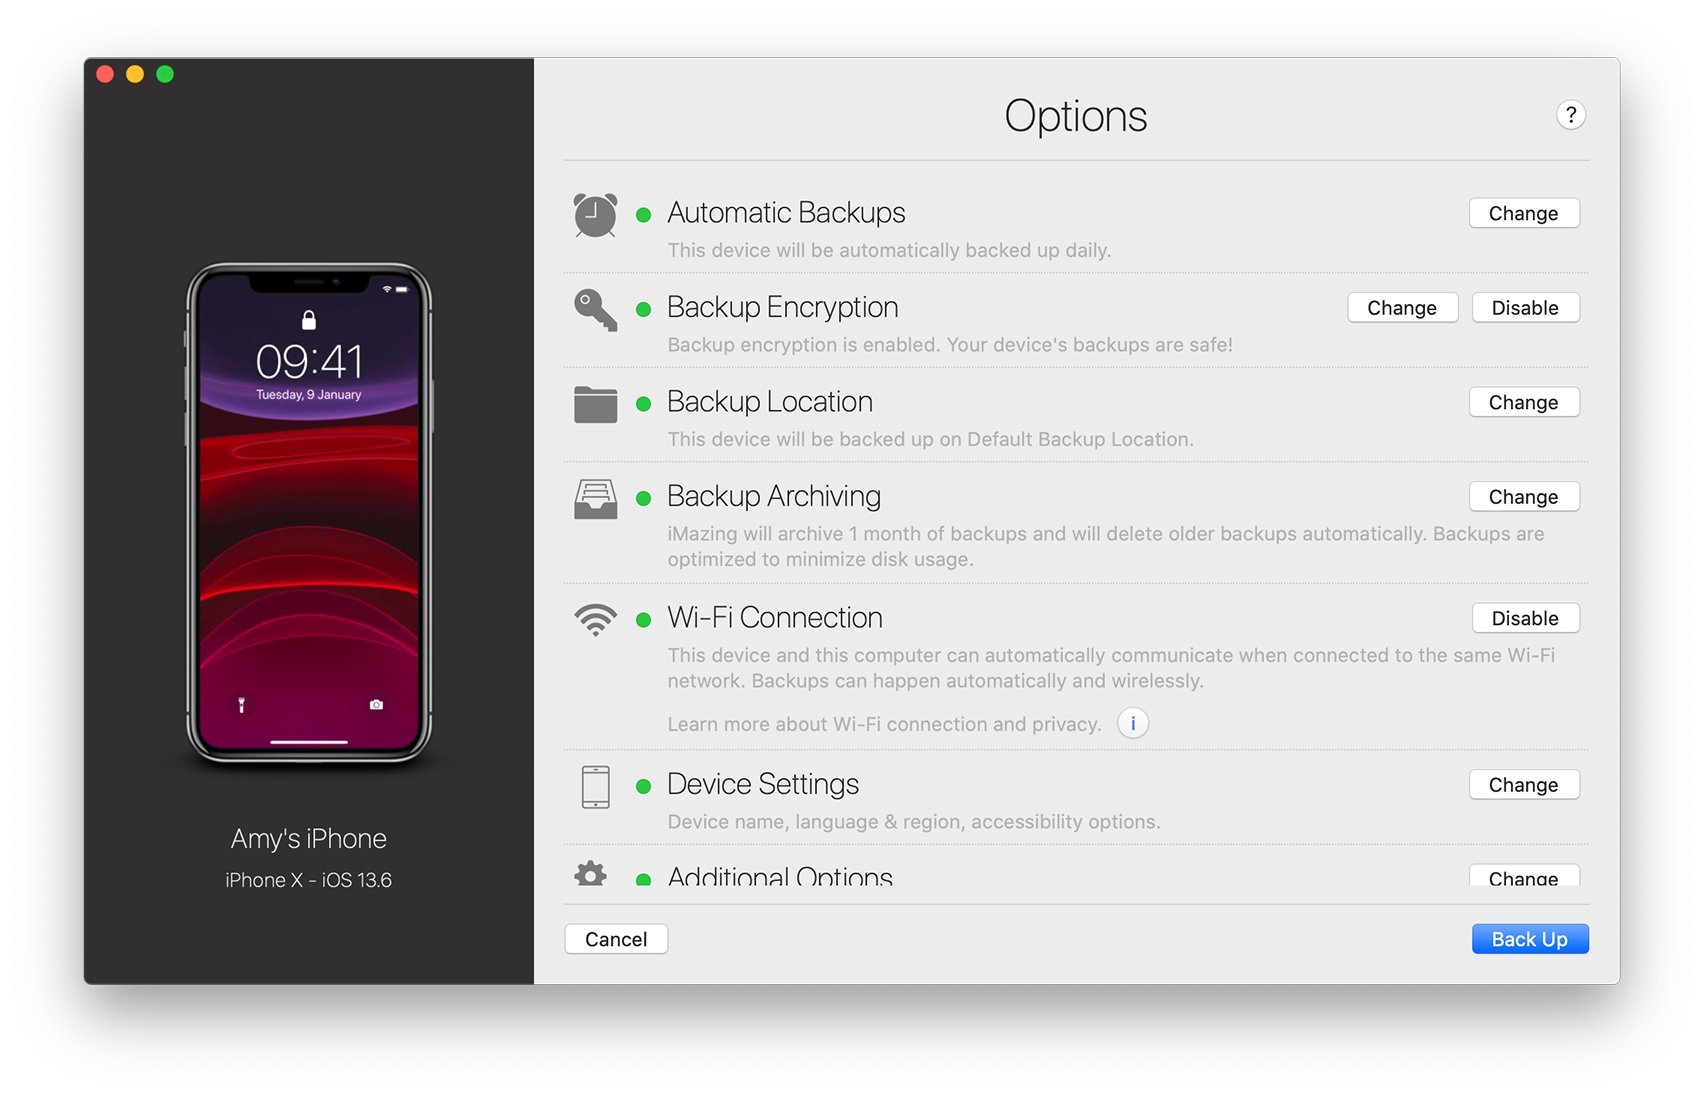
By default, iMazing stores your backups in a manner similar to the way Apple’s Time Machine works. For each new backup, iMazing only copies those files and data that have changed since the previous backup. This saves a lot of space on your computer.
iMazing offers several options for these backups archival. Click Backup Archiving Options to access them.
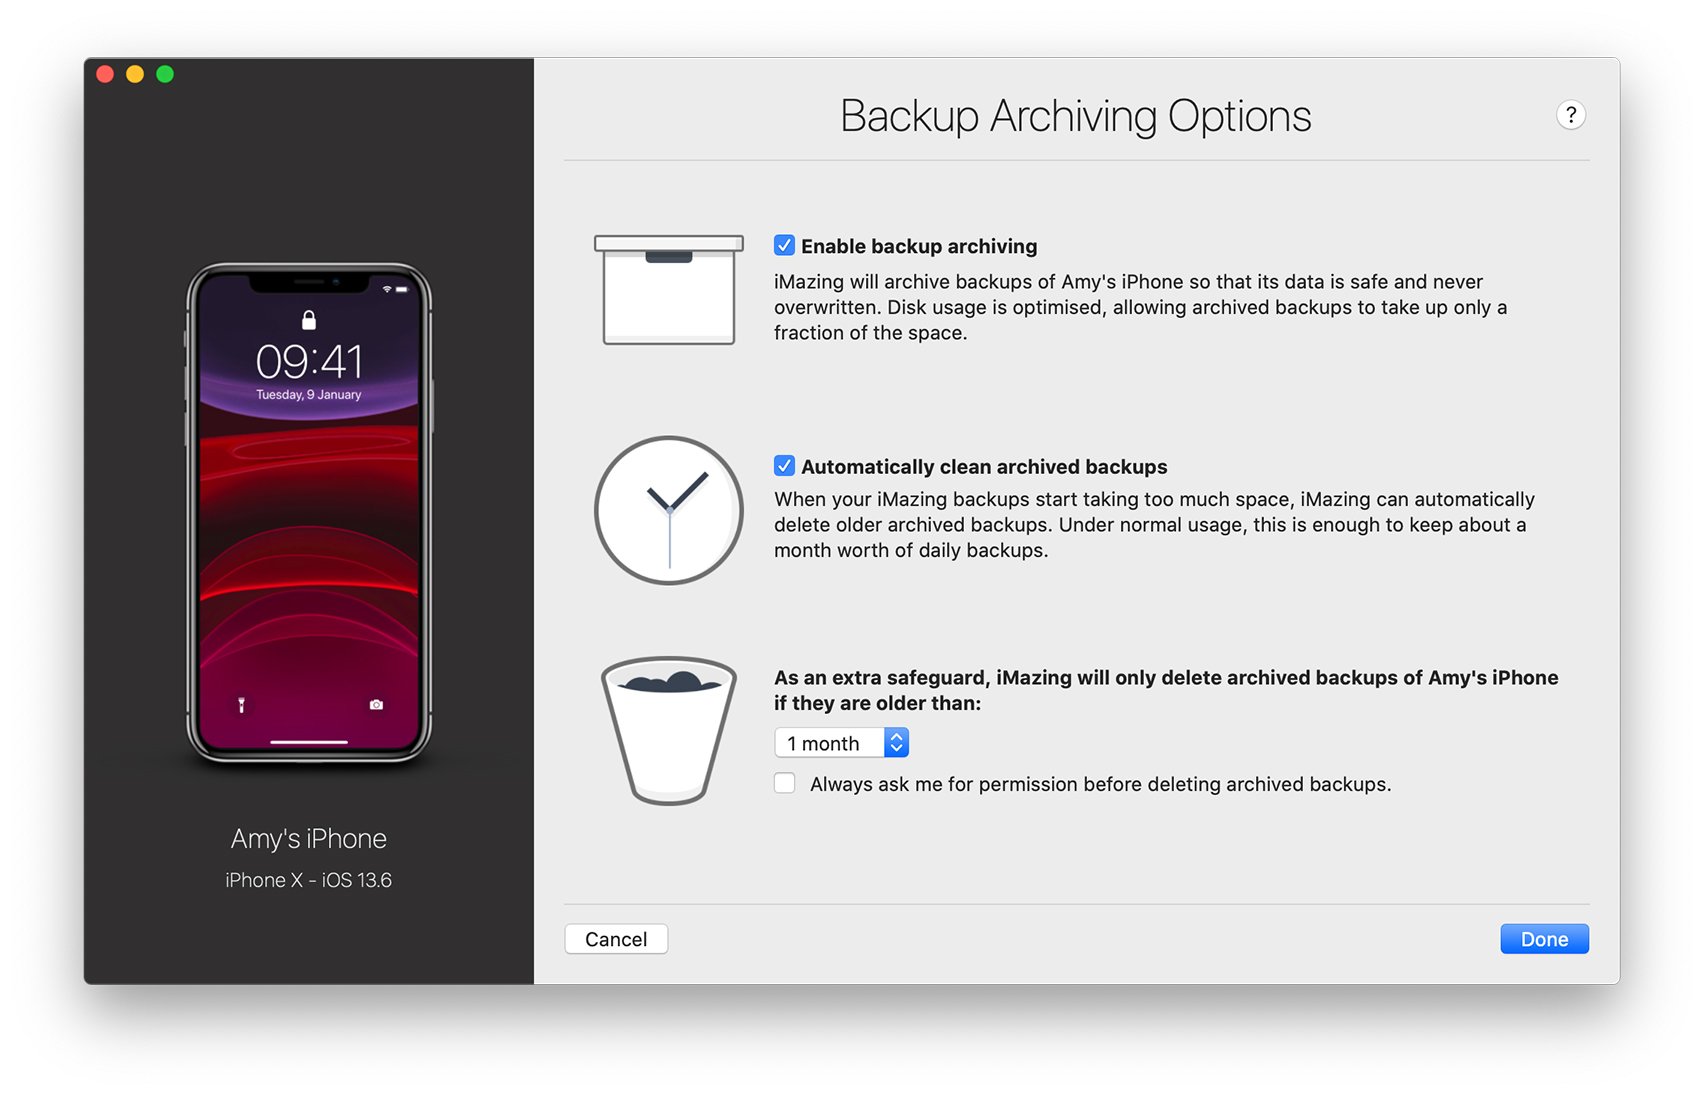
- Enable Archival Backups: Unlike iTunes, which creates a new backup each time you back up your iOS device, deleting the previous backup, iMazing stores multiple backups without overwriting older ones. Like Apple’s Time Machine, it only copies those files and data that are new each time. This saves space, but also ensures that you have older data that you may have deleted from your device.
- Automatically clean archived backups: iMazing can automatically prune your backups, deleting those backups that are more than a month old by default. If you don’t want to store backups longer than this, leave this option checked. If not, uncheck this option. Unchecking this option means you’ll have backups that go further back in time, but at the expense of space taken up on your computer.
- Delete archived backups: You can choose how long iMazing stores your backups, if you check Automatically clean archived backups, explained just above. By default this is one month, but you can choose two weeks, or up to one year. You can also have iMazing warn you and ask your permission before deleting any old backups.
When you’ve selected these options, click Done to move to the next step. Note that you won’t need to go through these options again for subsequent backups, unless you decide you want to change some of them.
5. Back up your device.
Now that you’ve set your backup options, iMazing displays the Backups Options screen again. If you’re ready to back up your iPhone or iPad, click Next.
iMazing starts backing up your device. This can take several minutes, depending on how much data you have. iMazing displays a progress bar and an estimate of how much time is remaining.
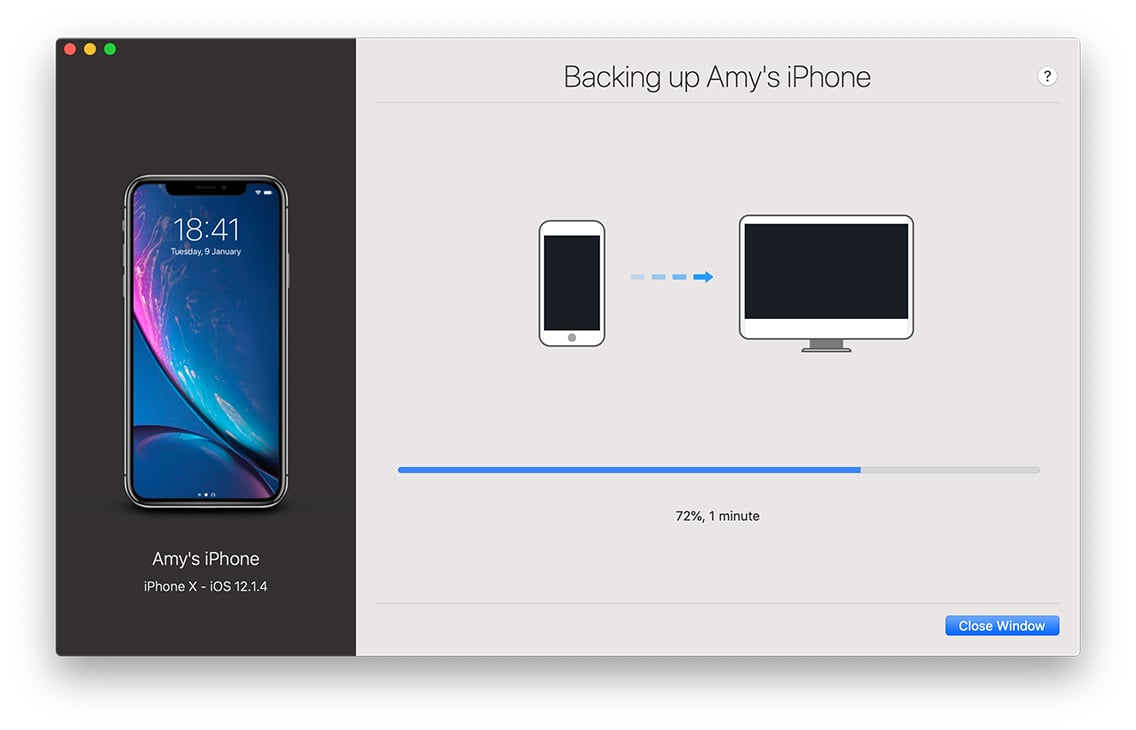
When iMazing completes the backup, the app asks you to enter your encryption password (if you didn't configure it via iMazing). This is the password you used to protect your backups in iTunes, which is stored on your iOS device.
Click Remember Password, so you don’t have to enter it again the next time you run a backup.
iMazing will now show that the backup is complete. Click Close Window to return to me main view.
Going further
Access archived messages
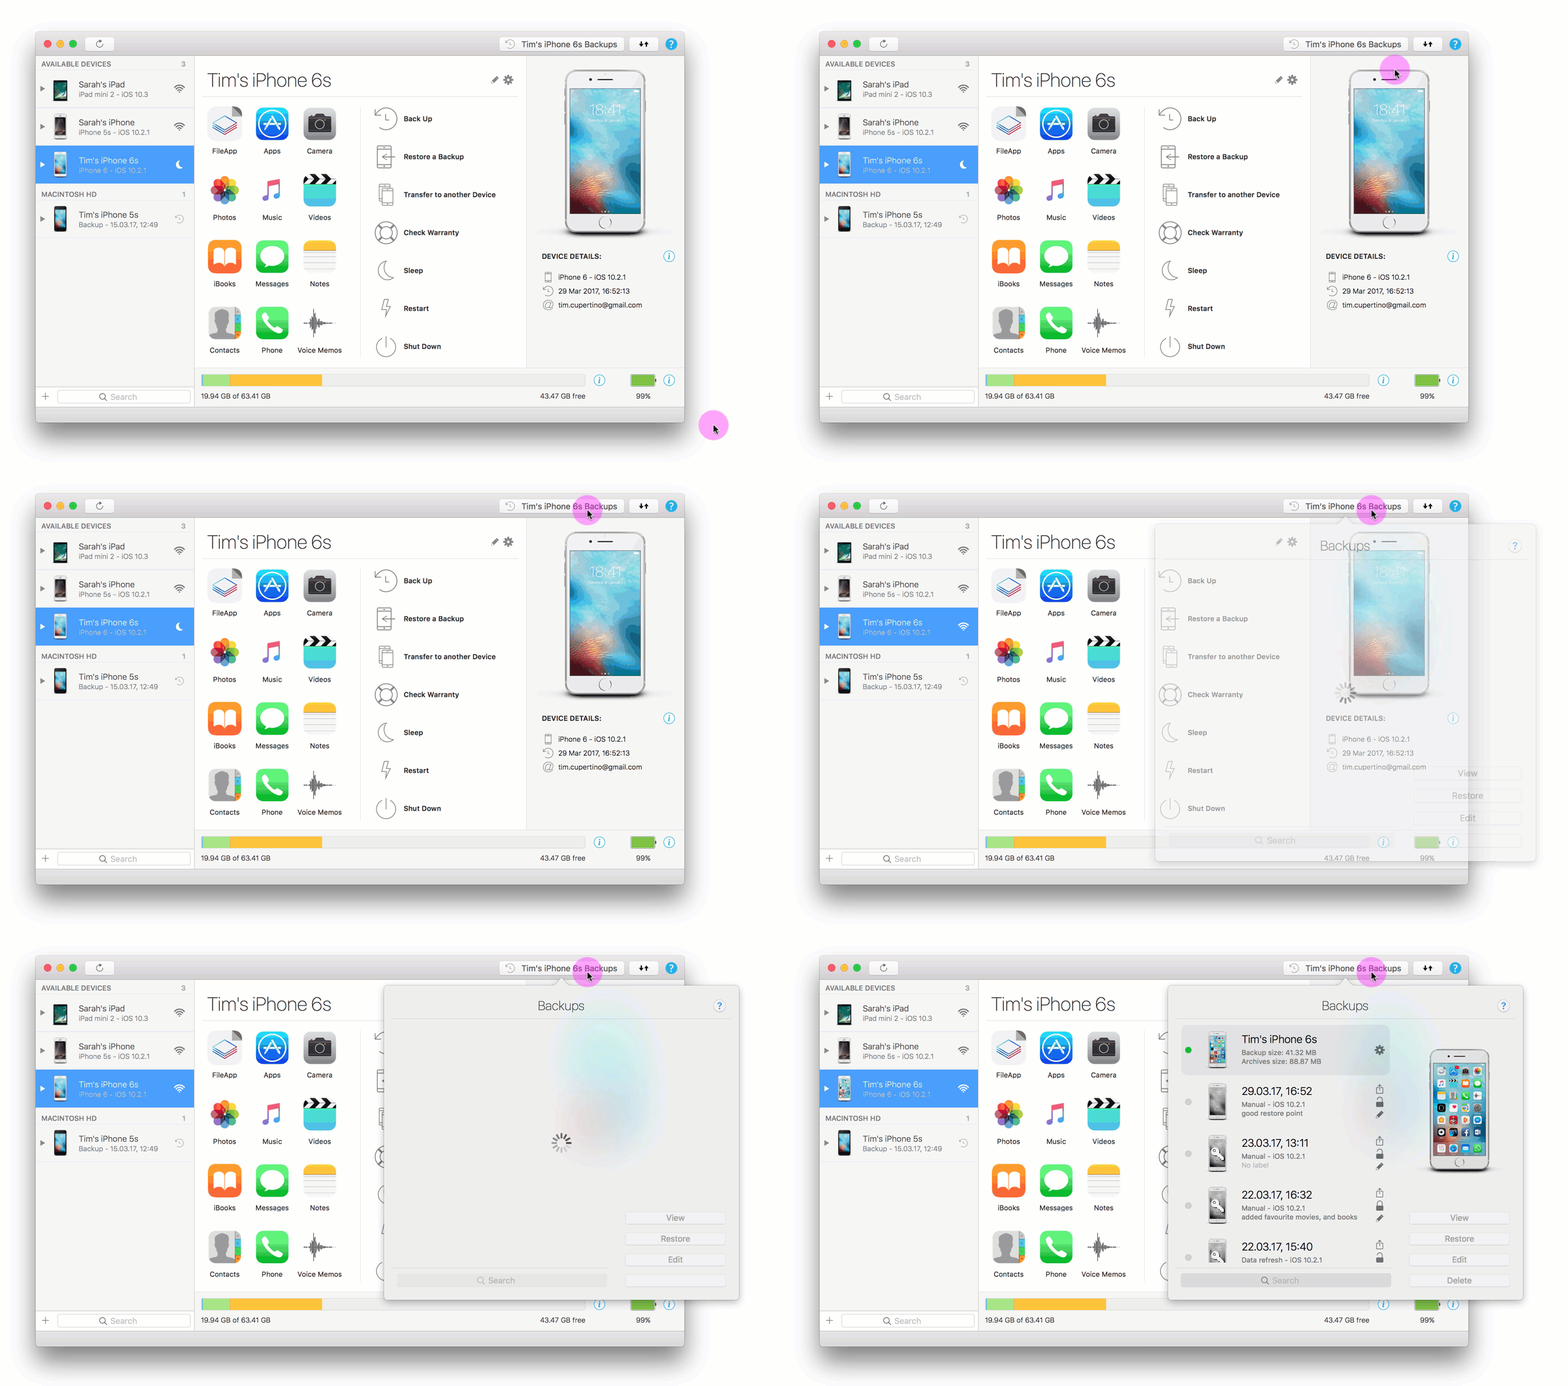
Now that you’ve backed up your device, you can access messages and other content from that backup. To do this, click the Backups button in the iMazing toolbar (this button will display the name of your device, followed by the word Backups). You’ll see your device, and its backups, with the date and time of each one.
Select a backup, then click View. iMazing loads the backup. Click Messages, and iMazing loads all the messages from that backup. You can then view them, or transfer them to your Mac or PC.
Automatically back up your device
In the backup options you can also enable "Automatic Backups" so your device is automatically backed up on the schedule of your choice (Daily, Weekly...).
Automatically Backup an iPhone or iPad via Wi-Fi
iCloud Messages
One of the biggest features which iOS 11.4 has brought is the ability to sync all of your attachments and text messages via iCloud. If you would like to use this feature, you simply have to enable iCloud Messages. You'll still be able to display and extract your messages in iMazing as you did before, but some older attachments may be removed by iOS from your device and kept in the cloud. Text content is not affected.


