Automatically Back Up an iPhone or iPad via Wi-Fi
Updated on Apr 22, 2026
Reading time ~5 minutes
There are several ways to back up your iPhone or iPad automatically. iCloud can create backups, but you need sufficient free iCloud storage, and it offers limited transparency because you can’t see exactly what’s included or browse the backup’s contents. You may also hesitate to store personal data in a cloud you don't control.
You can also back up your iPhone or iPad with iTunes on a Windows computer or with Finder on macOS Catalina and later. When you connect your iOS device to your computer, backups must be triggered manually, they won't start automatically. Backups also won't run automatically when your device connects to your computer over your local Wi-Fi network.
Alternatively, you can back up your iPhone or iPad with iMazing. It offers a transparent, private, and fully configurable solution that runs automatically over Wi-Fi on your schedule. You can choose where backups are stored — including external drives — and iMazing keeps a complete backup history, so you can recover files or data you’ve accidentally deleted.
iTunes Backup | iCloud Backup | iMazing Backup | |
|---|---|---|---|
Price | Free | Paid | Free 1 |
Schedule | No | No | Yes |
Choose Location | No | No | Yes |
Backup History | No | No | Yes |
Encryption | Yes | Yes | Yes |
Automatic over WI-FI | No | Yes | Yes |
1 For personal use only, however it is a paid feature for business use.
Here's how to automatically back up your iPhone or iPad to your computer:
Before you begin
Always make sure you are running the latest iMazing version, to do so select Check for Updates from the iMazing menu, or just download the latest available version for your computer below.
Download and install iMazing
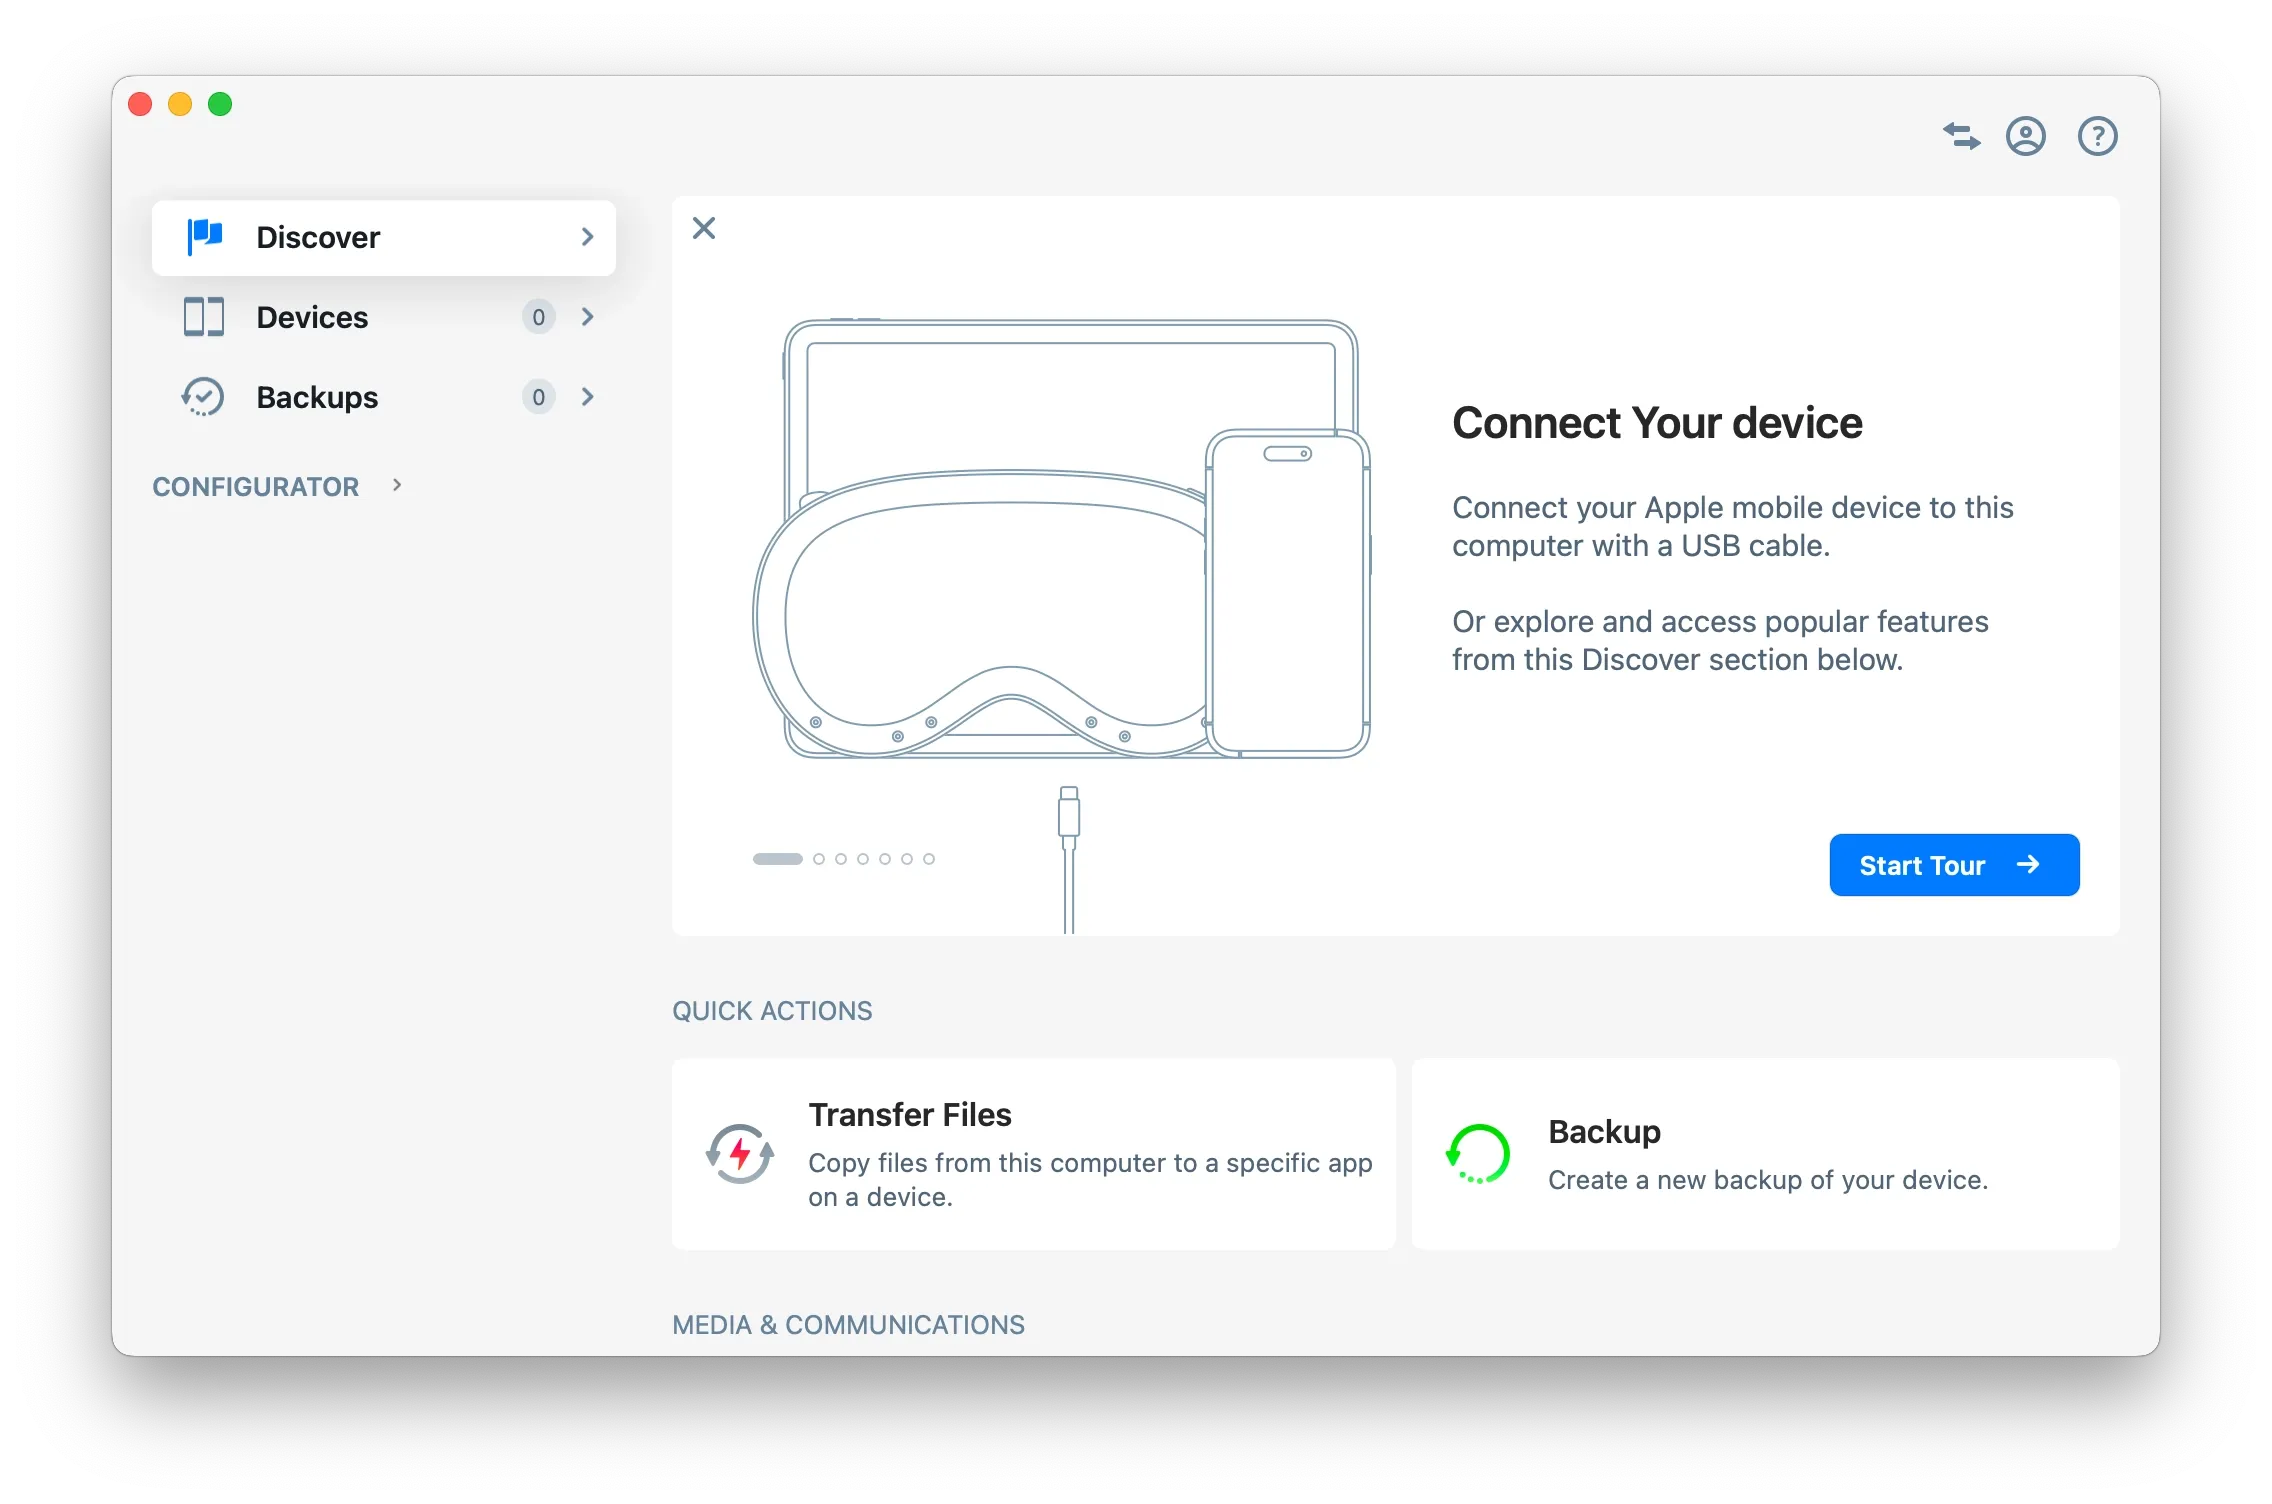
Launch iMazing on your computer
If you haven’t already, download and install iMazing. For more details, please refer to our guide available for PC and for Mac.
Connect your device to your Mac or PC via USB
iMazing will prompt you to connect the device to your computer on the first time you're using it. To do so use a USB cable, and unlock the device using your passcode, Face ID or Touch ID, and follow the instructions for pairing.
Tip: For more details on connections and pairing refer to this guide.
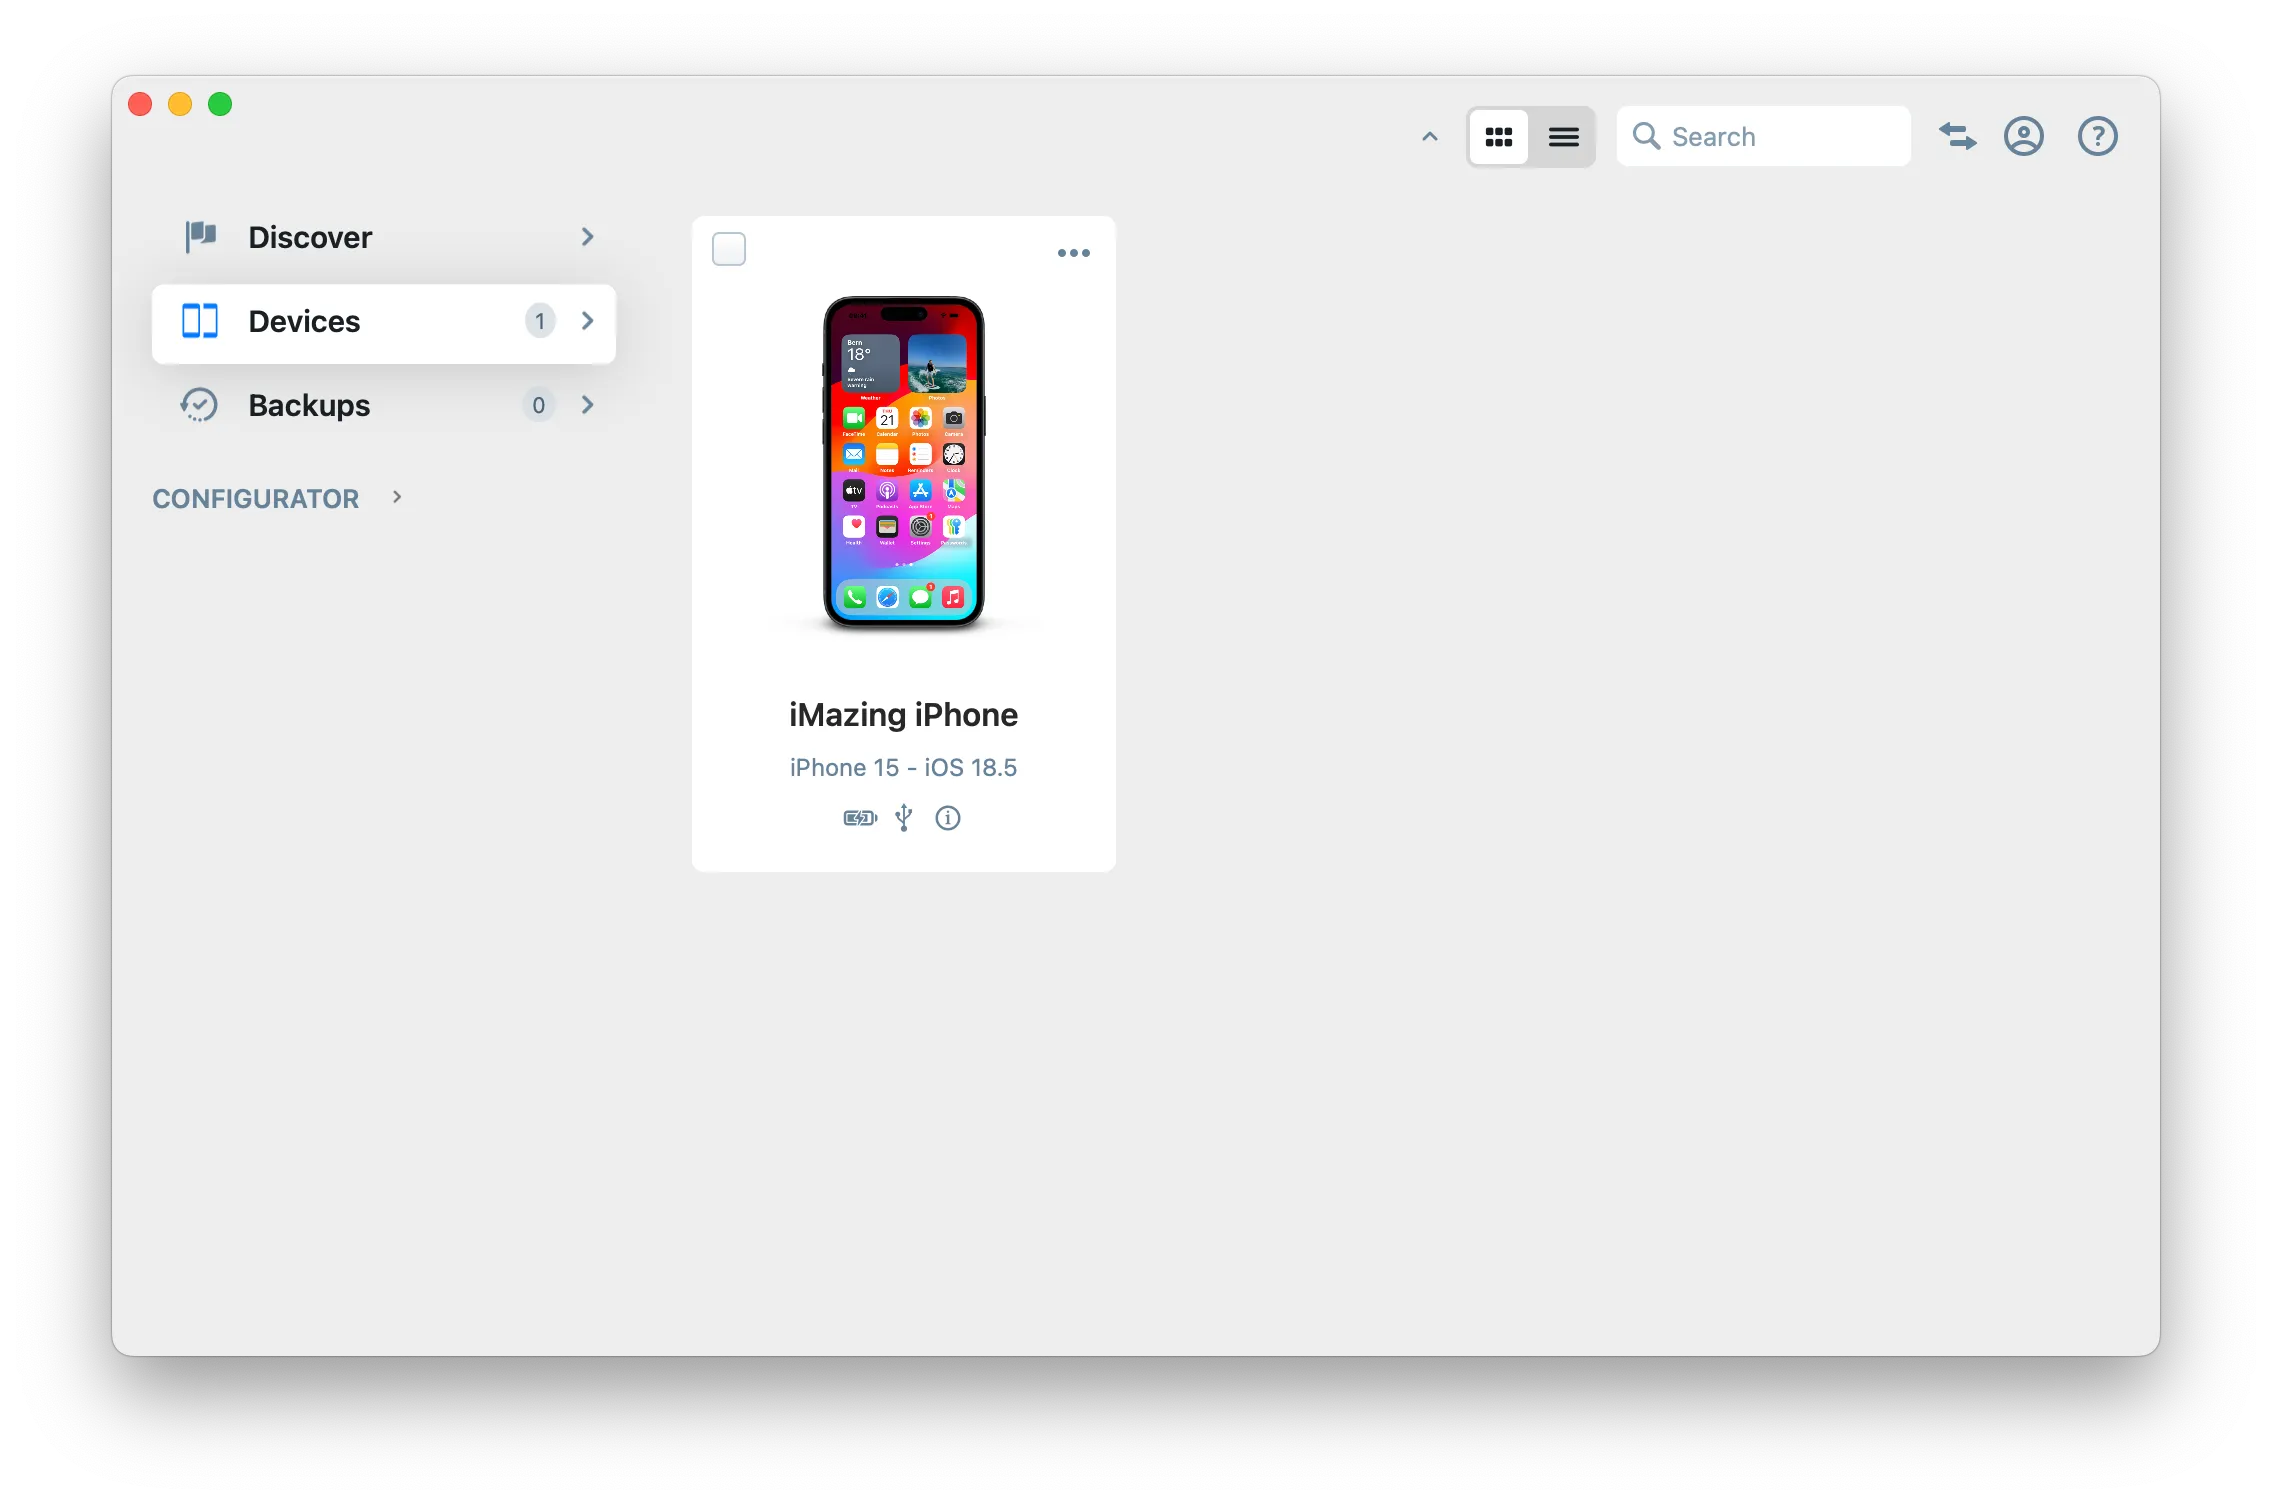
Click on Devices in the left pane
From the devices view you will see all the devices previously connected and paired to your computer. Click to select a device.
Tip
Once your device is connected and paired, you can access any dataset or tool directly in iMazing:
Click on Device Settings
Once you’ve selected a device, iMazing opens its Overview screen. From the left pane, select Settings to access the device’s specific options.
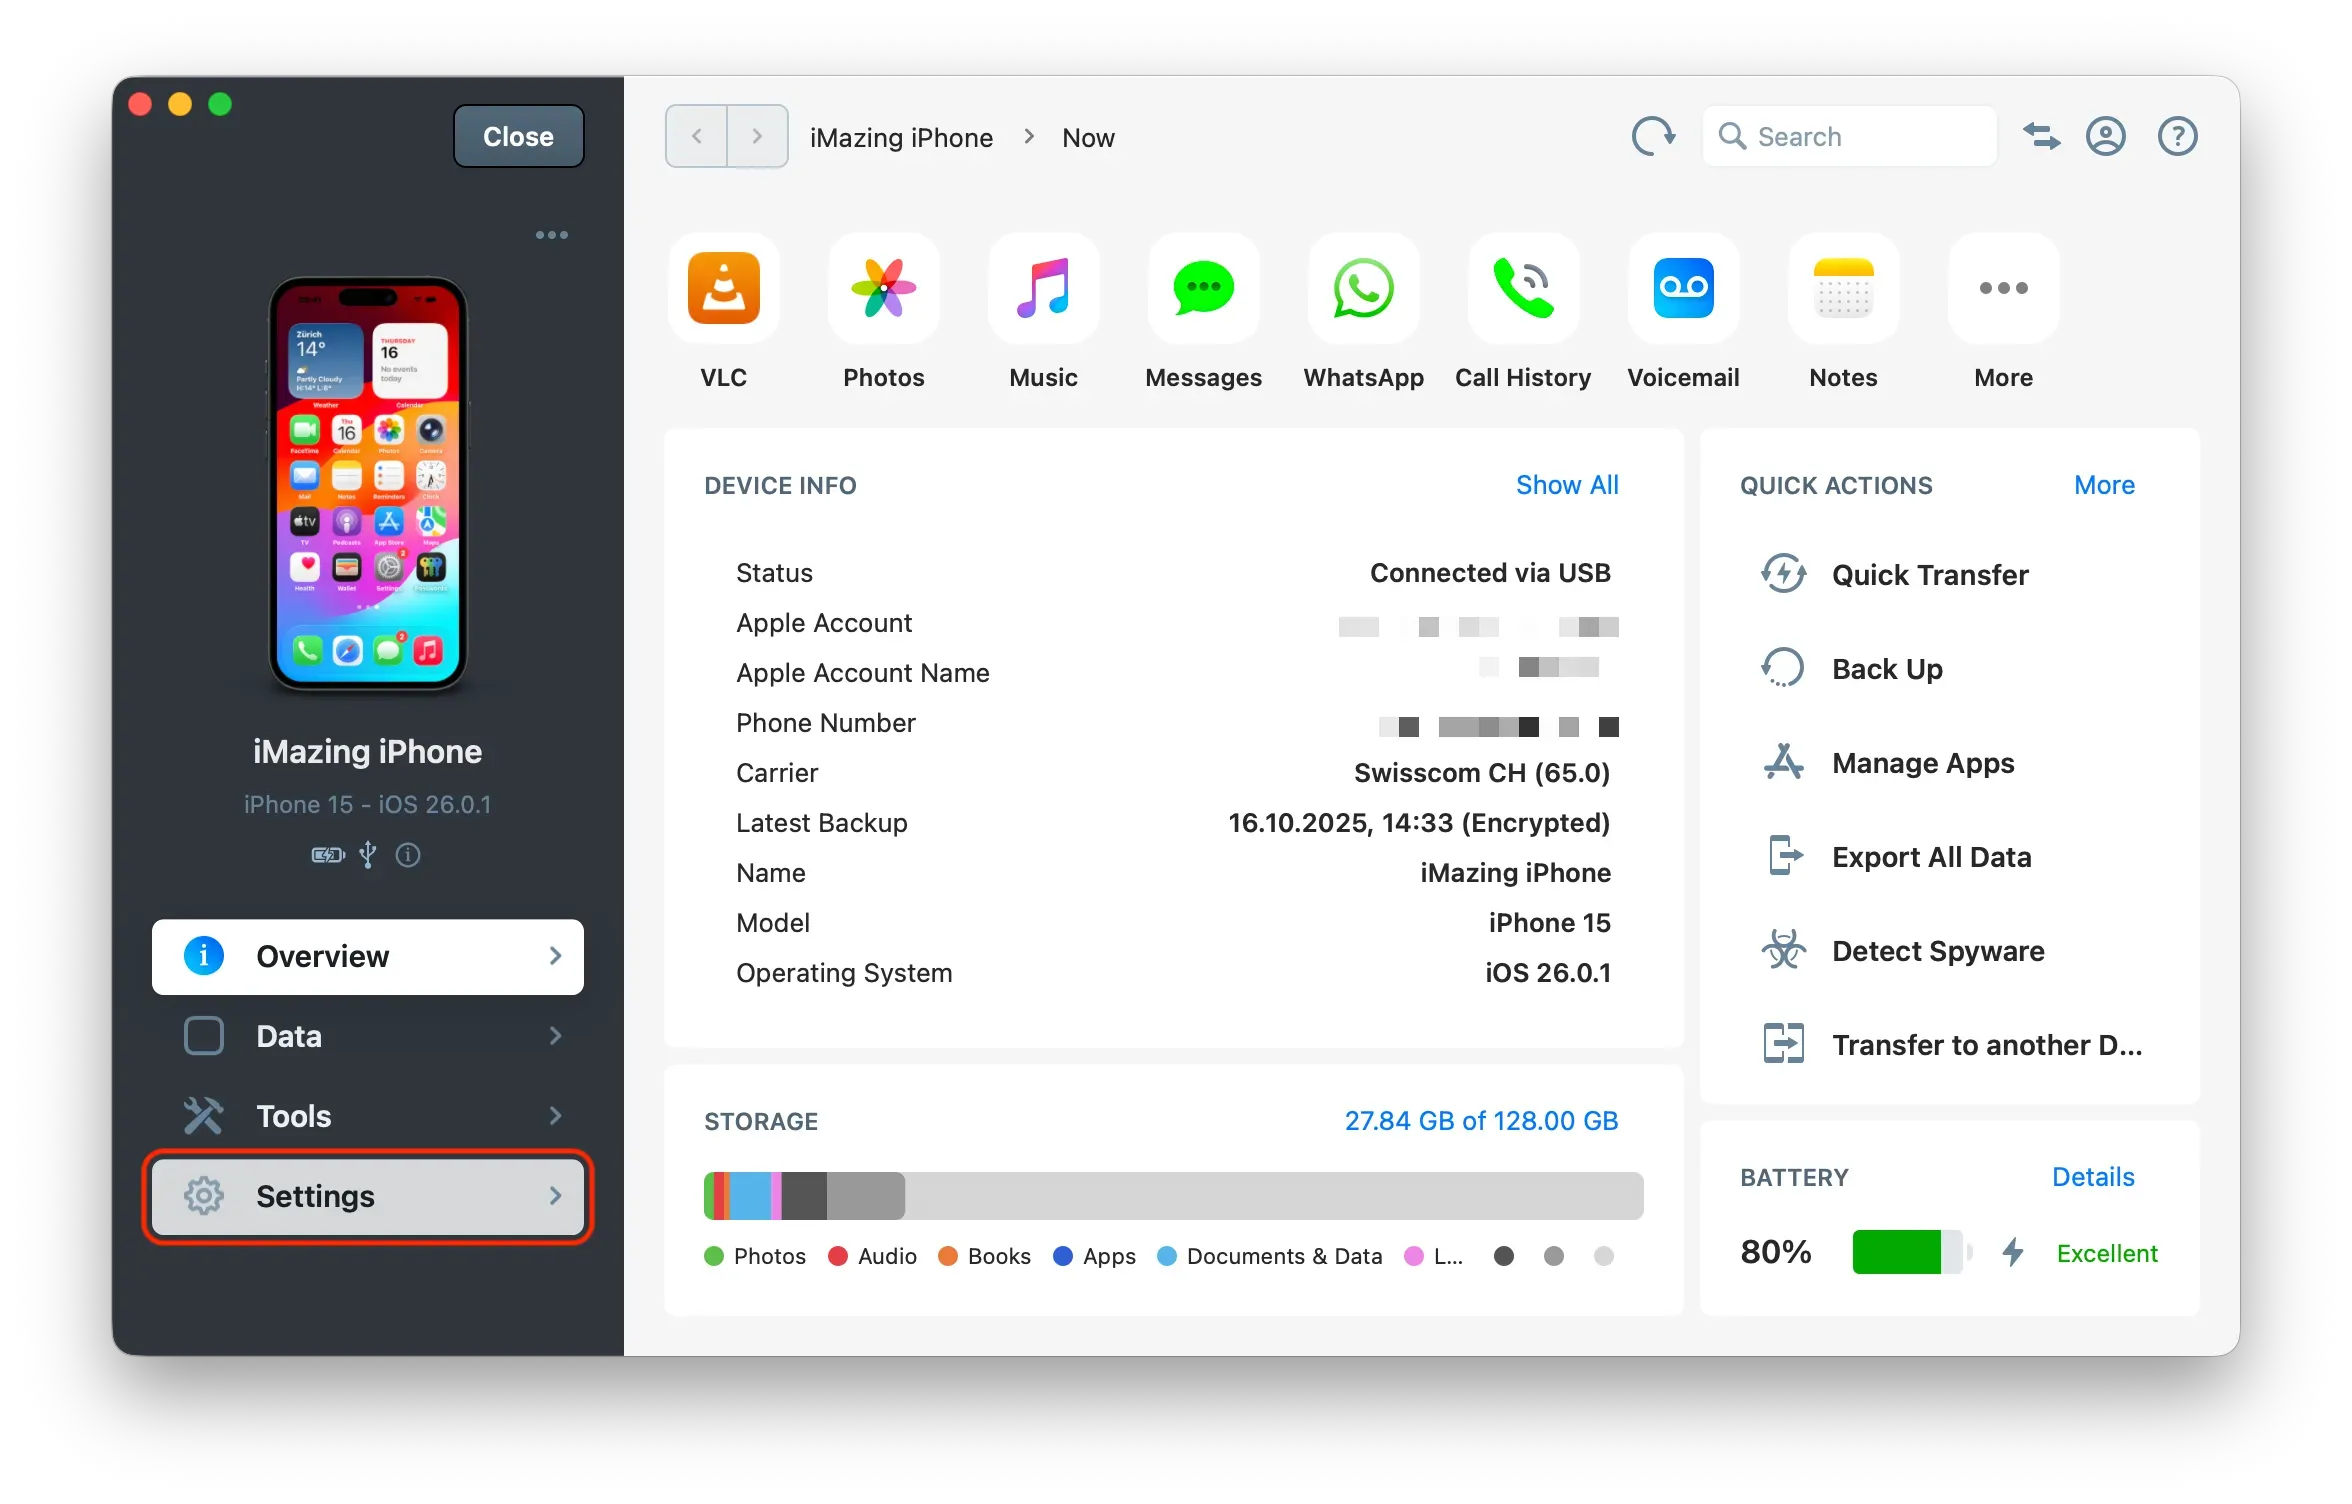
Tip: Device Settings are specific to each iPhone or iPad — including backup location, snapshot retention, and more. To adjust iMazing’s global settings instead, open Preferences from the iMazing menu on macOS or the Edit menu on Windows. See the dedicated Preferences guide for details.
Review backup settings and enable automatic backups
Review on this screen the various backup options available for your device:

Backup Encryption
- Enable encryption to protect backups and include sensitive data such as Health and Keychain items.
- We strongly recommend enabling encryption for all devices to keep backups secure. Learn more about backup encryption.
Backup Location
- By default, iMazing stores backups in its own folder on your computer's main hard drive. We recommend keeping this setting.
- However, if you have large backups, storing them on an external drive can help free up space on your computer. Choose a stable destination with enough free space. Learn more about changing your iPhone or iPad's backup location.
Backup Snapshots
- By default, iMazing keeps one month of backups, then cleans older snapshots.
- Adjust retention to keep every backup or only a single backup.
- Disk usage is optimized, so many snapshots typically add minimal extra space. One month is a sensible minimum. Learn more about backup snapshots.
Automatic Backups
In the Automatic Backups section, toggle Enable automatic backups to turn the feature on.

Besides choosing how frequently automatic backups happen, you can:
- Set a timeframe for your preferred backup time.
- Prevent backups from running if your battery is low.
Tip: If you wish to restrict backups to a specific timeframe, you should allow for at least a few hours. The computer must be awake during the specified timeframe, and your iPhone or iPad reachable via Wi-Fi. Note that if the last backup of the device was made too recently, iMazing will skip a backup in order to preserve disk space.
Once you're done with configuring your backup settings, click Save.
If it hasn't been launched previously, iMazing will offer to launch its companion app, iMazing Mini, which is required to run automatic backups in the background.
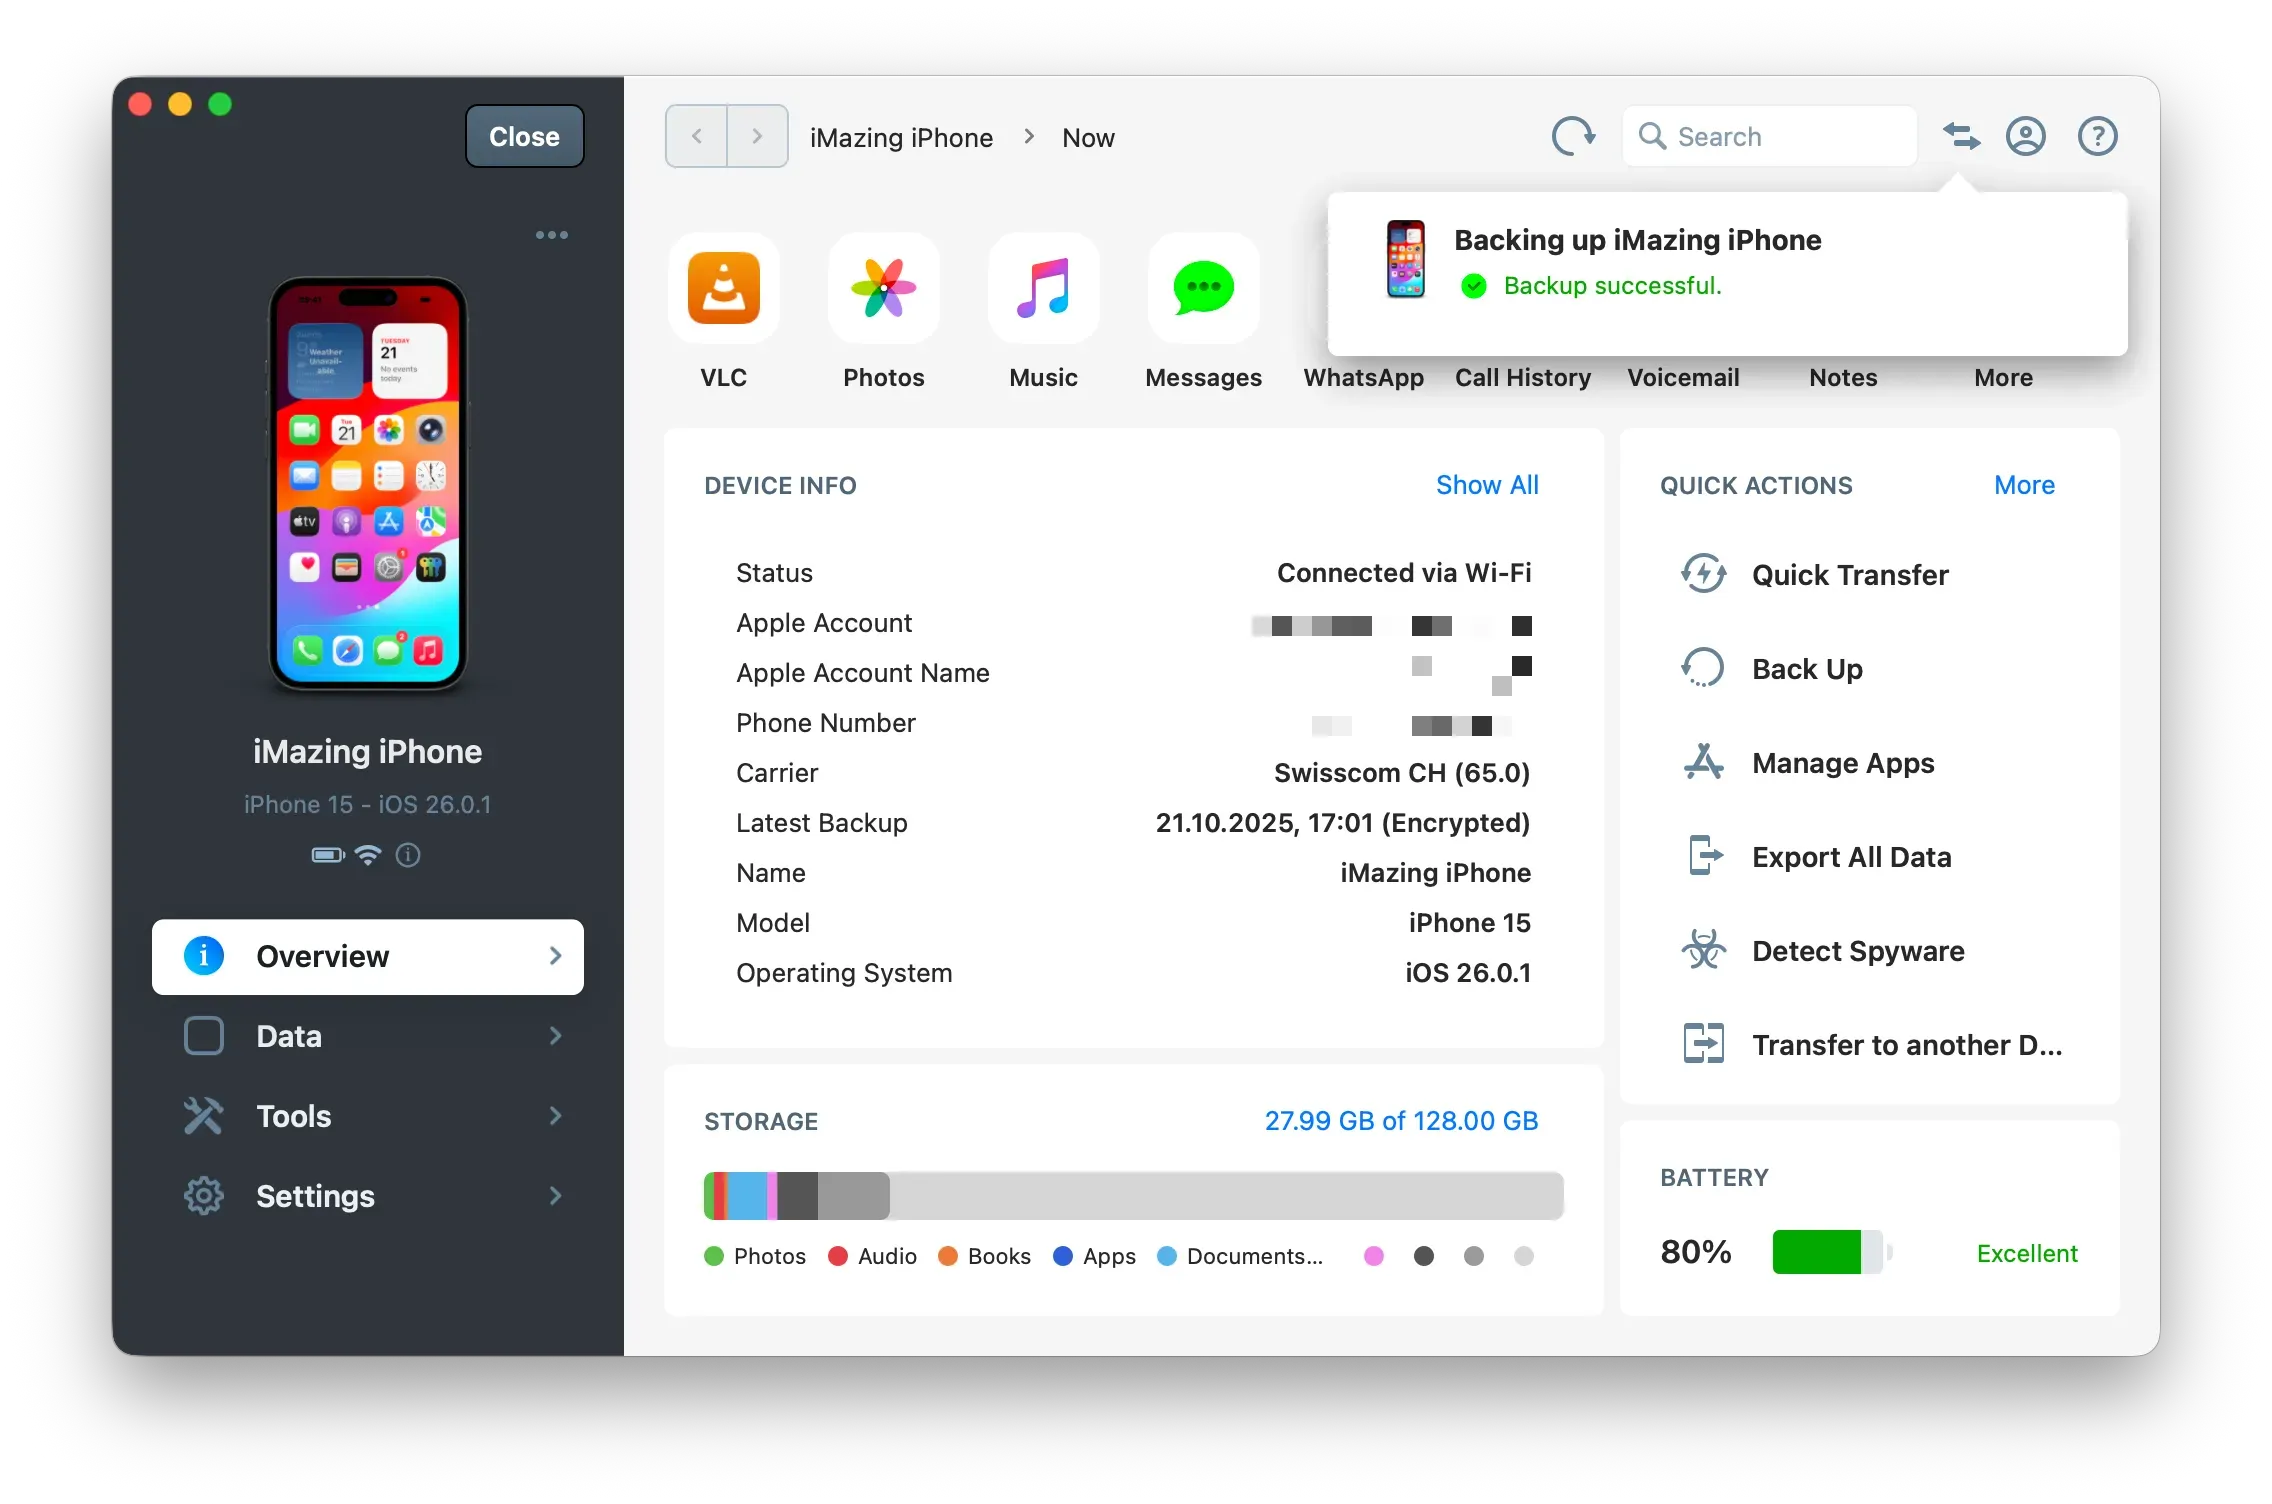
Perform a (first) backup
From the left pane click on Overview to go back in the main section.
- Click on Back up to start a manual backup of your device.
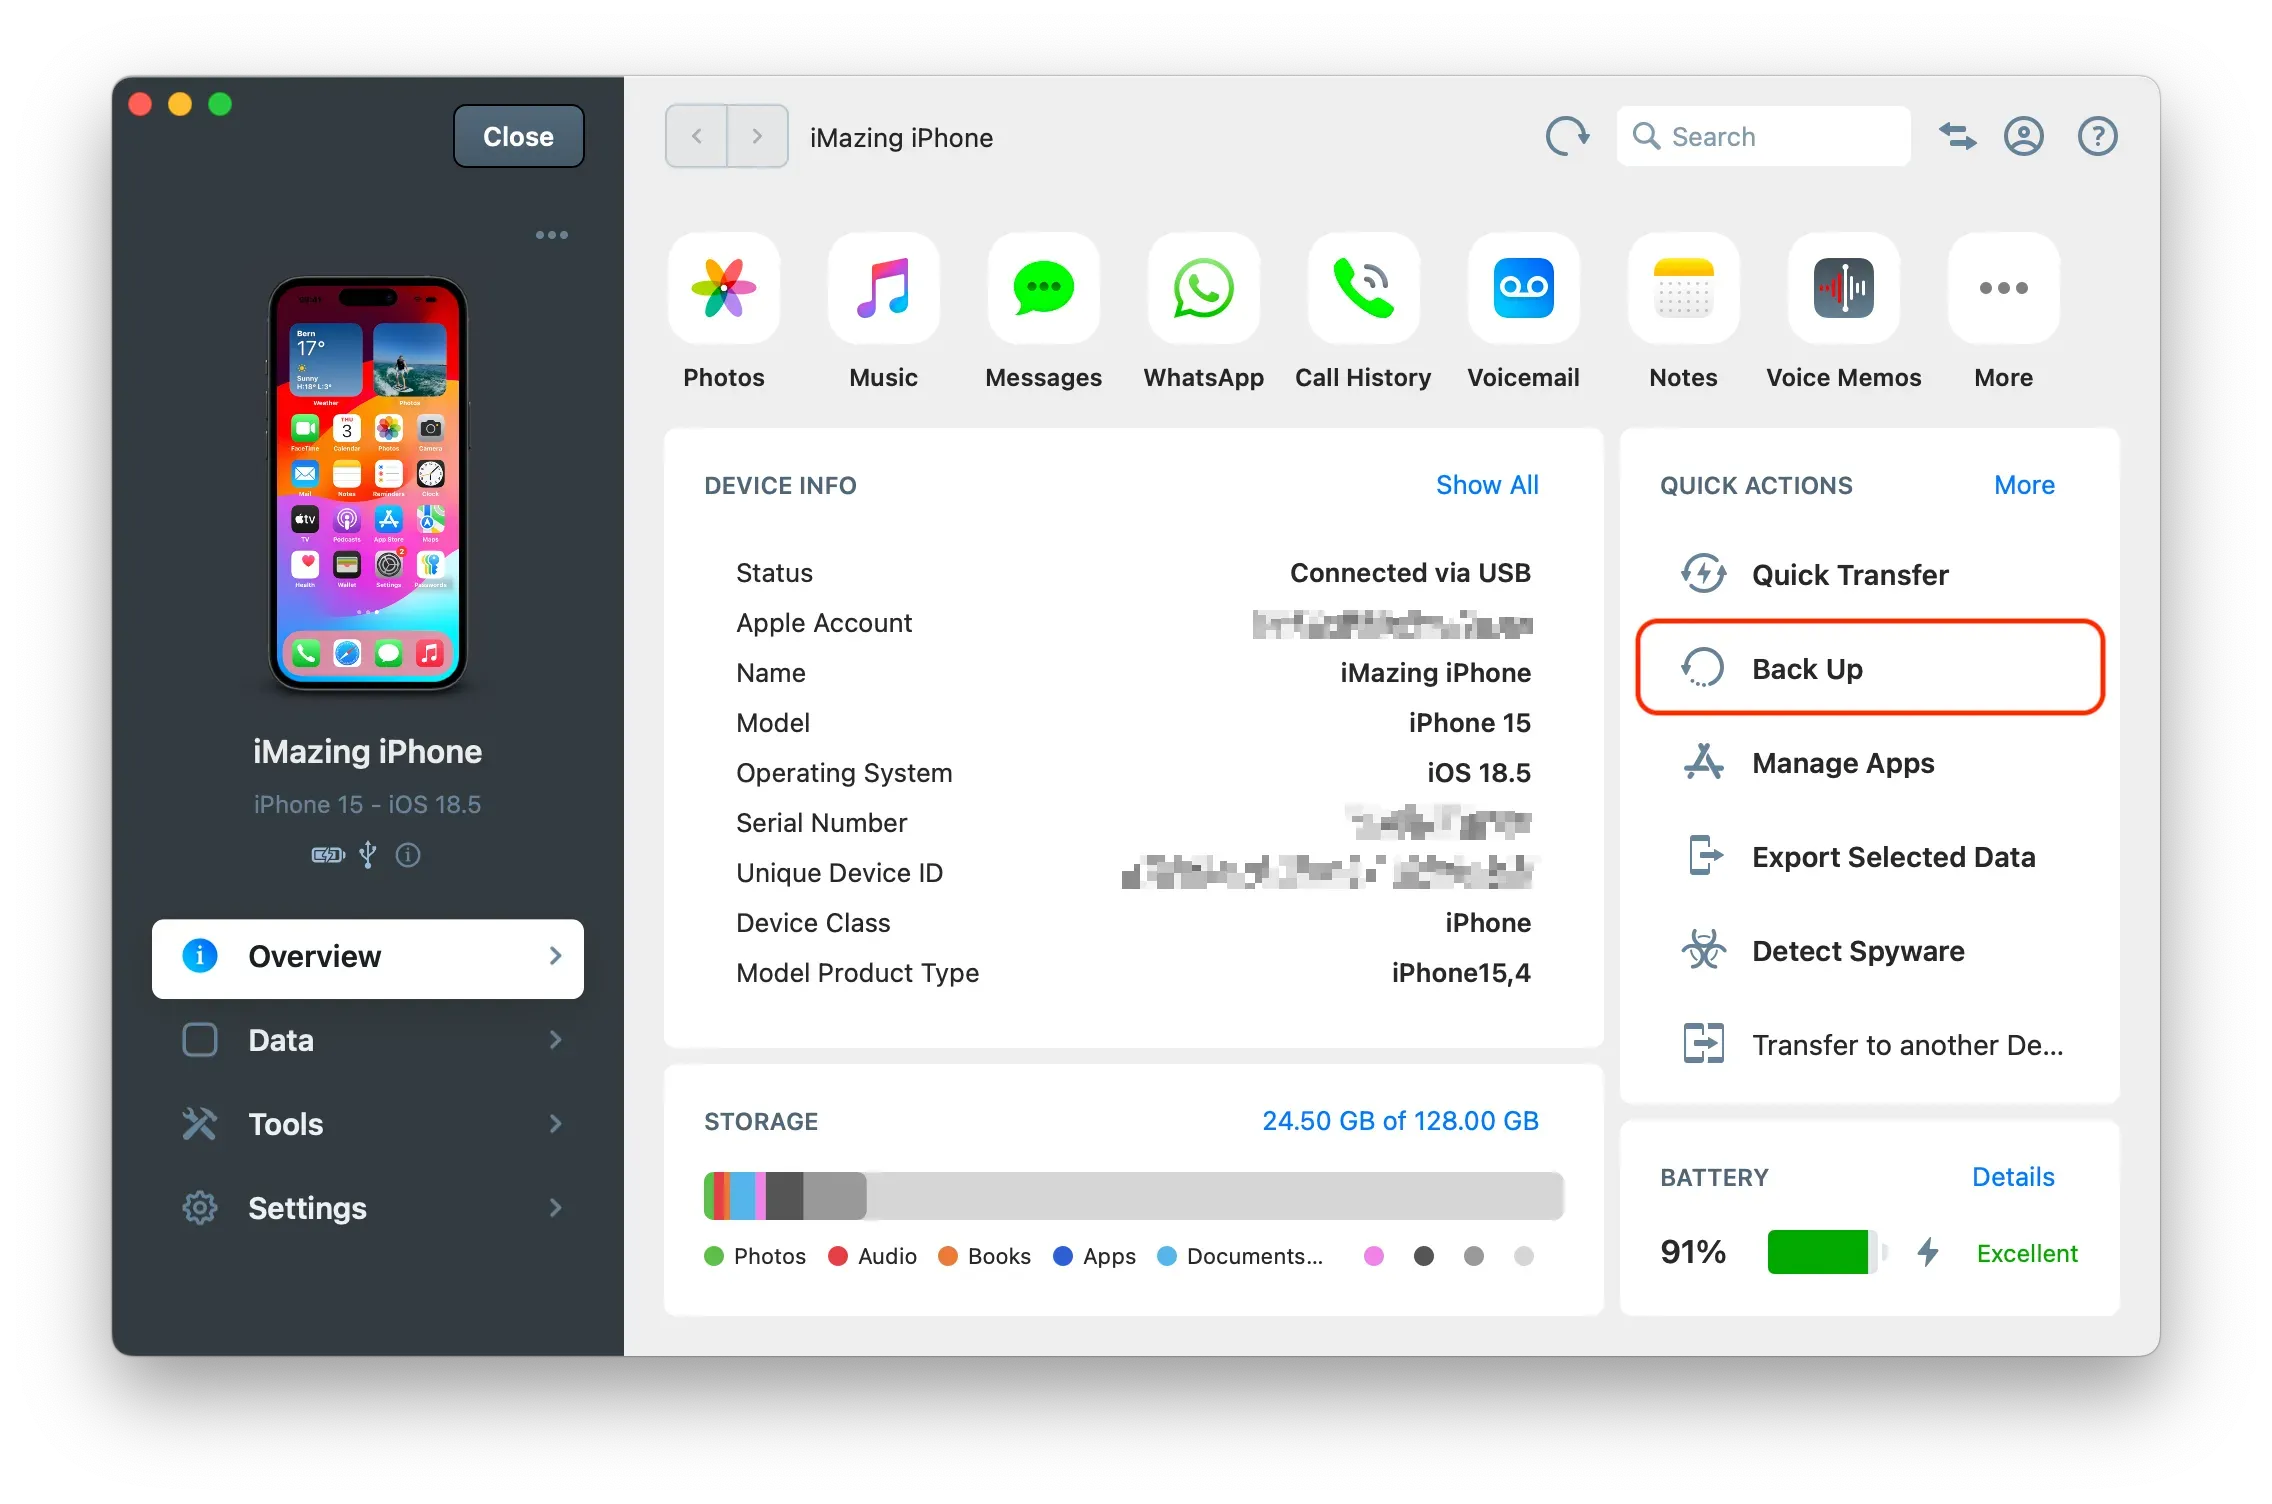
Note: If this is your first backup, you’ll see the same options as in step 5. Simply click Backup at the bottom of the window to start the process.
- Keep your device connected via USB for the initial backup. The first backup takes the longest, and USB is faster.
- Subsequent daily backups are incremental. Even over Wi‑Fi, they typically complete in under 15 minutes, and often much faster if you haven't added many new photos or videos.
Tip: If you experience a slow backup, consult our guide Understanding & fixing slow iPhone or iPad backups.
Important
Since iOS 16.1, Apple has implemented an additional security measure requiring you to enter your device passcode to authorize backups. iMazing or iMazing Mini will display a dialog prompting you to get ready to enter your passcode. You simply need to take your device, unlock it with Face ID or Touch ID, or enter your passcode.
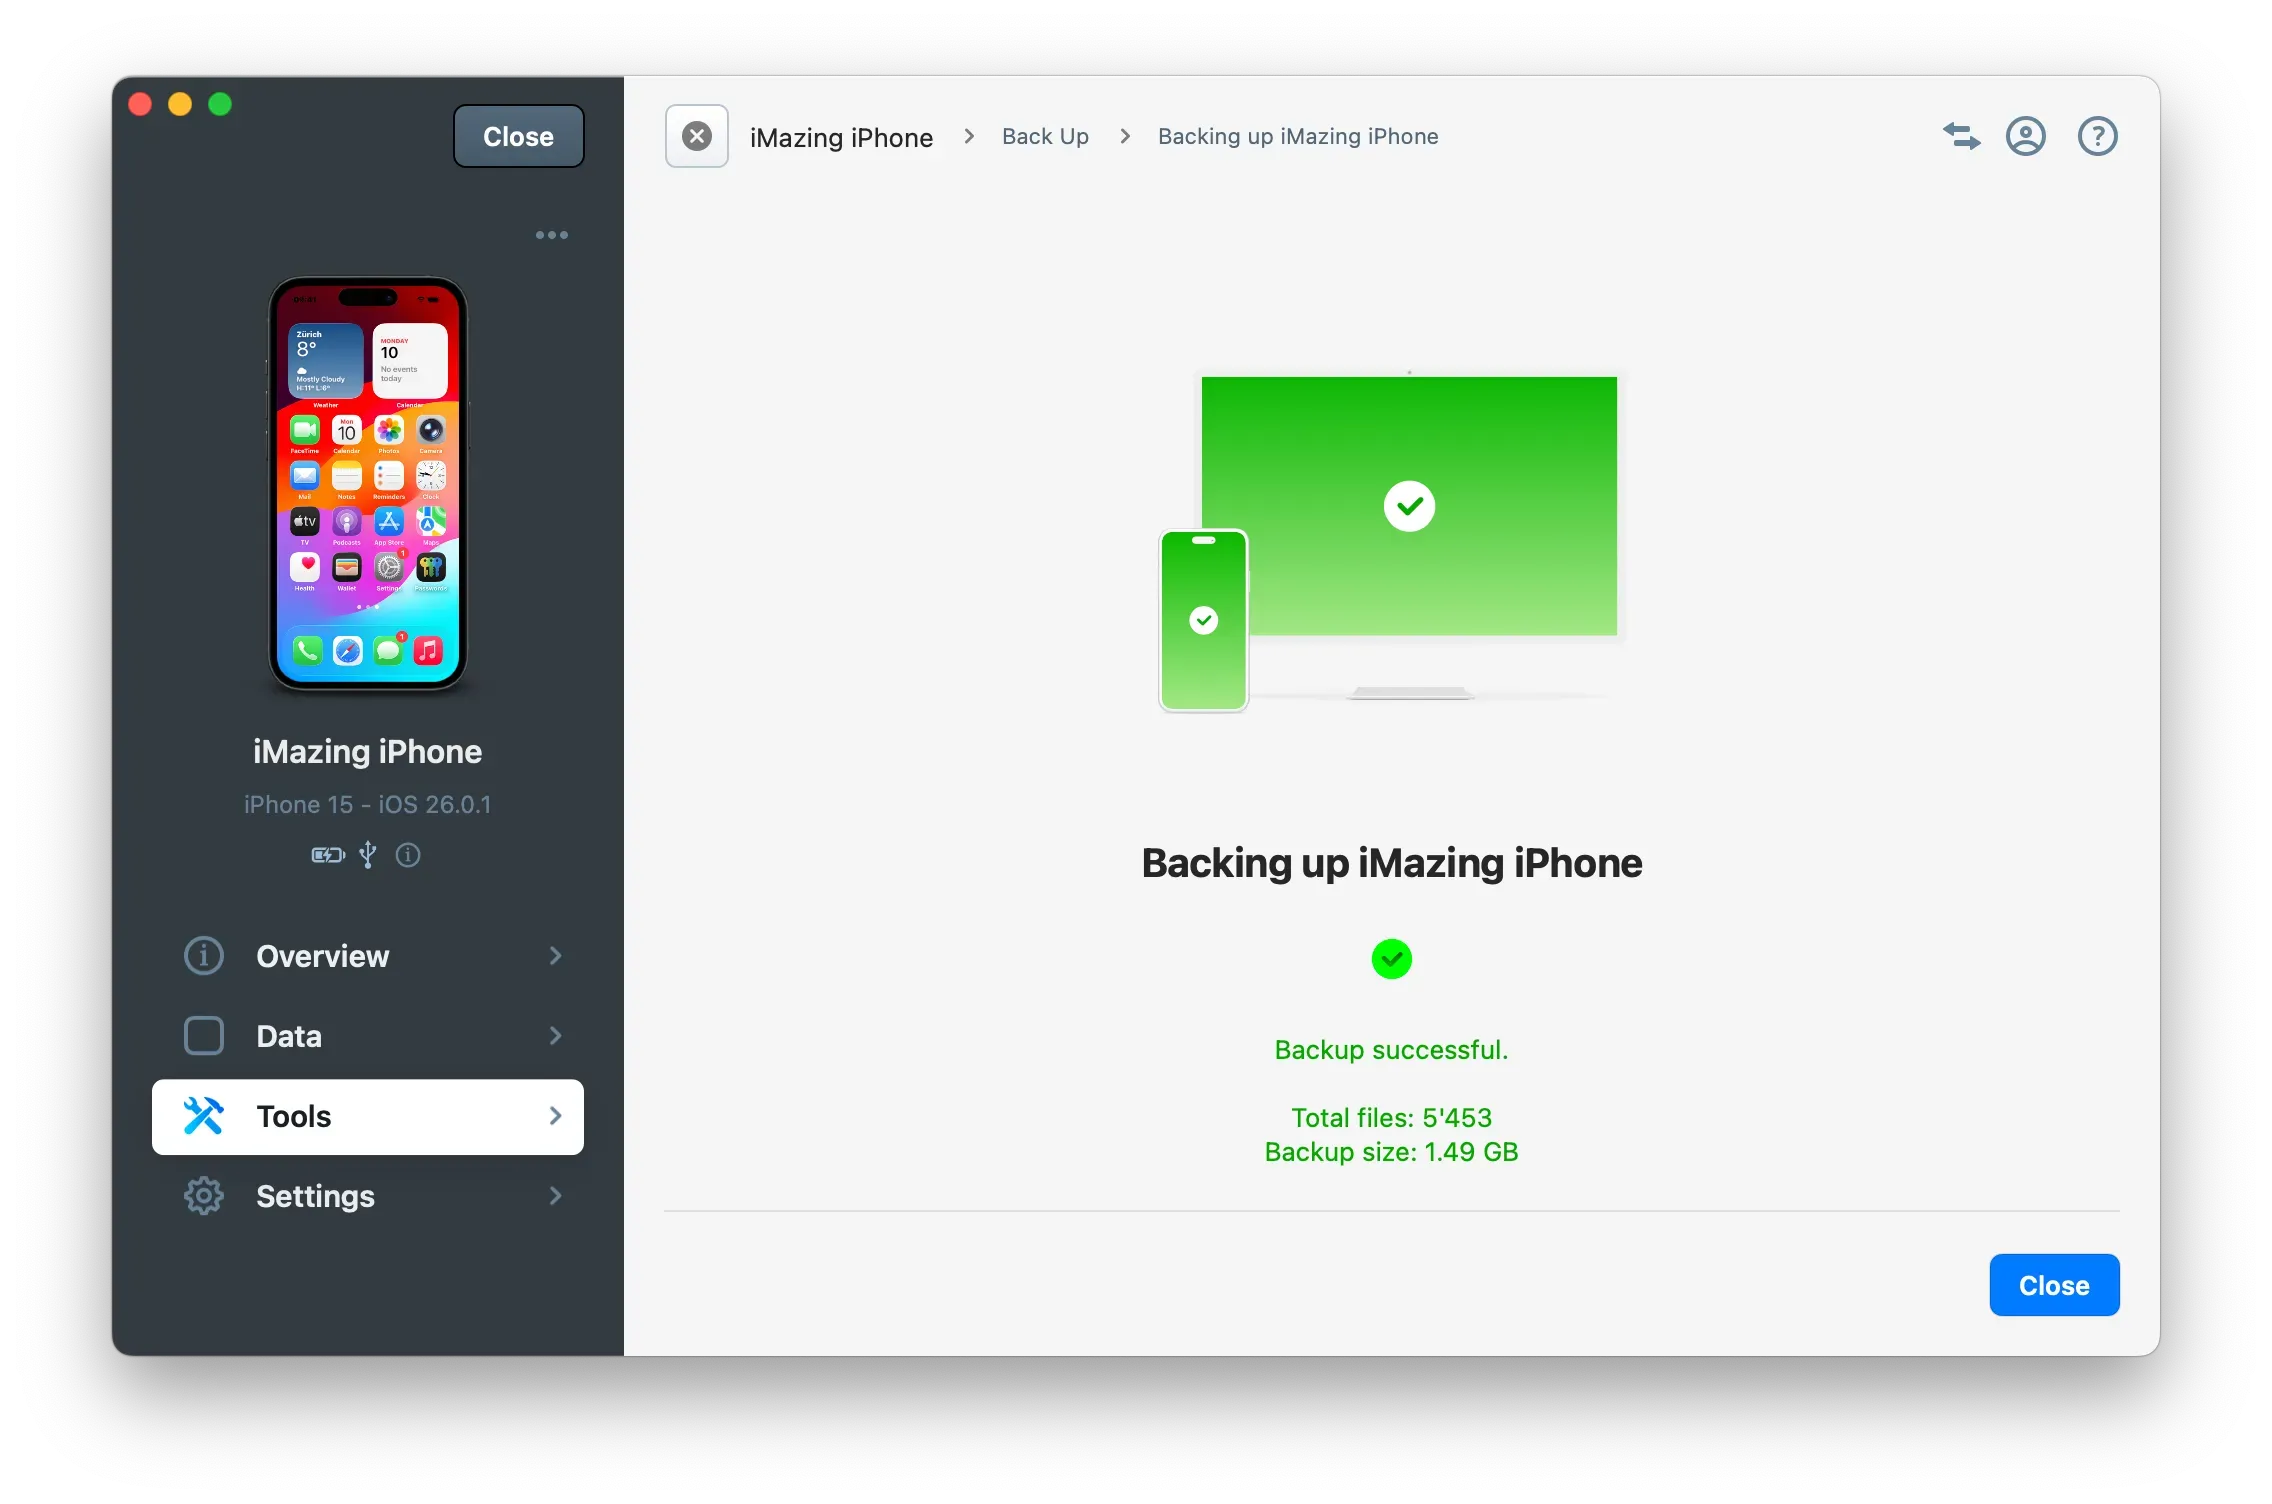
Once the initial backup is finished, click Close to close the backup wizard and return to iMazing's main view.
Next scheduled backup
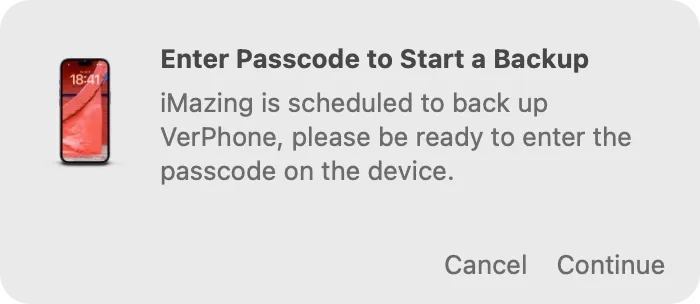
Once you're all set up, iMazing Mini will automatically back up your device the next time it's detected over Wi-Fi, based on your backup schedule. When this happens, iMazing Mini will prompt you to enter your device passcode to authorize the backup.
- iMazing Mini is preparing to perform a scheduled backup and informs you that you'll need to enter your passcode on your device.
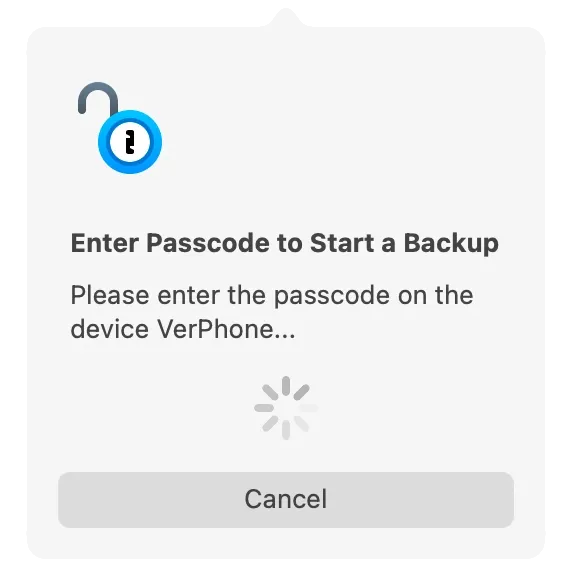
- iMazing Mini has started the process and is waiting for you to enter your passcode on your device.
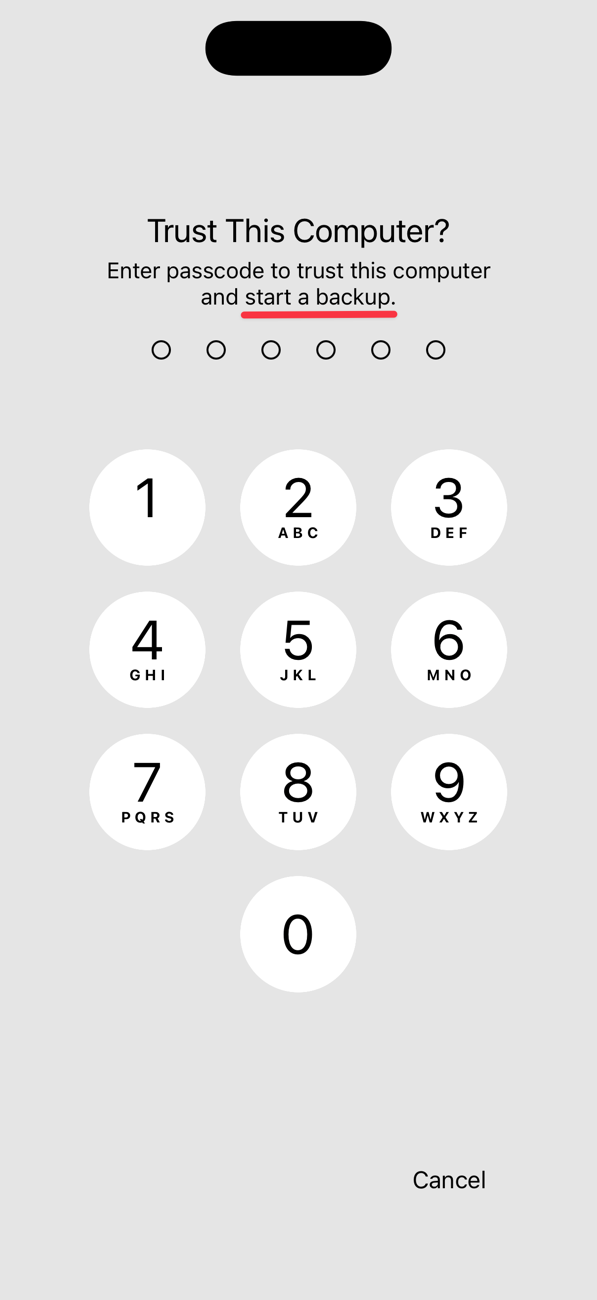
- On your device, you'll see this screen when you're asked to enter your passcode to start a backup.
Important: If you manually trigger a backup with iMazing or iMazing Mini, iMazing Mini will recognize it as completed and skip the next scheduled backup. Don't expect an automatic backup on the same day you've performed a manual one.