How to Take Amazing iPhone Photos
It's no secret that over the years, iPhone has revolutionized the photography industry. Apple directs plenty of effort to stay at the top of the smart photography game, bringing new hardware and software camera features to its flagship iPhone models every year. As a result, modern iPhone cameras are also more complex than they used to be – point and shoot works great, of course, but to take truly stupendous shots you'll want to invest just a bit of your time to learn how to make the most of the technology. It's worth it, we promise.
Today, we welcome Mark Condon from Shotkit to bring you some essential tips straight from a pro photographer. Read on, and find out how to use your iPhone's camera like a pro this year!
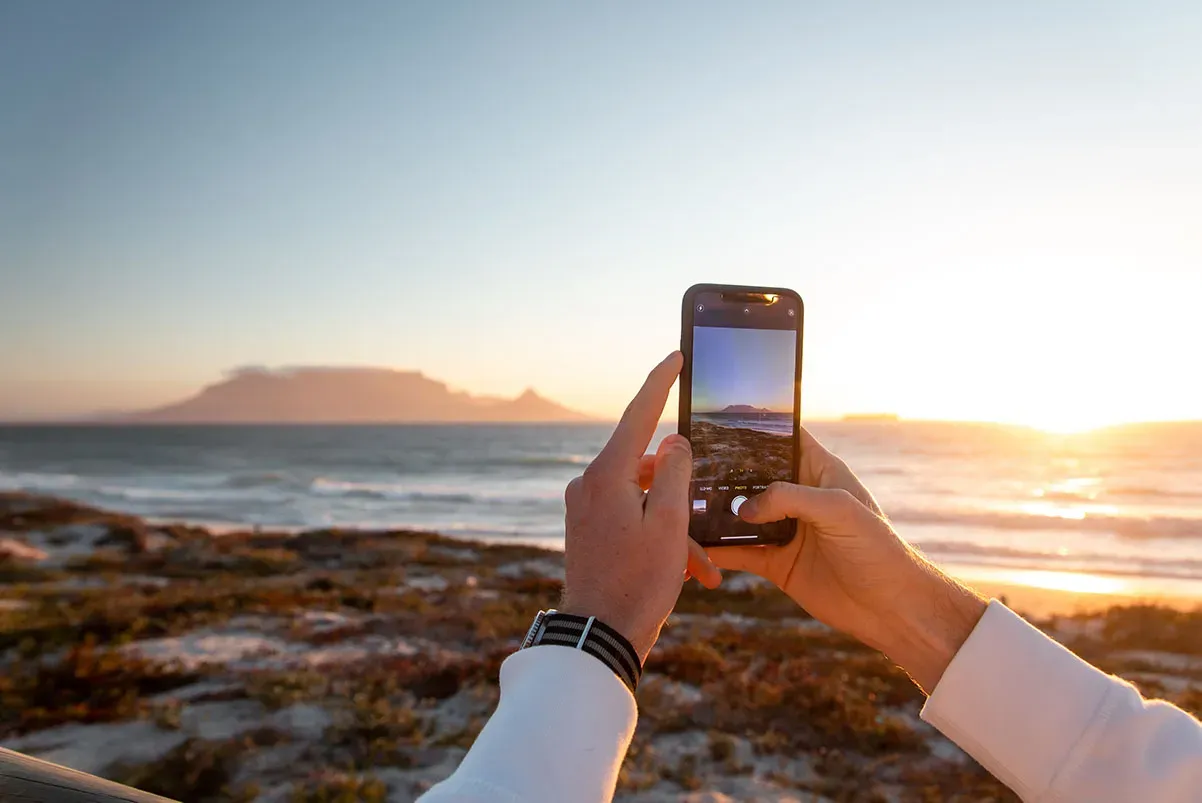
1. Photograph at night
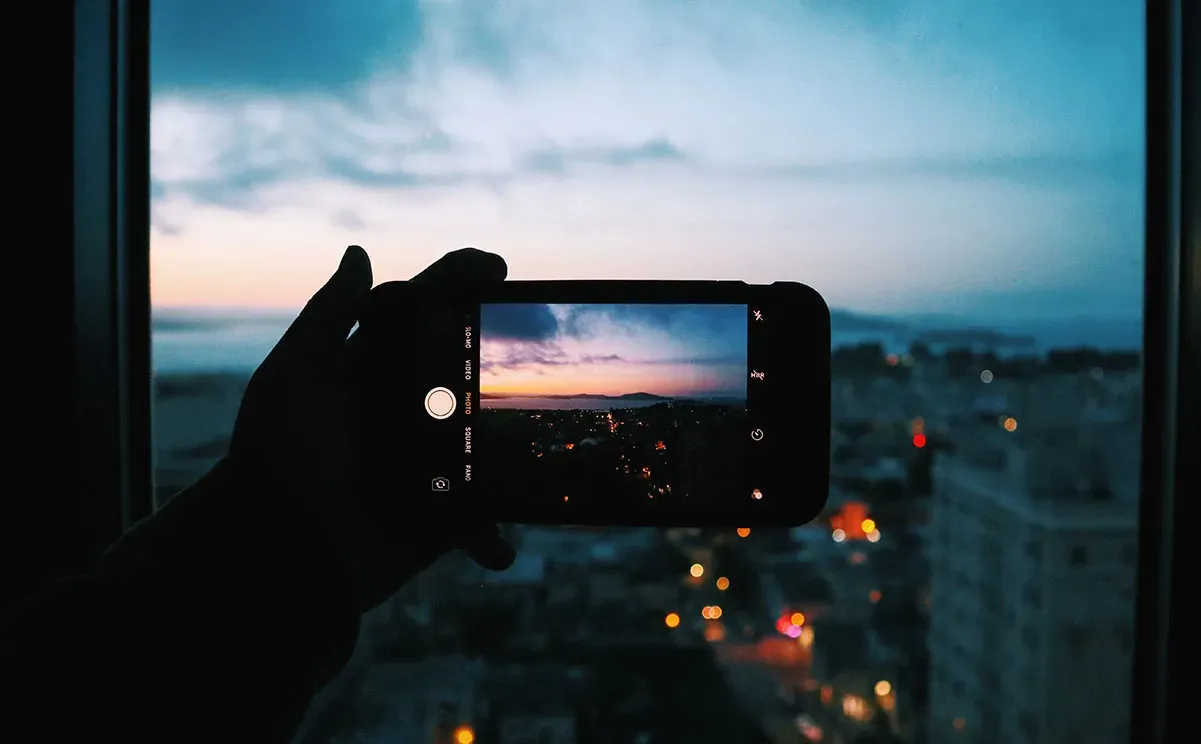
The iPhone 11 and subsequent models have a wonderful night feature that allows you to capture detail in low-light conditions.
It works by taking multiple shots and then blends them to give you a noise-free high-quality image, often better than expensive dedicated cameras!
If you have an older model, or you want to use the ultra-wide-angle lens of your iPhone (which doesn’t support the night mode), there are some things that you can do.
You can adjust the exposure of your photo by tapping the screen. Then the iPhone will set the focus to that point and calculate the exposure. Now you can swipe up and down to adjust the exposure.
You’re going to need a smartphone tripod or stand to prevent any camera shake since the iPhone will use a slow shutter speed to let in the light for a longer time to make the image brighter.
If you have a moving subject that doesn’t allow you to use a slow shutter speed, then raise the ISO. The downside to this is that it will add some noise.
Fortunately, you can then reduce noise using most popular photo editing apps like these.
2. Get photography accessories
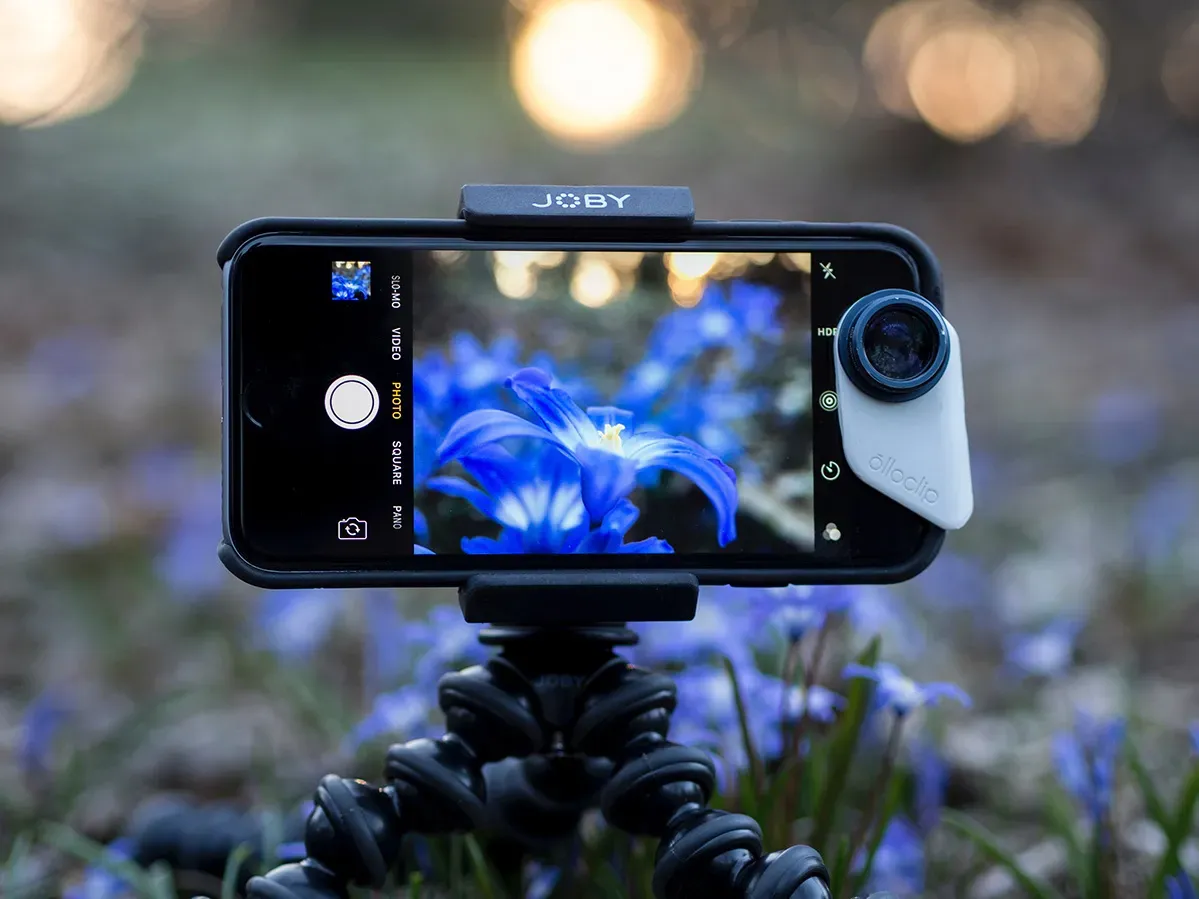
To widen the photographic possibilities of your iPhone, you can buy some specially developed accessories.
- A tripod is one of the most useful accessories you can buy. With it, you can avoid getting blurry images when you’re shooting in low light, and you can use it for self-portrait photography too.
- A set of lenses is also handy to expand the range of focal lengths. This will add variety to your photography.
- Finally, an LED torch will help you avoid using the unflattering flash from your phone in those situations where you need some extra light.
A pro tip is to use a piece of tissue paper to diffuse the light from a torch to create much more flattering ‘soft’ light.
3. Make Live Photos
Live photos is an iPhone feature that records a short video before and after you take a photo. To be more precise, it records 1.5 seconds before and 1.5 seconds after.
Using this, you can see your picture with movement and sound. You can later post a Live Photo on your social media, turn it into a GIF, or set it as a Live Wallpaper.
iMazing actually allows you to transfer and store both the movie and the picture files related to each Live Photo.
4. Improve your composition

Refining your composition skills can drastically level up the results of your photos. With composition, you can direct the attention to the main subject and make an image more dynamic for the viewer.
By default, the iPhone camera has a grid with the rule of thirds. This however is one of the most basic rules of composition. You can download a third-party camera app that has a wider variety of grids, such as the golden spiral or the golden grid.
You can also improve your composition by using leading lines, color, shapes, or texture. Dedicate some time to analyze the photos that grab your attention on Instagram or Pinterest to see how other professionals are doing it.
5. Zoom
If you’re not using external lenses, you can zoom in to fill the frame with your subject, avoid distracting elements and make a better composition.
With all iPhones, you can use the zoom by pinching the screen with two fingers. However, for models that have more than one lens, you can toggle between them to zoom in and out.
iPhone 11 has a wide-angle and an ultra-wide-angle lens. The pro series even comes with a telephoto lens. With these iPhones, you can go from 0.5x to 10x.
All you need to do is tap on the 0.5x, 1, or 2. Otherwise, a wheel will appear and you can tap and slide your finger to adjust the zoom. The way it works will depend on which iPhone model you have.
6. Improve your selfies

The iPhone camera is full of features to improve your photographic skills, including one of the most common genres of smartphone photography: the selfie.
The first tip is to use Portrait mode, which will blur the background which is a powerful tool to make you stand out. Also, it will give you different lighting effects for you to choose from.
Pro tip – you can alter the aperture even after you’ve taken the photo. Just click the f-number icon in the top left of the screen to adjust it. A larger number will mean more background in focus and vice versa.
Another trick is to use burst mode to take multiple shots per second, this way you can choose the best smile, the best angle, and the best look.
The more choices you have, the better the chance of capturing the perfect shot. Later you can browse and cull them on your computer using iMazing.
You can combine burst mode with the self-timer if you want to step away from the camera or do an action shot. For example, jumping in front of the sunset - a very popular Instagram post.
7. Take advantage of the new ProRAW format
Since iOS 14.3, Apple introduced another exciting development for owners of an iPhone 12 Pro or Pro Max – ProRAW.
ProRAW is an uncompressed image format which allows photographers to leverage all the benefits of the RAW format and still enjoy advanced computational photography capabilities such as Smart HDR or Deep Fusion.
To enable ProRAW, follow these steps:
- Open the Settings app on your iPhone
- Scroll down and tap Camera
- Tap Formats
- Tap the switch labelled Apple ProRAW
- When you launch the Camera app, you'll see a RAW icon at the top right which you can tap any time to enable or disable ProRAW capture.
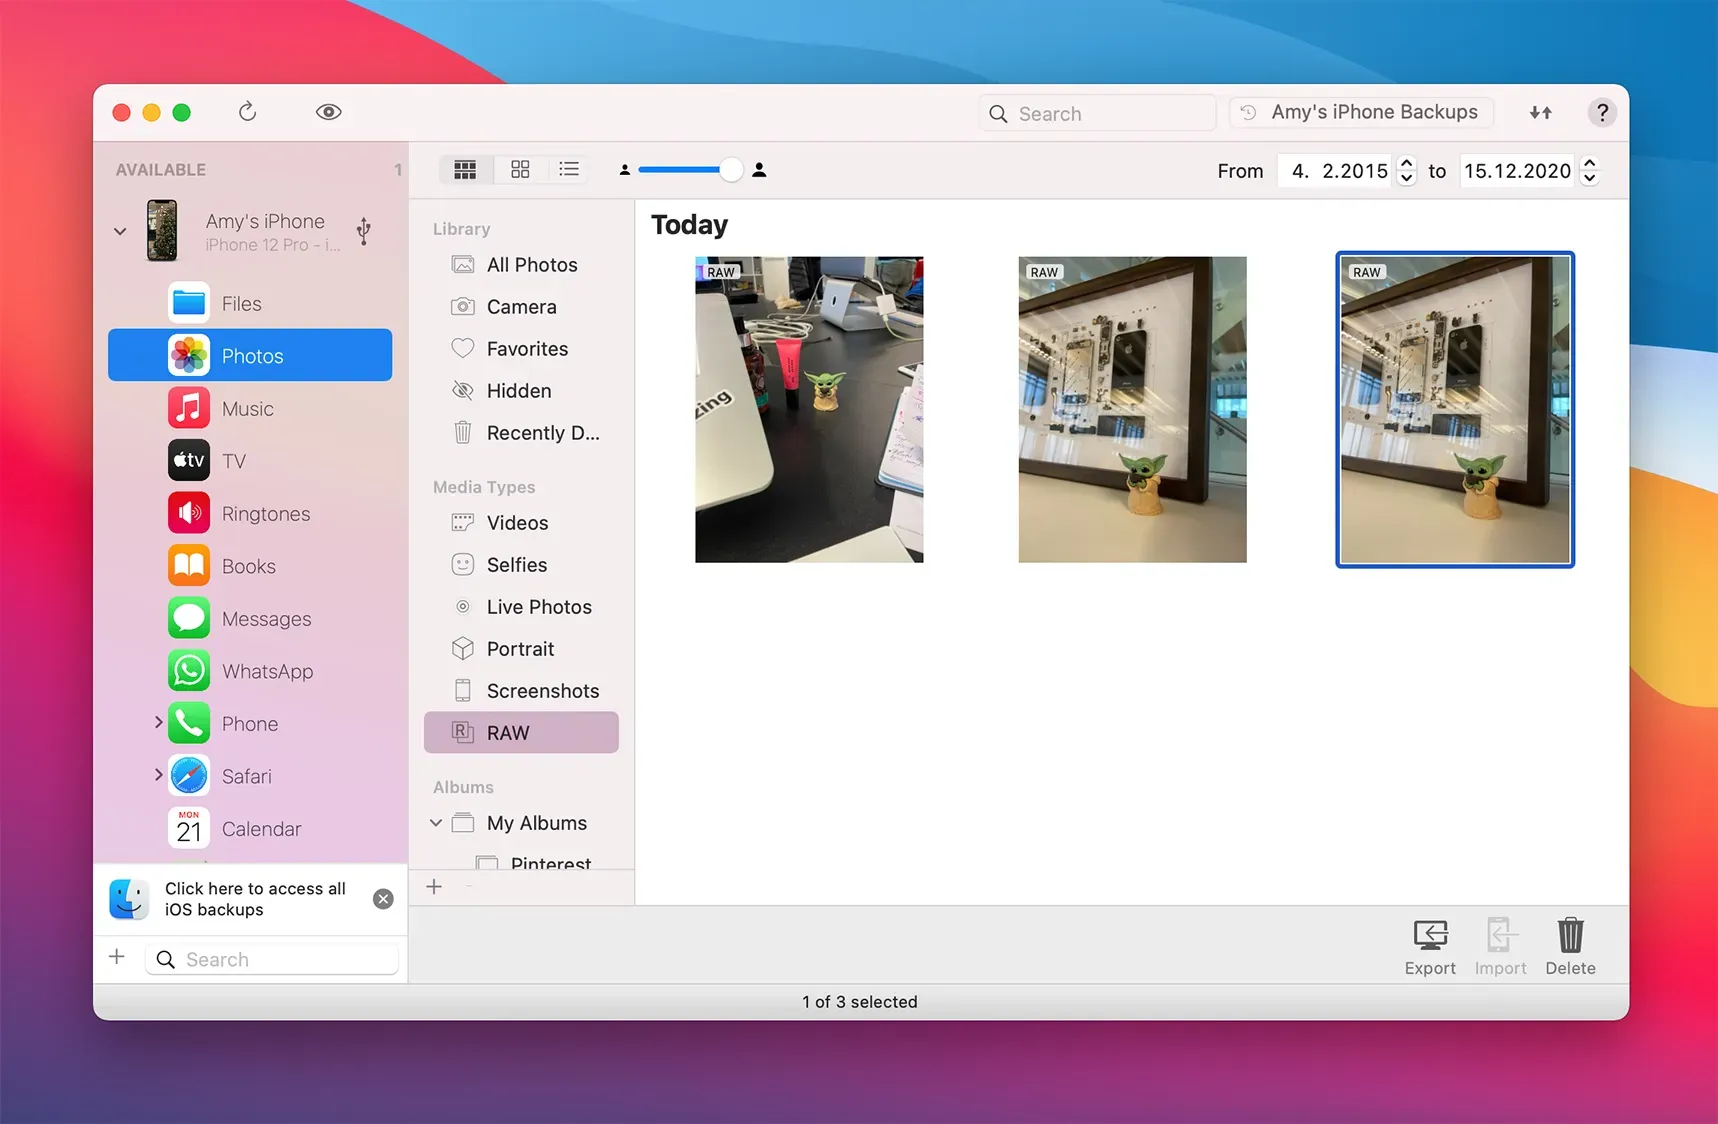
With iMazing, you’re able to browse and extract your ProRAW shots to your Mac or PC. This is especially useful for making backups, since photos shot in ProRAW are on average 10x the size of those shot in HEIC format.
By transferring your ProRAW images to your computer via iMazing, you can save on iCloud storage costs, as well as maintain a healthy amount of space on your iPhone.
8. Back up your iPhone photos frequently
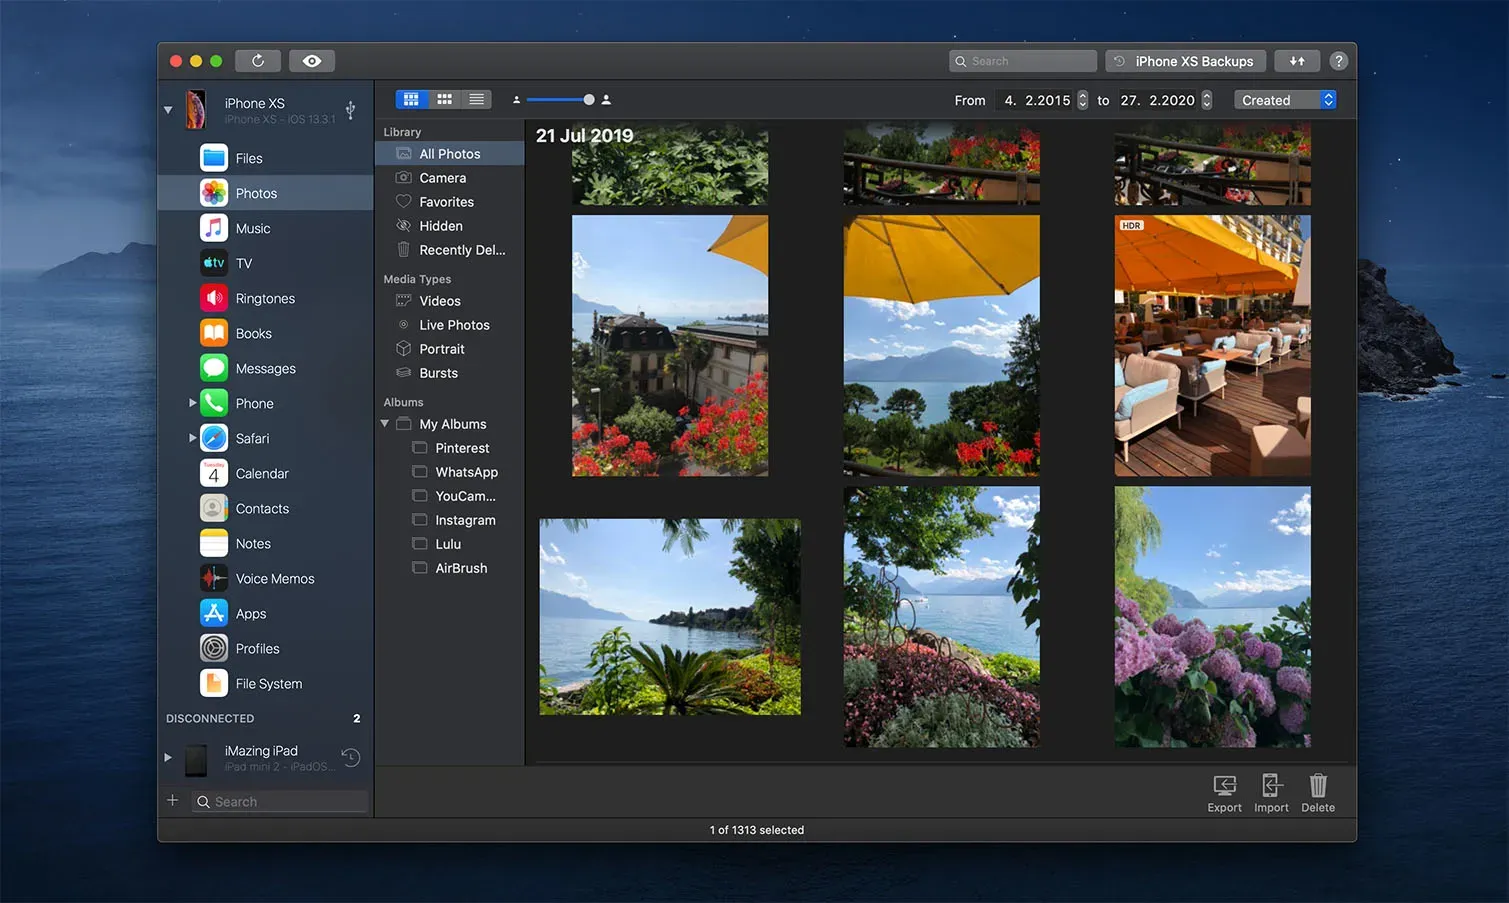
Backing up your photos is always a good practice - it doesn’t matter if you use a camera or a phone. This operation often gets postponed because it can be very tedious. Fortunately, iMazing has made this fast and easy - both on Mac and Windows.
With iMazing you can connect your iPhone to your computer and have the thumbnails and metadata from your entire photo library to browse, transfer and backup. You can also access the previous backups to find images you’ve erased from your phone, just in case you changed your mind about them!
If you want to know more about it or give it a try, you can check it out here.