Get App Bundle ID, Team ID, and Code Requirement
Updated on Mar 30, 2026
Reading time ~4 minutes
Macs offer admins a comprehensive list of options for managing apps and their permissions with configuration profiles. Admins can grant apps with Privacy Preferences Policy Control (PPPC) permissions, allow them to use notifications, force their background agents, approve their system extensions, and more.
The challenge is that using these options requires you, the admin, to identify your apps by their bundle ID, team ID, and code requirement — details which apps do not readily expose.
In recent years, new macOS versions have added more and more payloads that make use of these details, up to a point where admins can no longer avoid using at least one of them — making app configuration both non-optional and possibly laborious. That is, of course, if you don't use iMazing Profile Editor.
Getting bundle ID, team ID, and code requirement using iMazing Profile Editor
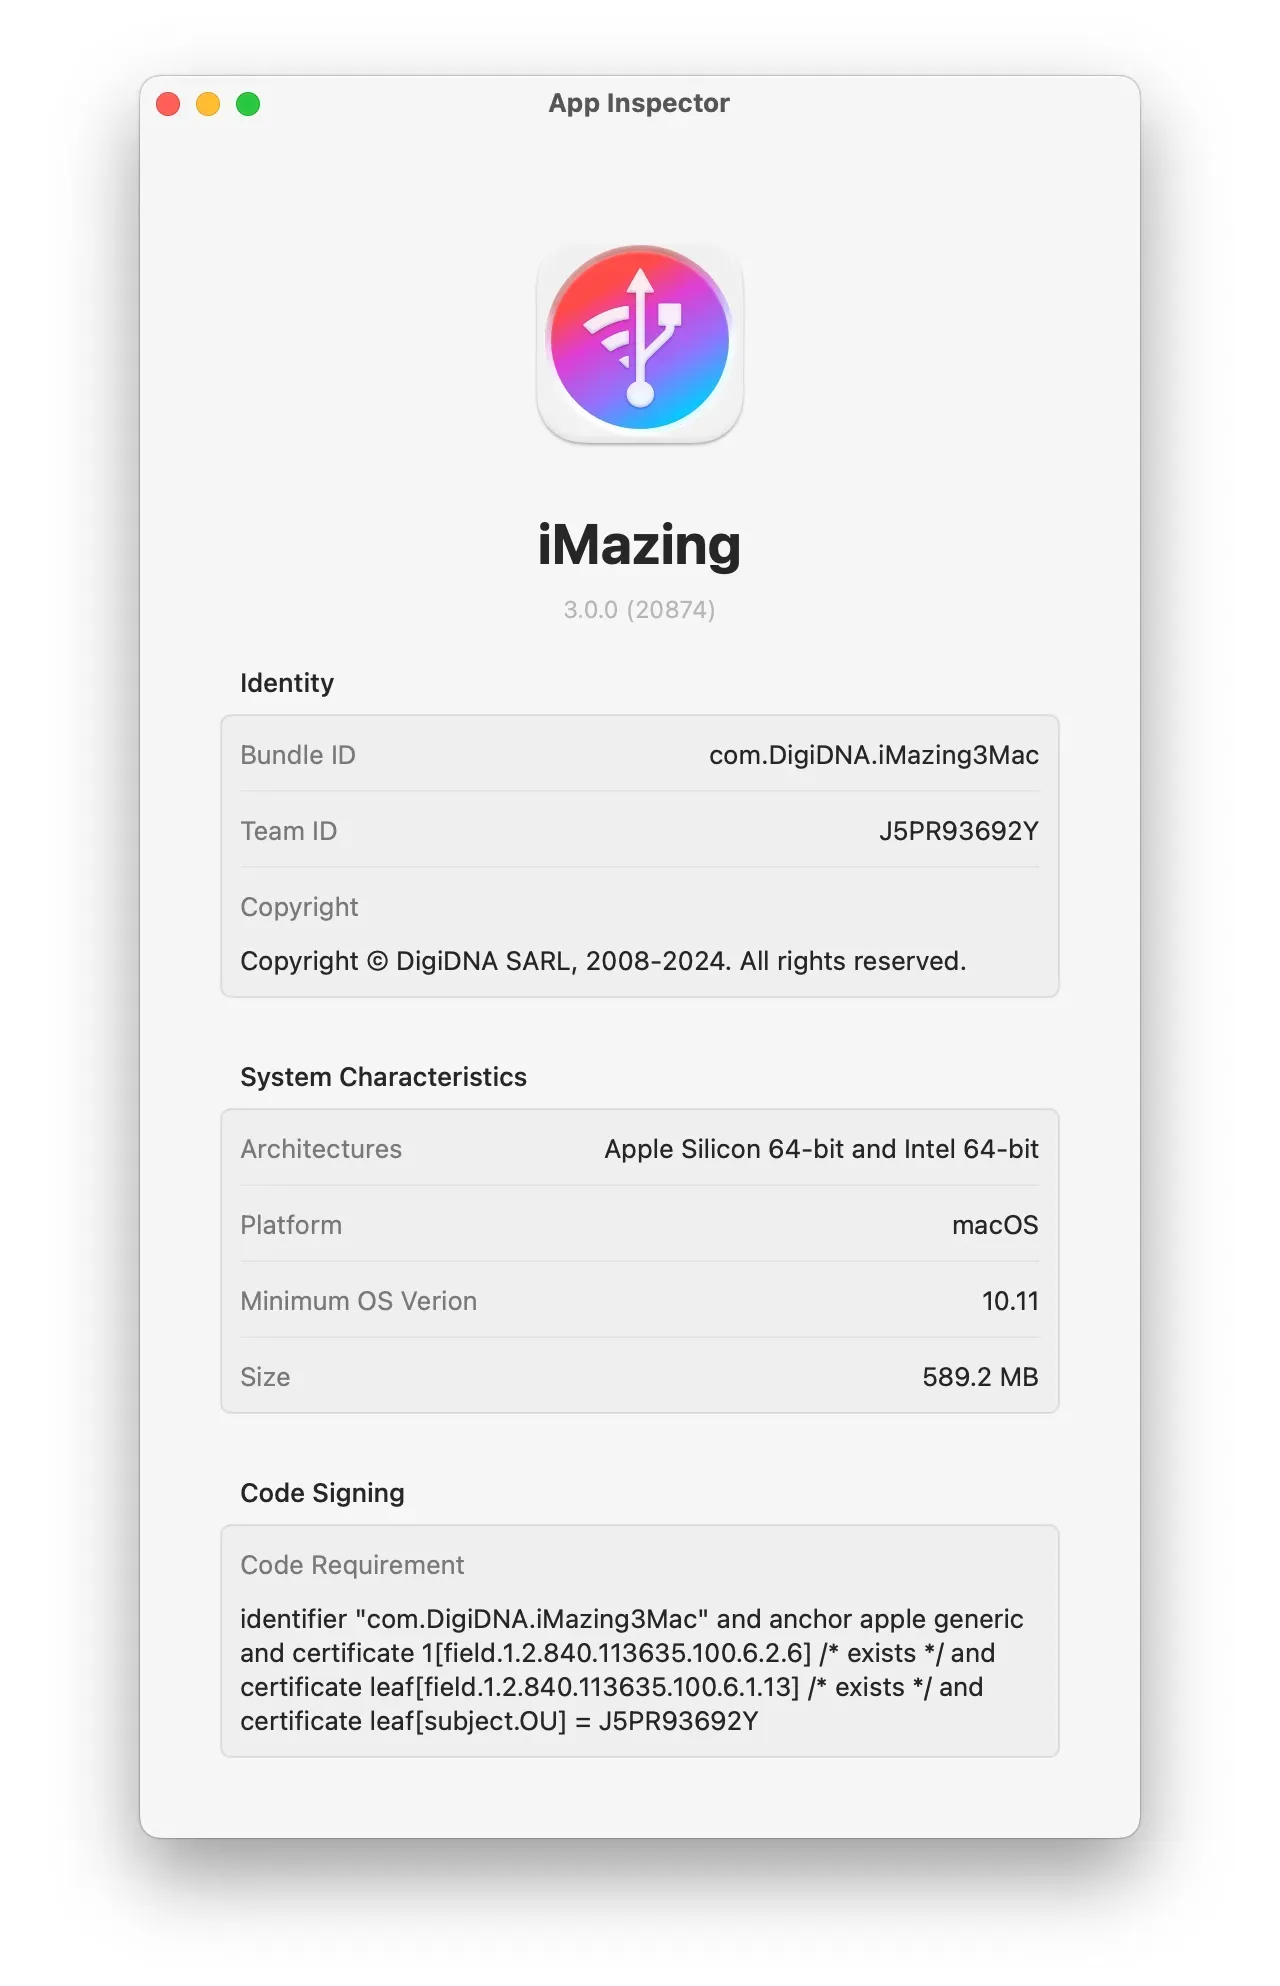
The easiest way to get the bundle ID, team ID, and code requirement (also known as designated requirement) of an app is using the App Inspector — a tool included with iMazing Profile Editor for macOS:
- Launch iMazing Profile Editor if it is not already open.
- Access the App Inspector using the Inspect App… option in the Tools menu, or using the keyboard shortcut
⌘I.
- In the presented prompt, select the app that you would like to inspect and click Inspect.
- An App Inspector window will open with the required details.
Copying Details to the Clipboard
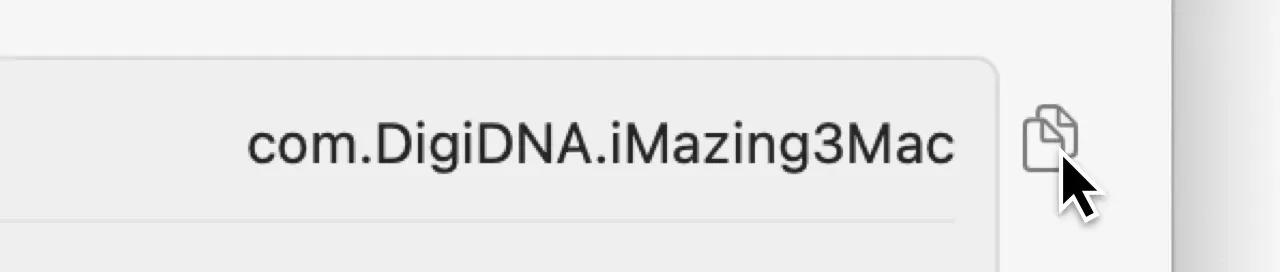
Every relevant field in the inspector window can be copied to the clipboard for easy pasting in your configuration profile or elsewhere.
Simply hover with your mouse cursor over a row, and press the Copy button that appears to the right. You can also select the text and press ⌘C.
iMazing Profile Editor can be downloaded for free, and is also bundled with iMazing — so you may already have it. Download from iMazing.com
The App Inspector is available in iMazing Profile Editor from version 1.9.0 and is a macOS only feature.
Getting bundle ID, team ID, and code requirement using the command-line
For both comparison and reference, here are the command-line methods we used for obtaining bundle ID, team ID, and code requirement before the App Inspector was available.
The following command will give you both the bundle ID (Identifier) and the team ID (TeamIdentifier):
codesign -dv [path to the app]
And, this next command will give you the code requirement:
codesign -dr - [path to the app]
Pay close attention to what part of the command output you are copying, because the code requirement is not the entirety of it. Instead, it is only what comes after designates => and after the space that follows it.
Note: don't miss the extra dash between the options and app path that is required for the second command, but not for the first.
Binary code requirement
Most preference domains that take code requirement accept it in its textual form. But, if you are configuring the Parental Controls: Application Restrictions domain, you will have to convert the code requirement to binary form before setting it in the payload.
This can be done using the following command:
csreq -r="[textual code requirement]" -o code-requirement.bin
Entering this command will create a file in the working directory named code-requirement.bin which will contain the code requirement in binary form. This file can then be added to the code requirement column in iMazing Profile Editor using the file selection dialog.
Feedback
We'd love to hear if there's any way in which we could help make your app configuration experience even better.
We are happy to take feedback over at our support request form. We are also actively engaging with users on our Mac Admins Slack channel, #imazing_profile_editor, which we invite you to join.