View the contents of an iPhone or iPad's backup
Updated on Jul 16, 2026
Reading time ~4 minutes
iPhone and iPad backups contain almost all of your mobile data: photos, messages, notes, and more. They are an effective way to keep your information safe: if you lose your device, you can restore a recent backup and resume work quickly.
Apple's backup format is not human-readable, and neither iTunes nor Finder lets you see what a backup contains. iMazing does: on macOS and Windows, you can open any backup and browse its contents without restoring it to a device.
The following datasets are available when browsing a backup:
| |
| |
| |
| |
| |
| |
| |
| |
| |
|
iMazing can browse any iOS backup, whether created by iMazing itself, iTunes (Windows and macOS Mojave or earlier), or Finder (macOS Catalina and later). If you created your backups with iMazing, you also benefit from multiple snapshots per device, instead of the single backup that iTunes and Finder keep.
Note: Encrypted backups are fully supported. iMazing can browse the file system of a backup even if backup encryption is enabled. See How to extract files and data from an encrypted iPhone backup for details.
Here's how to view the contents of an iPhone or iPad's local backup:
Open a backup snapshot
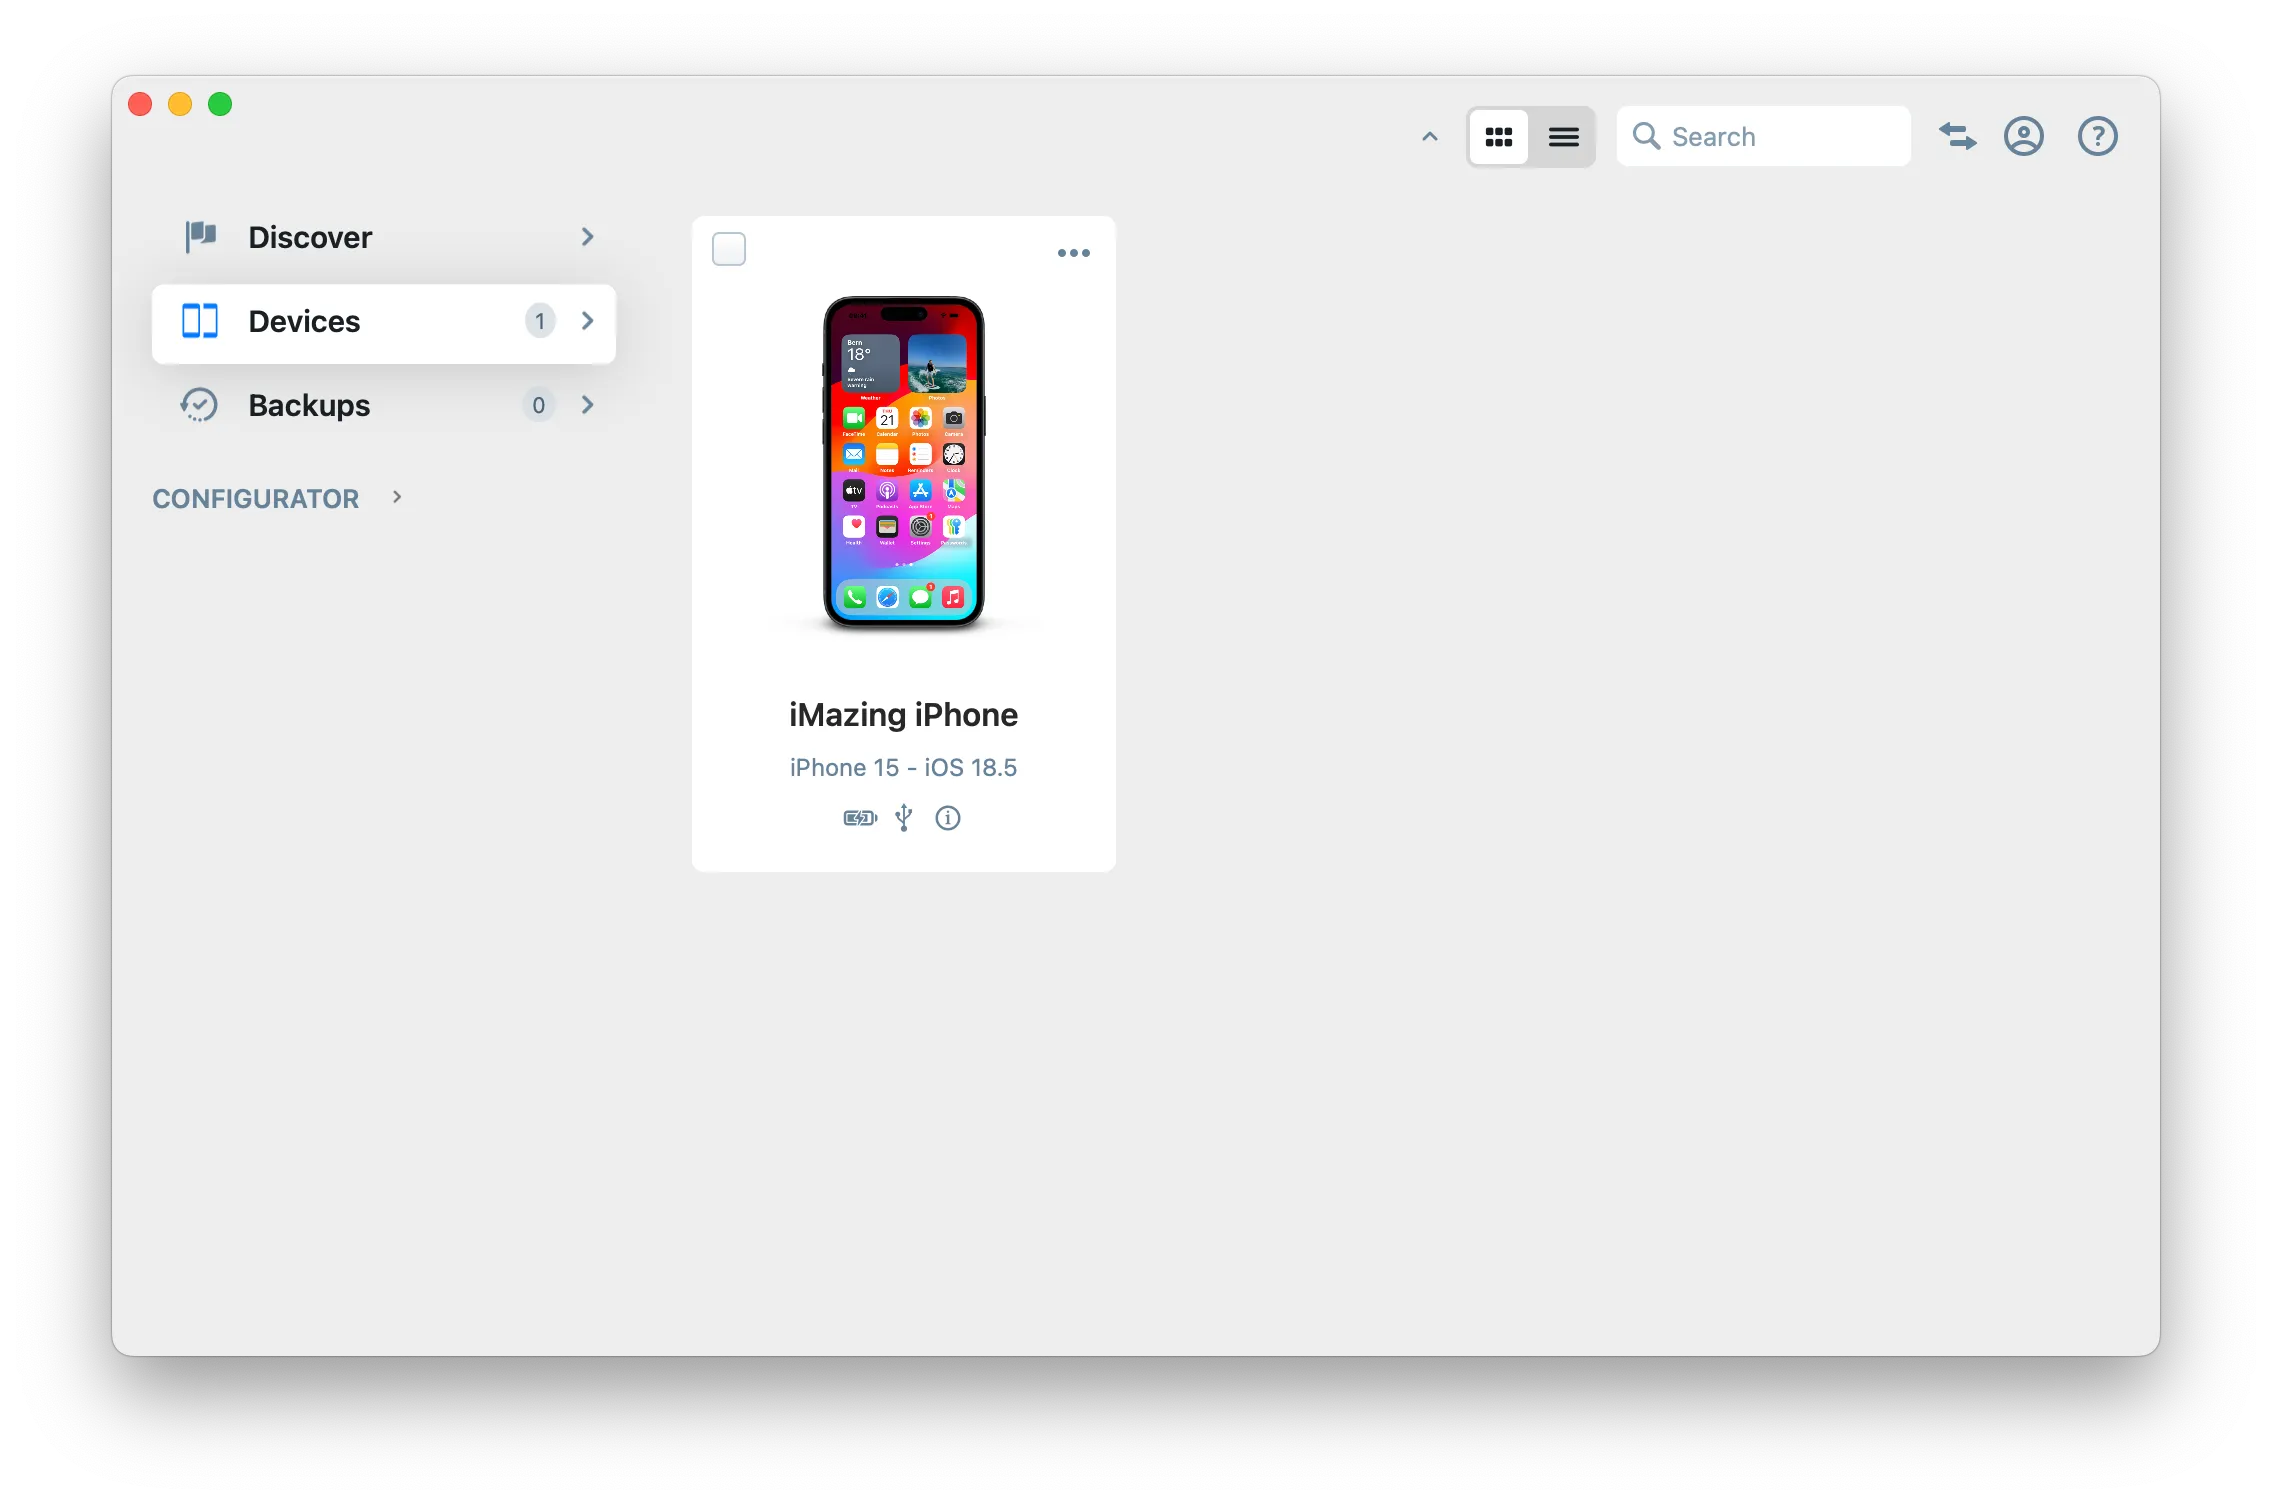
Select the Device
From the Devices section on the Home Screen, click a device to select it.
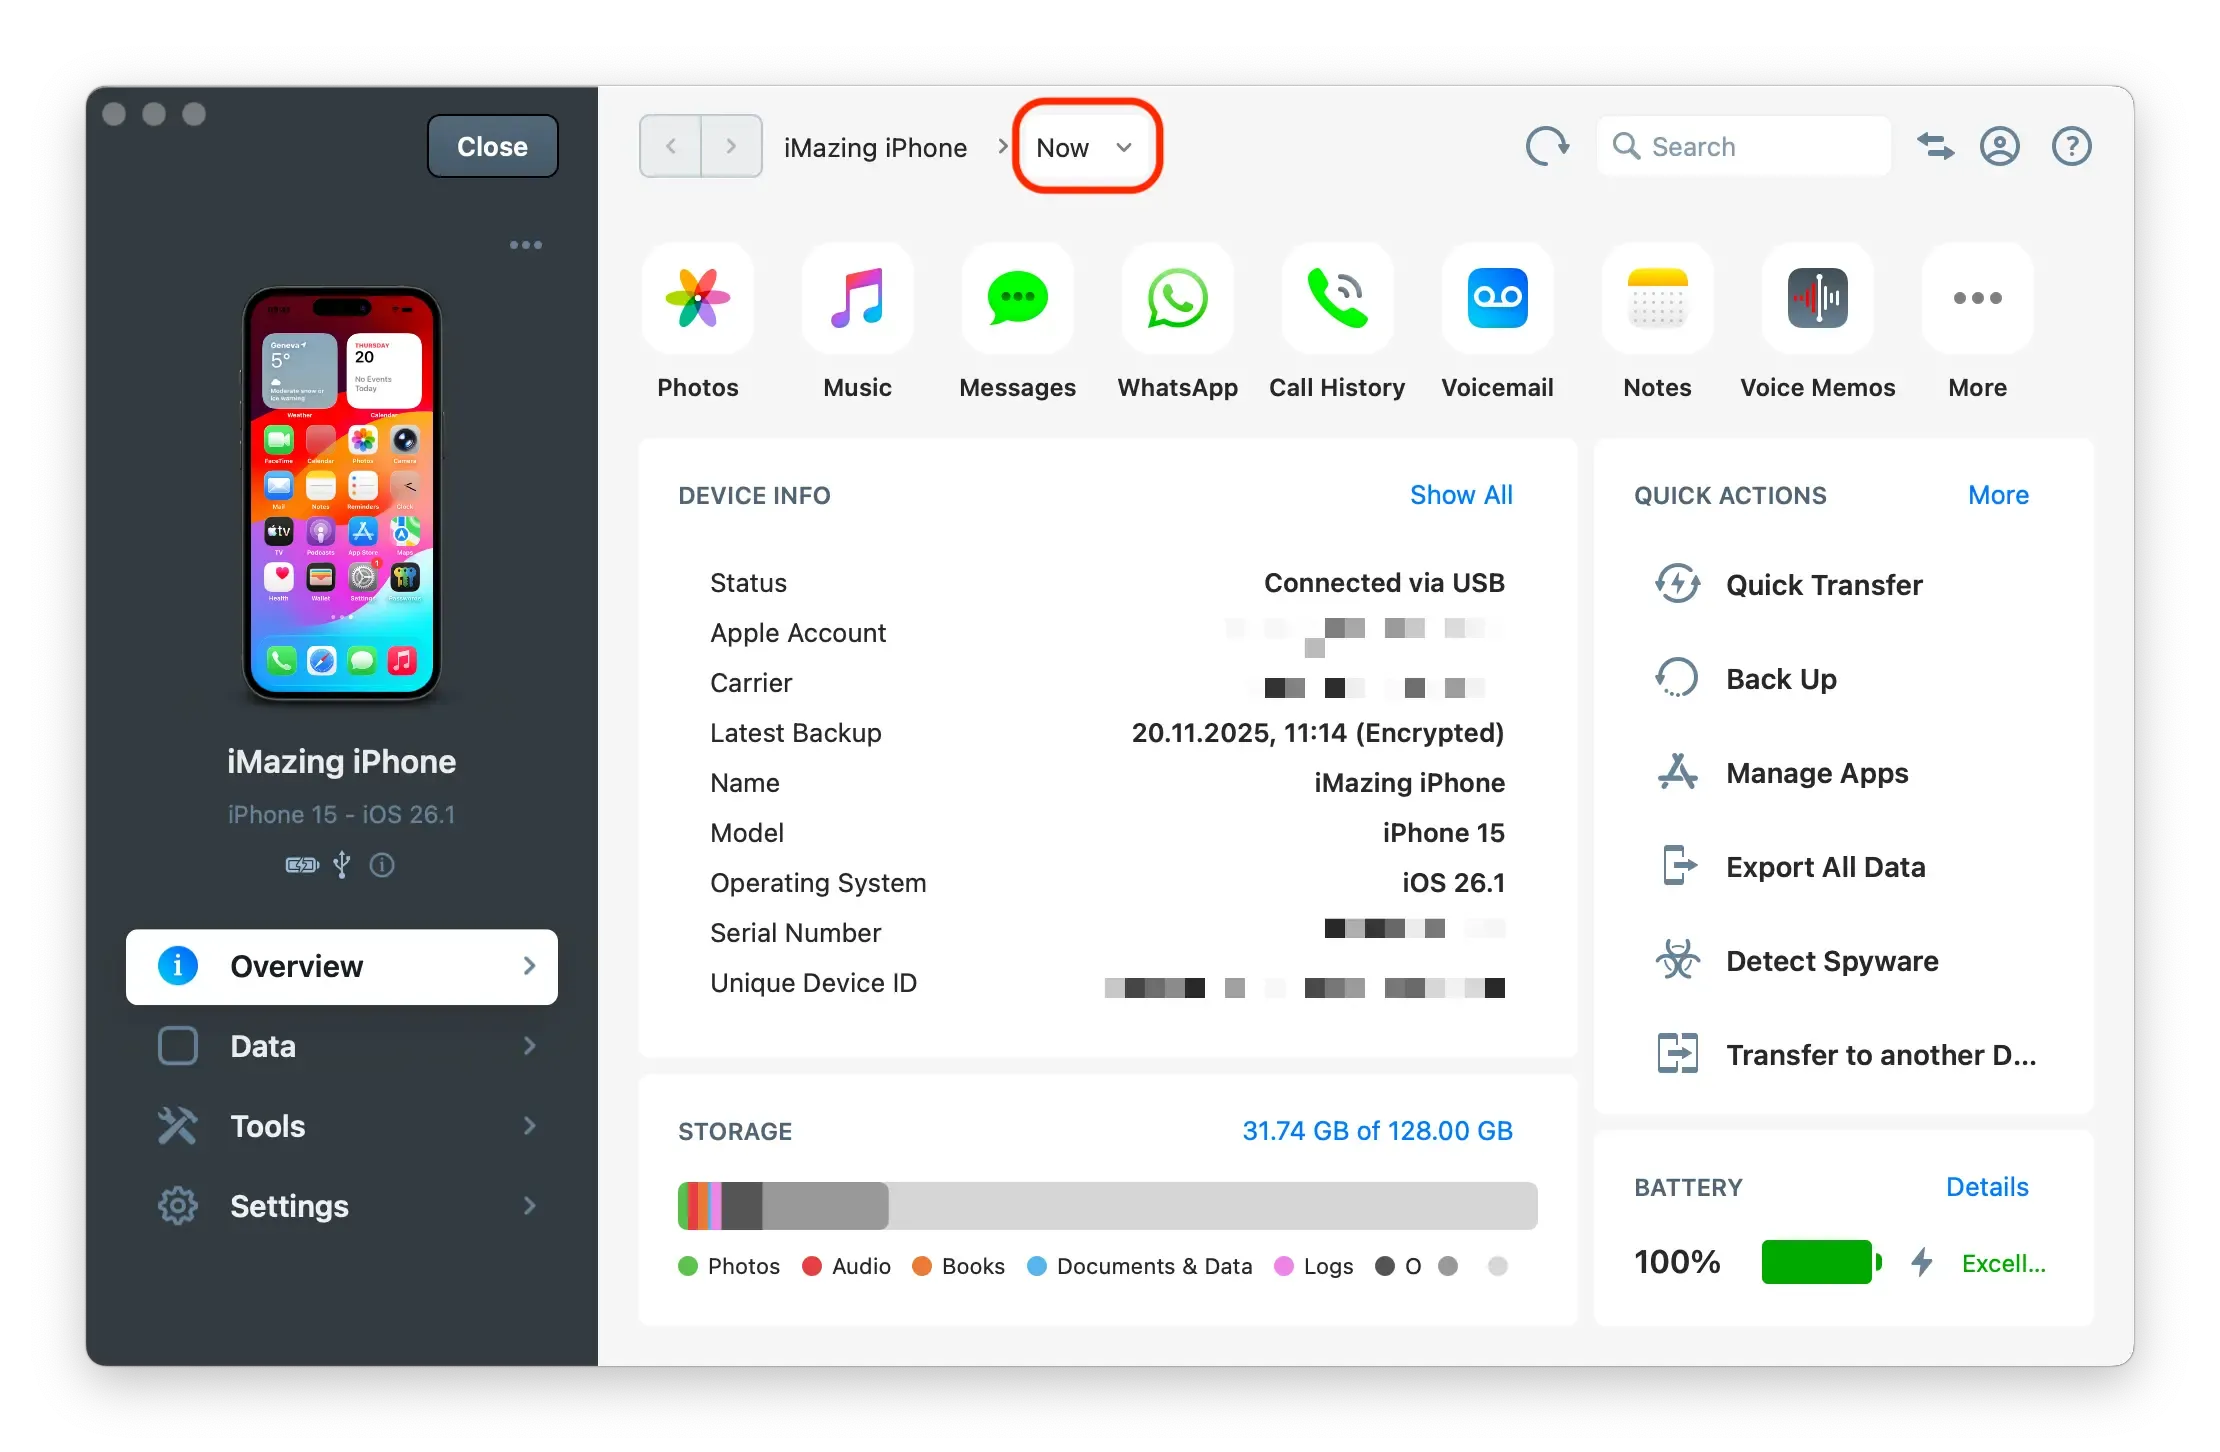
Select the Backup Snapshot
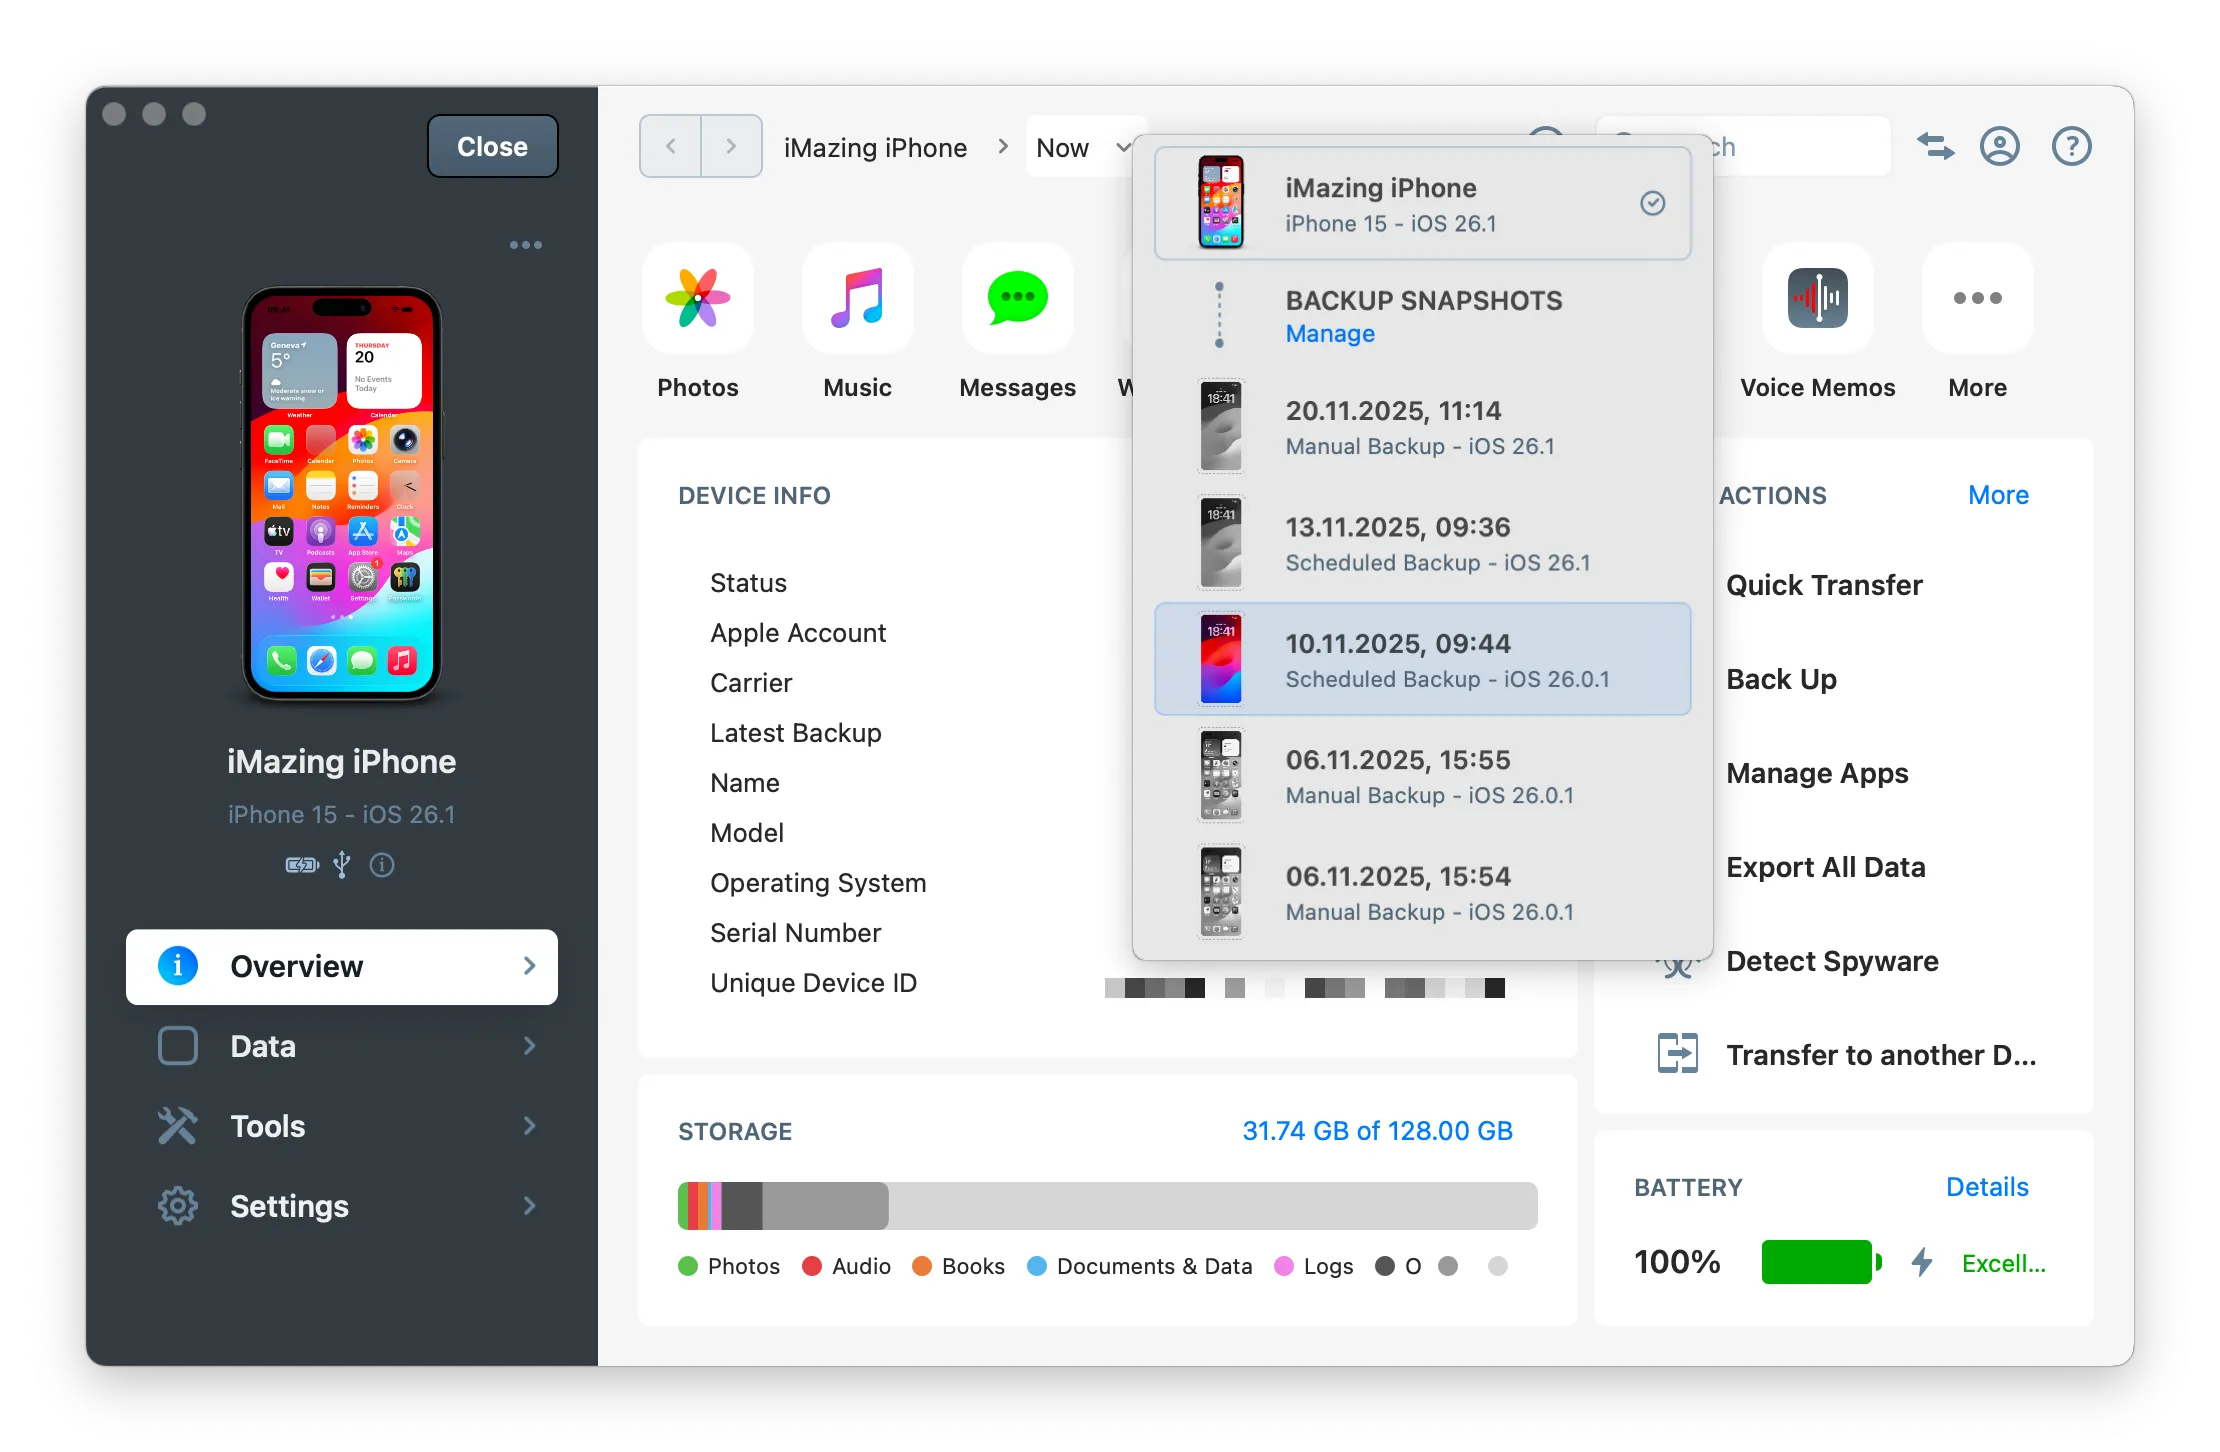
In the upper toolbar, click Now. This will open the Snapshot List.
Select the snapshot you want to browse by clicking it.
Note: If a backup is damaged or incomplete, iMazing offers to repair it. See Repair iOS backups with iMazing.
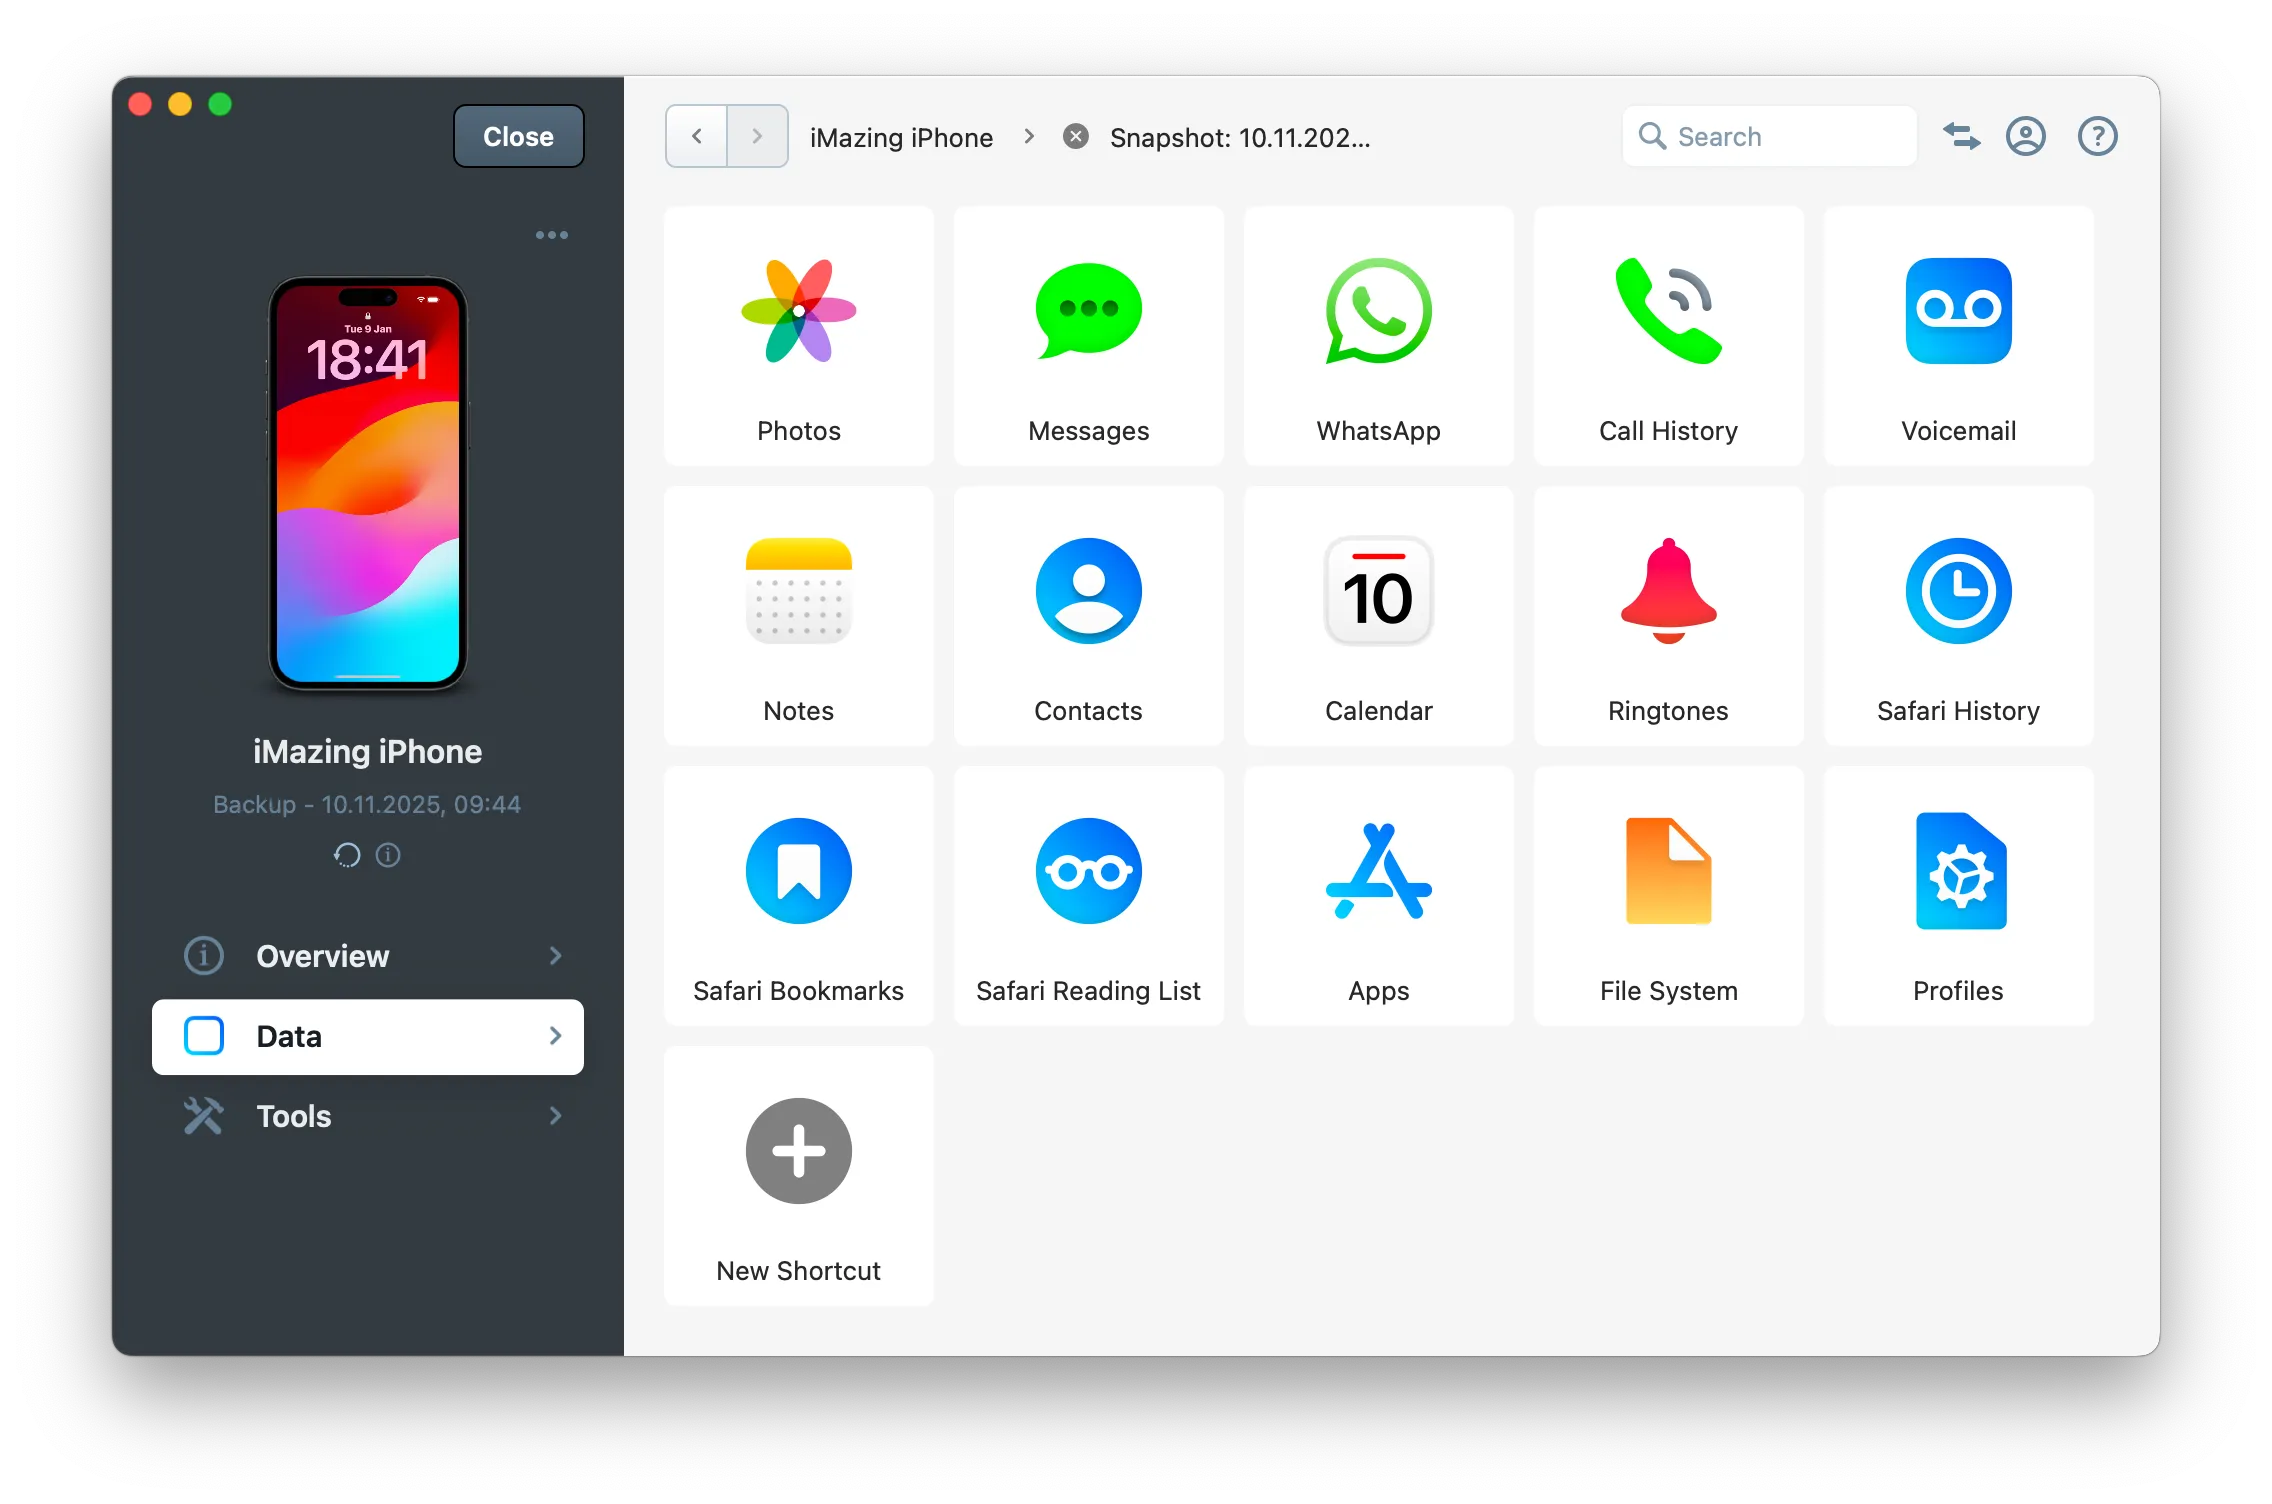
Browse the Backup Snapshot
You can now browse any dataset available in the backup. Stay in the Overview section for quick access to the most common datasets, or go to the Data section to see all available datasets.
The top breadcrumb trail shows which snapshot you are currently browsing. Click the close icon to return to the device's current state.
Tip: Right-click your device in the Devices section and select Switch to Connected Device to return to the live device view.
Browse iTunes backups on macOS
iMazing can browse backups created by iTunes or Finder, not just its own. On macOS 10.14 Mojave and later, you need to grant iMazing Full Disk Access before it can read these backups. This is a one-time setup.
Grant Full Disk Access
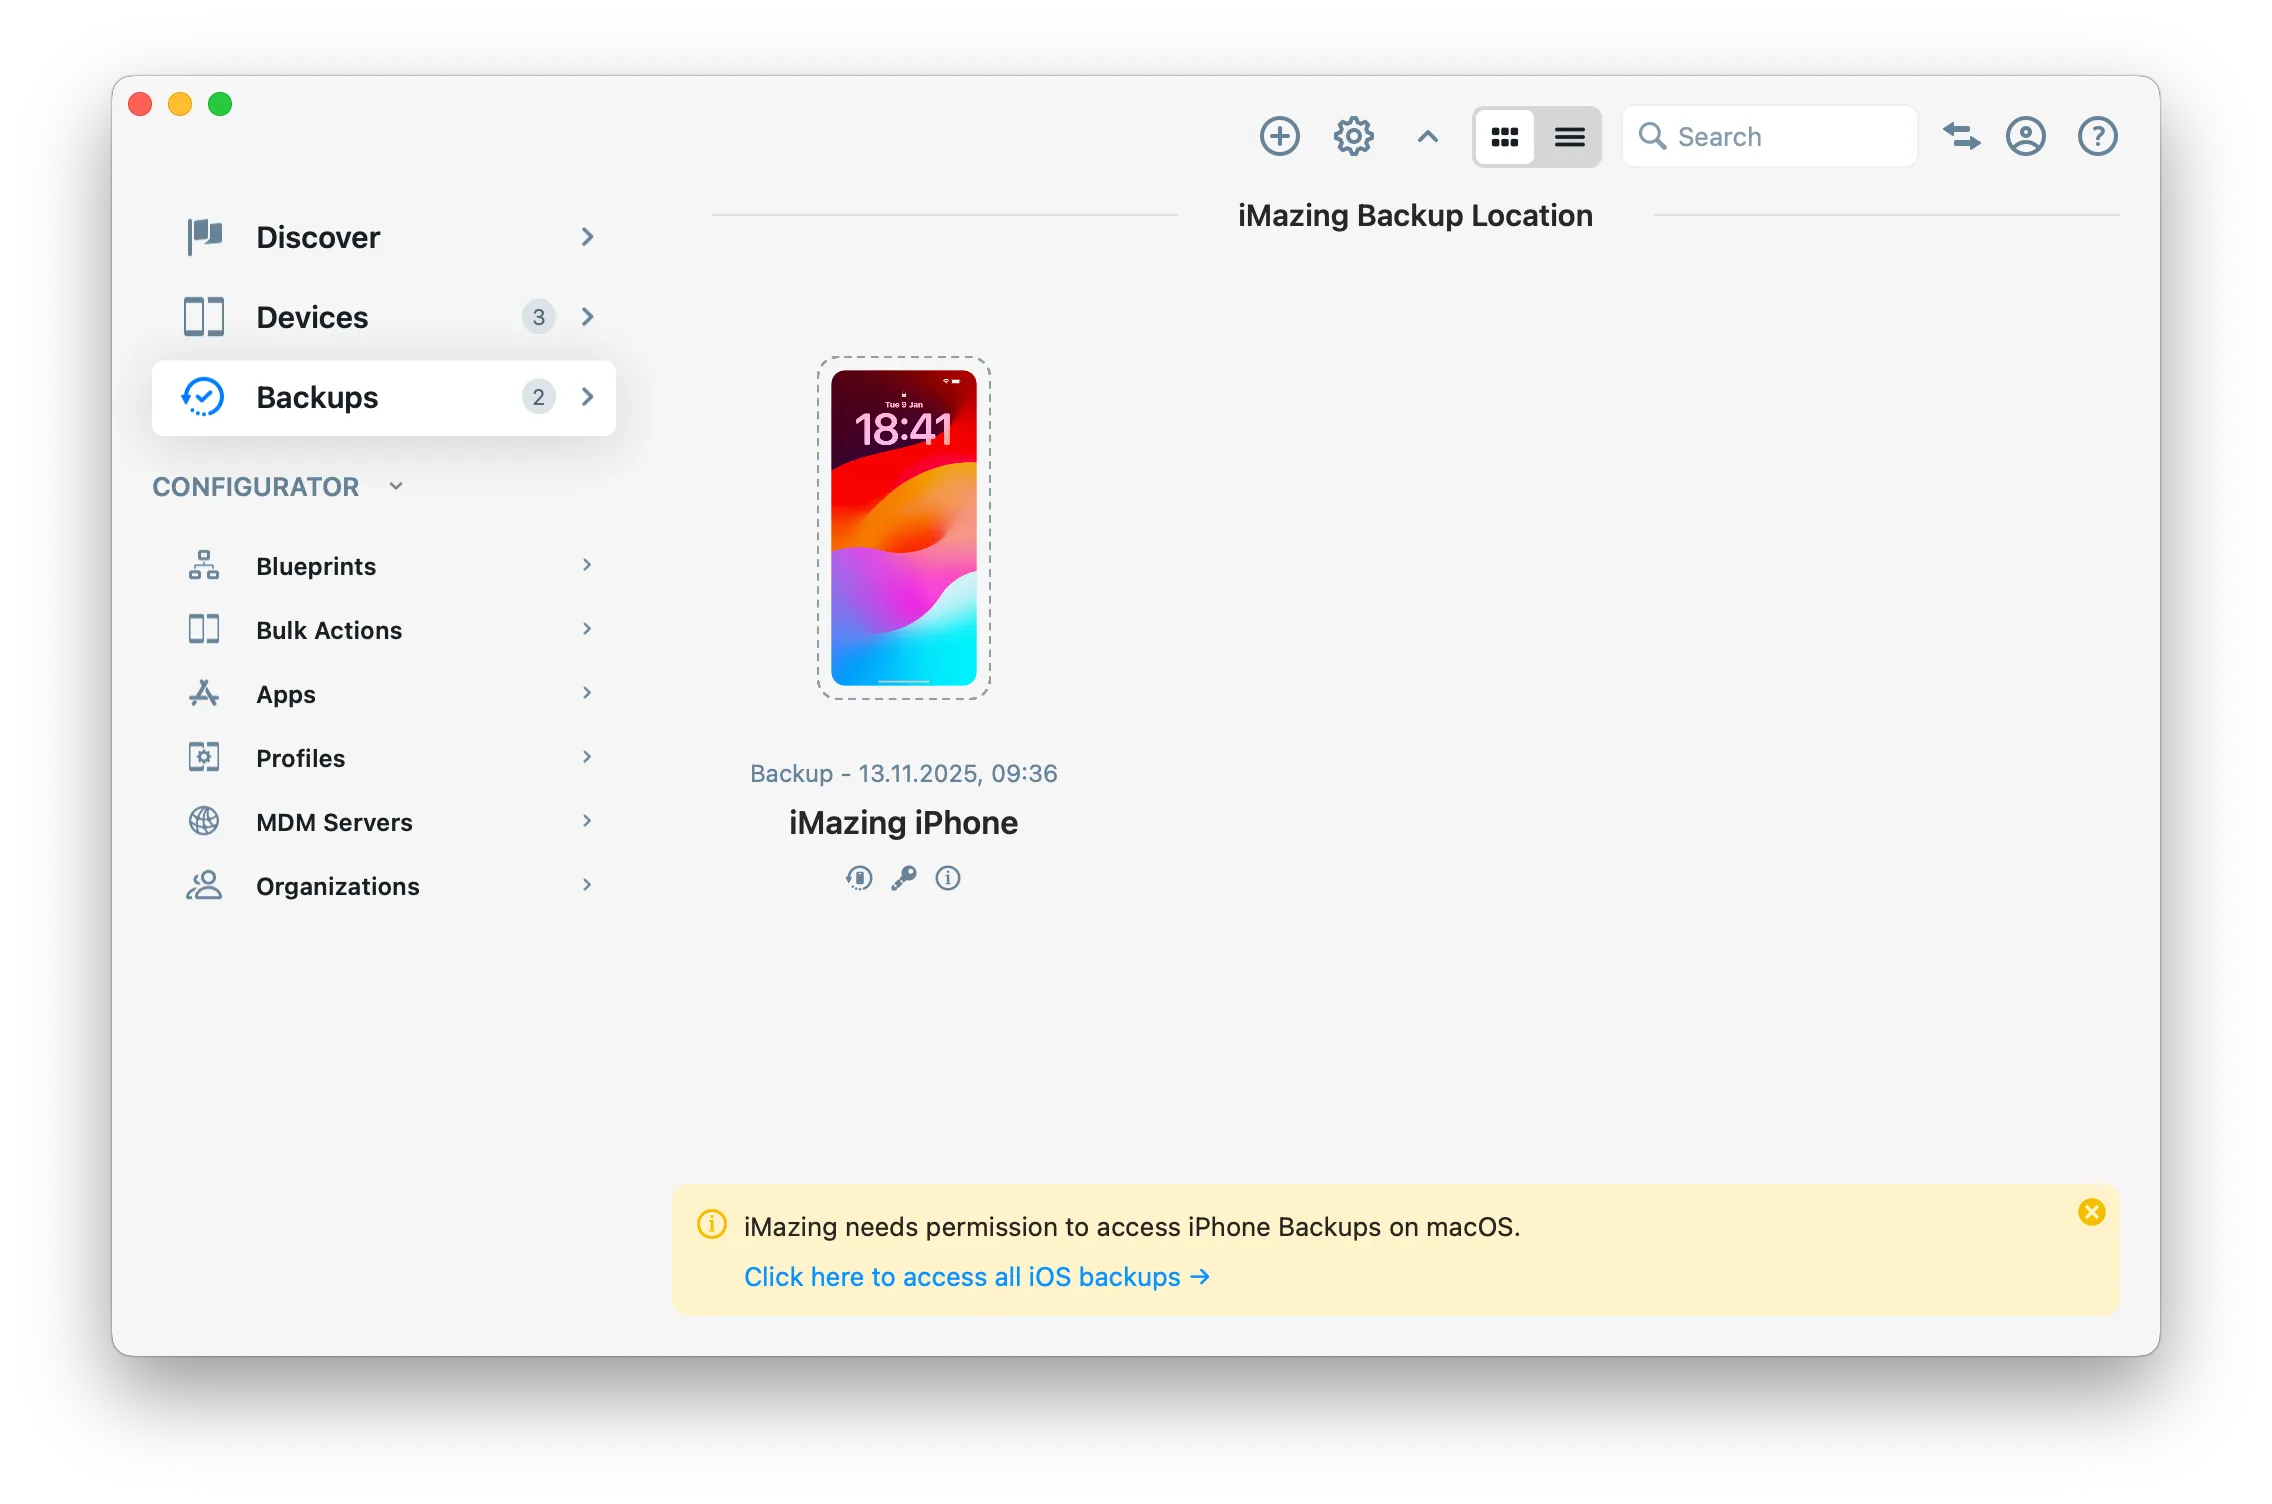
If iMazing has not been authorized yet, a message appears at the bottom of the iMazing window.
Follow iMazing instructions
Click the link in the message. iMazing displays instructions to add it to the list of apps with Full Disk Access.
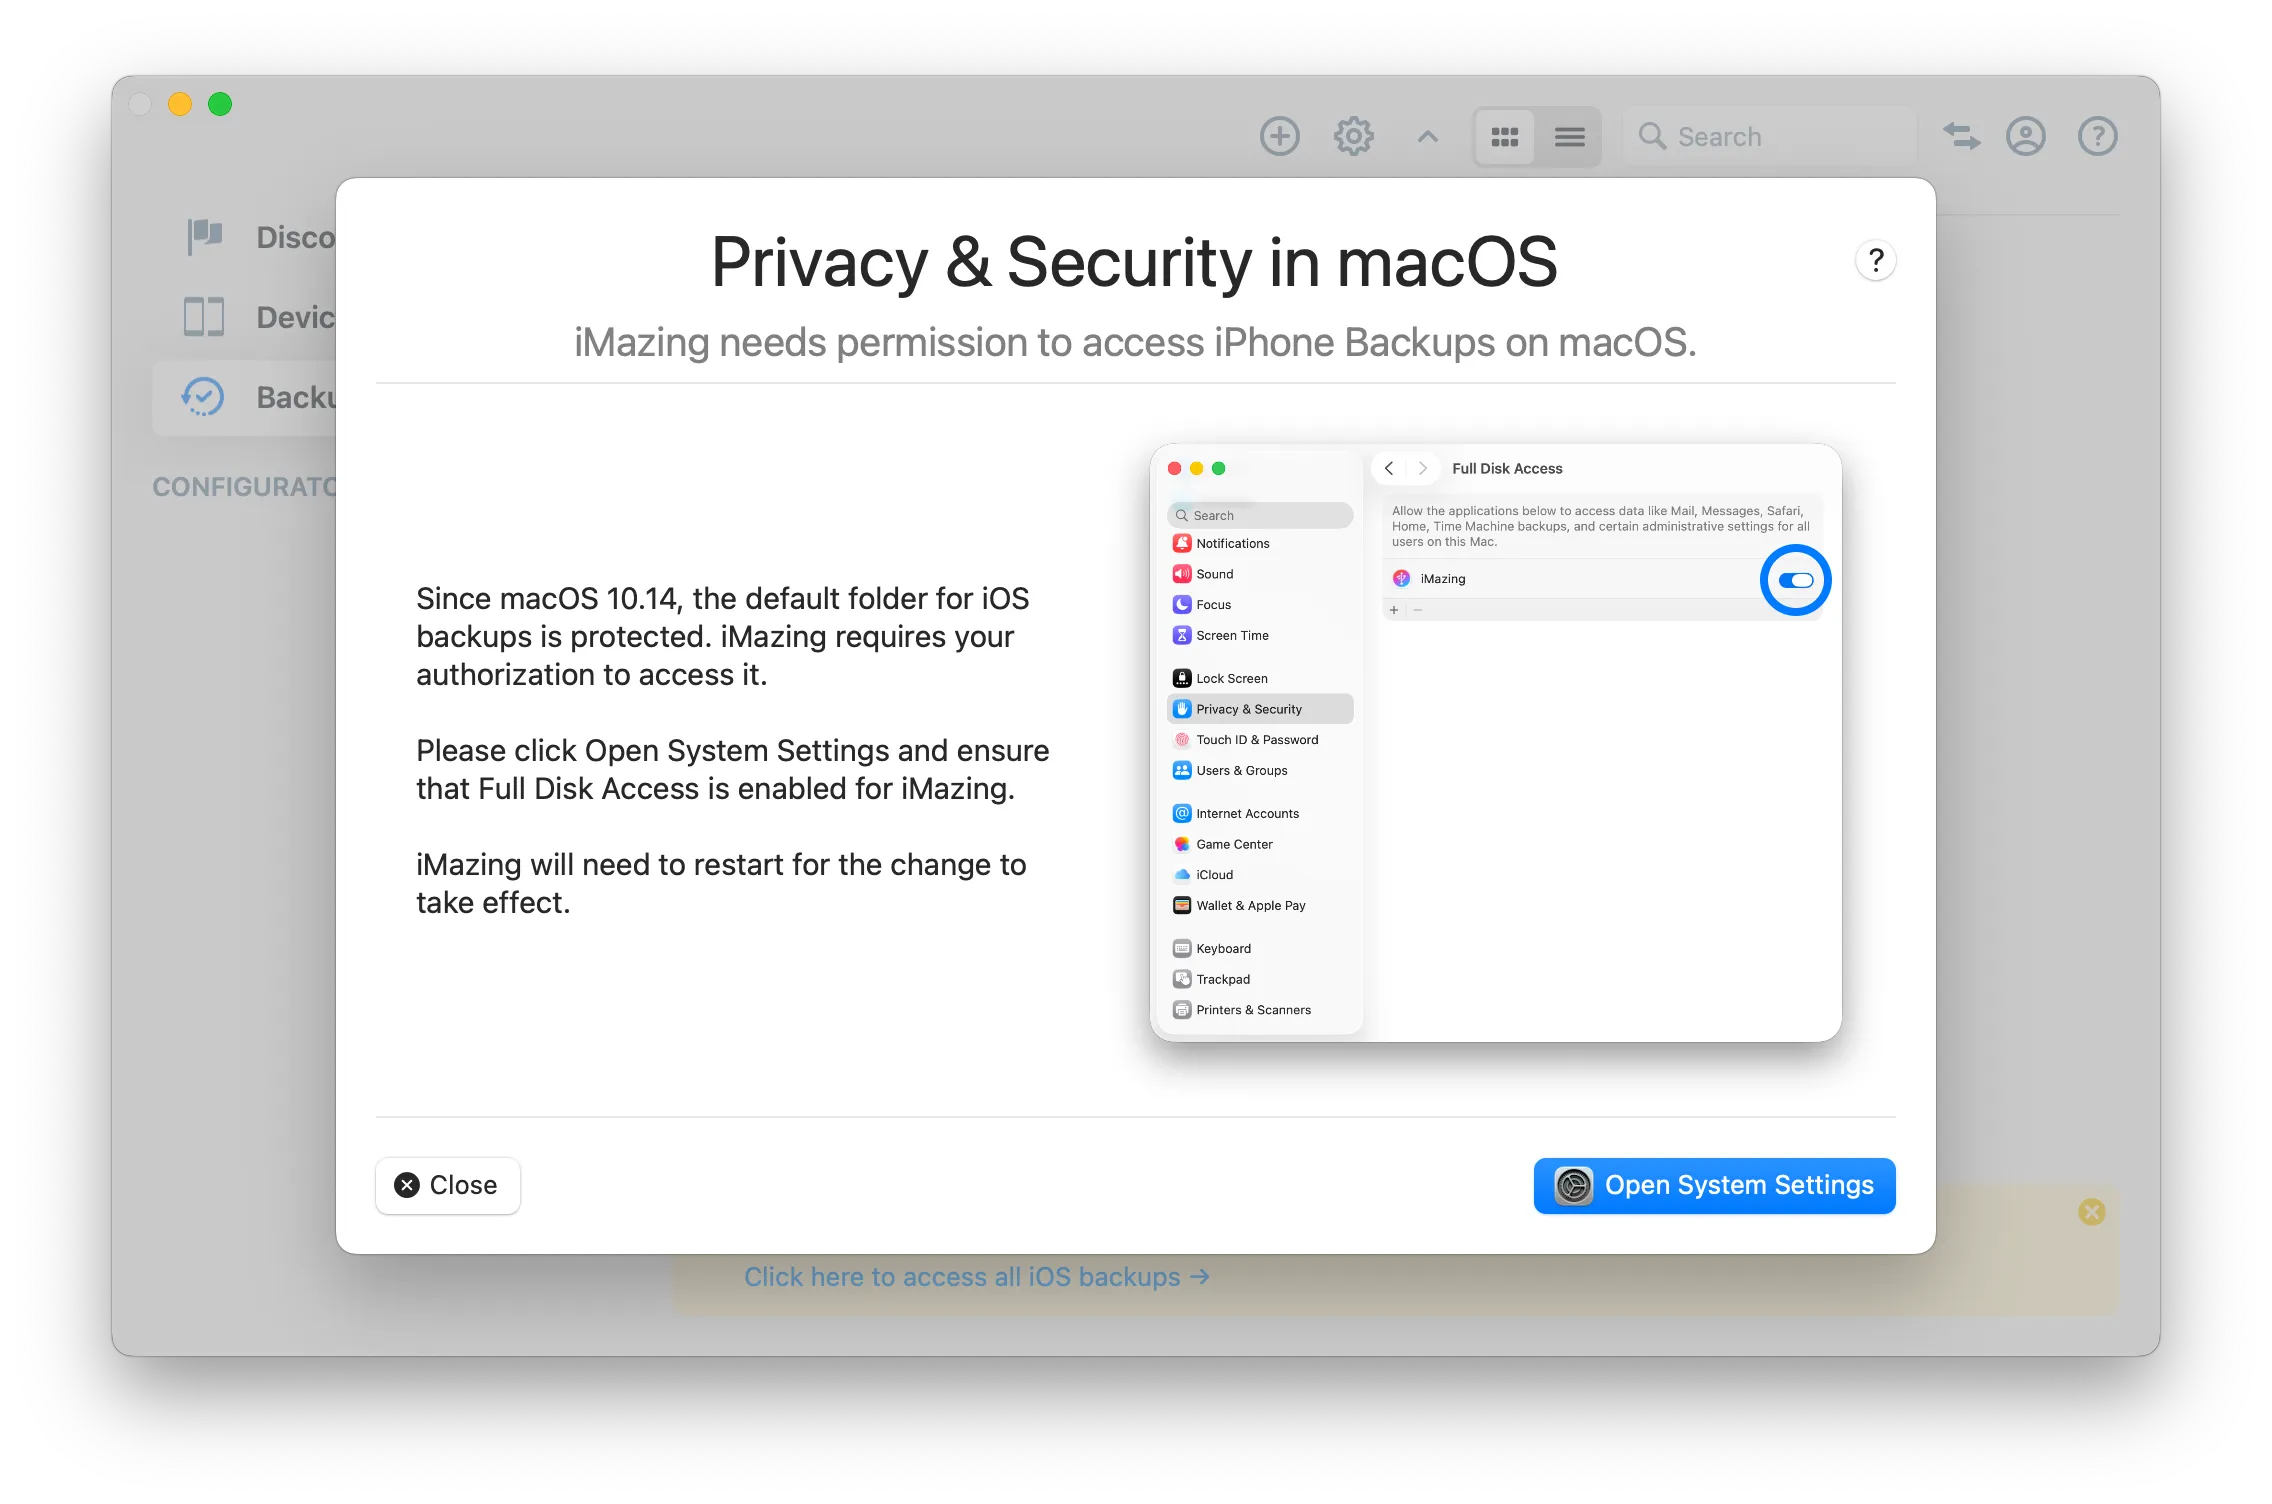
Restart iMazing
macOS prompts iMazing to restart for the change to take effect. Click Quit when prompted.
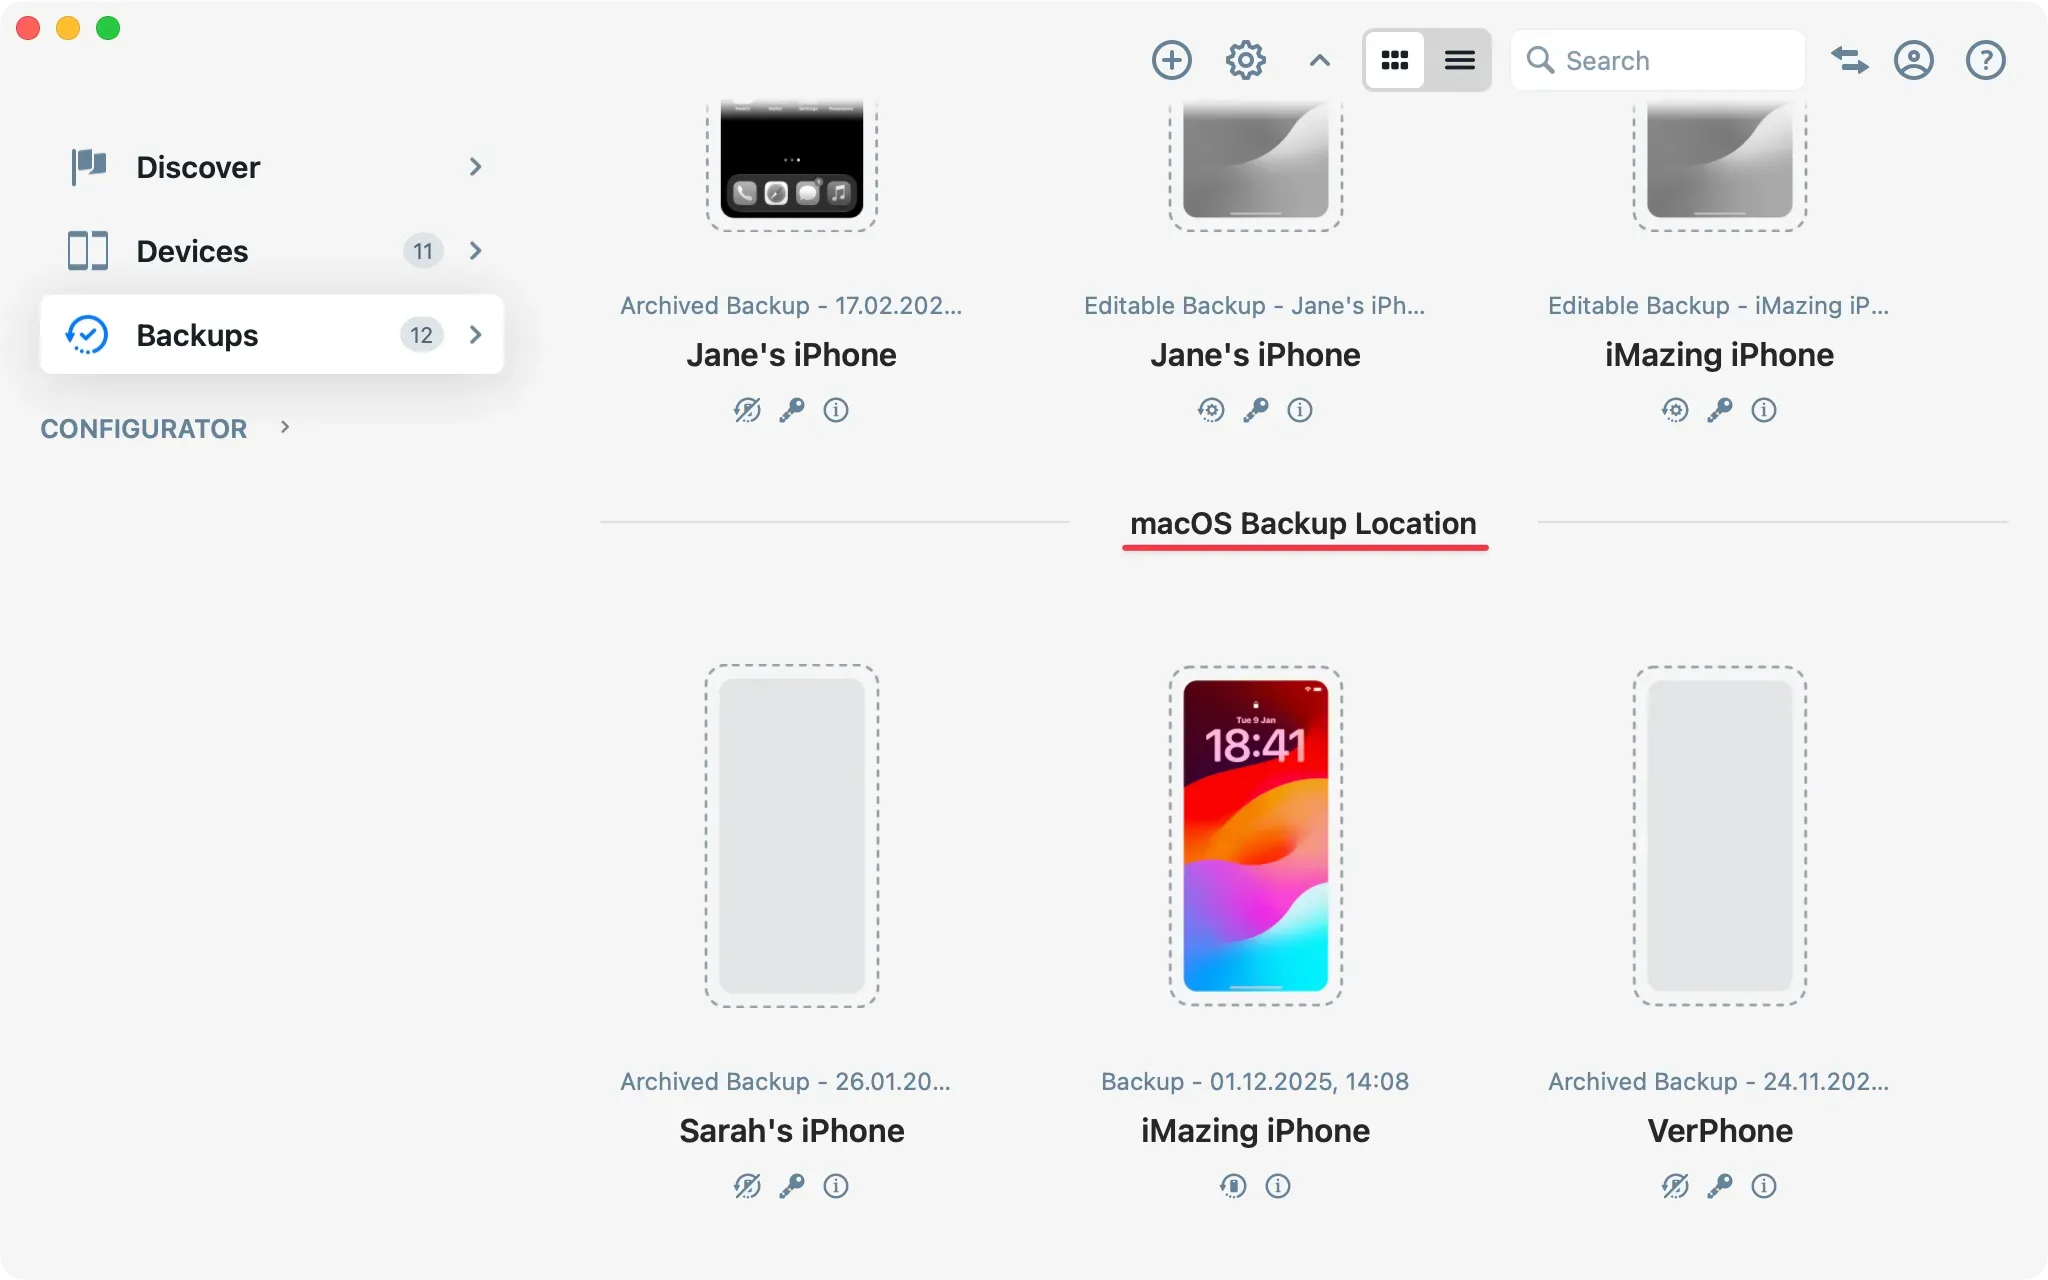
After restarting, iTunes backups appear in the Backups section under "macOS Backup location."
Note: iMazing requires Full Disk Access because macOS provides no finer-grained setting for accessing iTunes backups. iMazing does not use this permission to access any other protected data. If you prefer not to grant Full Disk Access, move or copy your iTunes backups to a location that macOS does not restrict, then open them directly in iMazing.
Tip: To revoke the permission at any time, open System Settings, go to Privacy & Security > Full Disk Access, and remove iMazing from the list.
What to keep in mind
- The Now button shows the date and time of the currently selected backup snapshot.
- You can perform multiple actions on a backup from the Tools section: export, repair, archive, and more.
- The storage usage bar in the Overview section shows how much space the backup occupies on your computer.
- For more information about what is included in a backup, see What data is included in an iPhone or iPad backup.
- To browse and transfer individual files and folders, see How to browse and transfer iPhone files and folders.